C64 Recap and Refresh
Time to future-proof the old Commodore C64C
I’ve been re-organising things during lockdown and doing some much-needed chores around the house and garden, And now it’s the Commodore 64’s turn; How to make this console from the 80s last another 35-odd years.
So firstly it’ll need
1: A recap.
The capacitors used back then will be old by now. Usually things fail slowly and after a recap you’ll notice things are sharper or less prone to crashing. At worst the existing capacitors will be leaking their innards all over your motherboard, gradually corroding it.
2: A new PSU.
I’m a purist and don’t like replacing the original features of a piece of old technology, but like the capacitors, the PSU is a huge liability and prone to take your console out with it when it decides to fail.
3: Heatsinks.
Not totally necessary, but it’ll extend the life of some unique chips that aren’t being made anymore as they can run a little hot.
5: Some convenience peripherals
Nice-to-haves. Again as a purist these are strictly externally-connecting which require no hardware modifications, but more to the point don’t go against the spirit of the console.
6: Lumafix 64
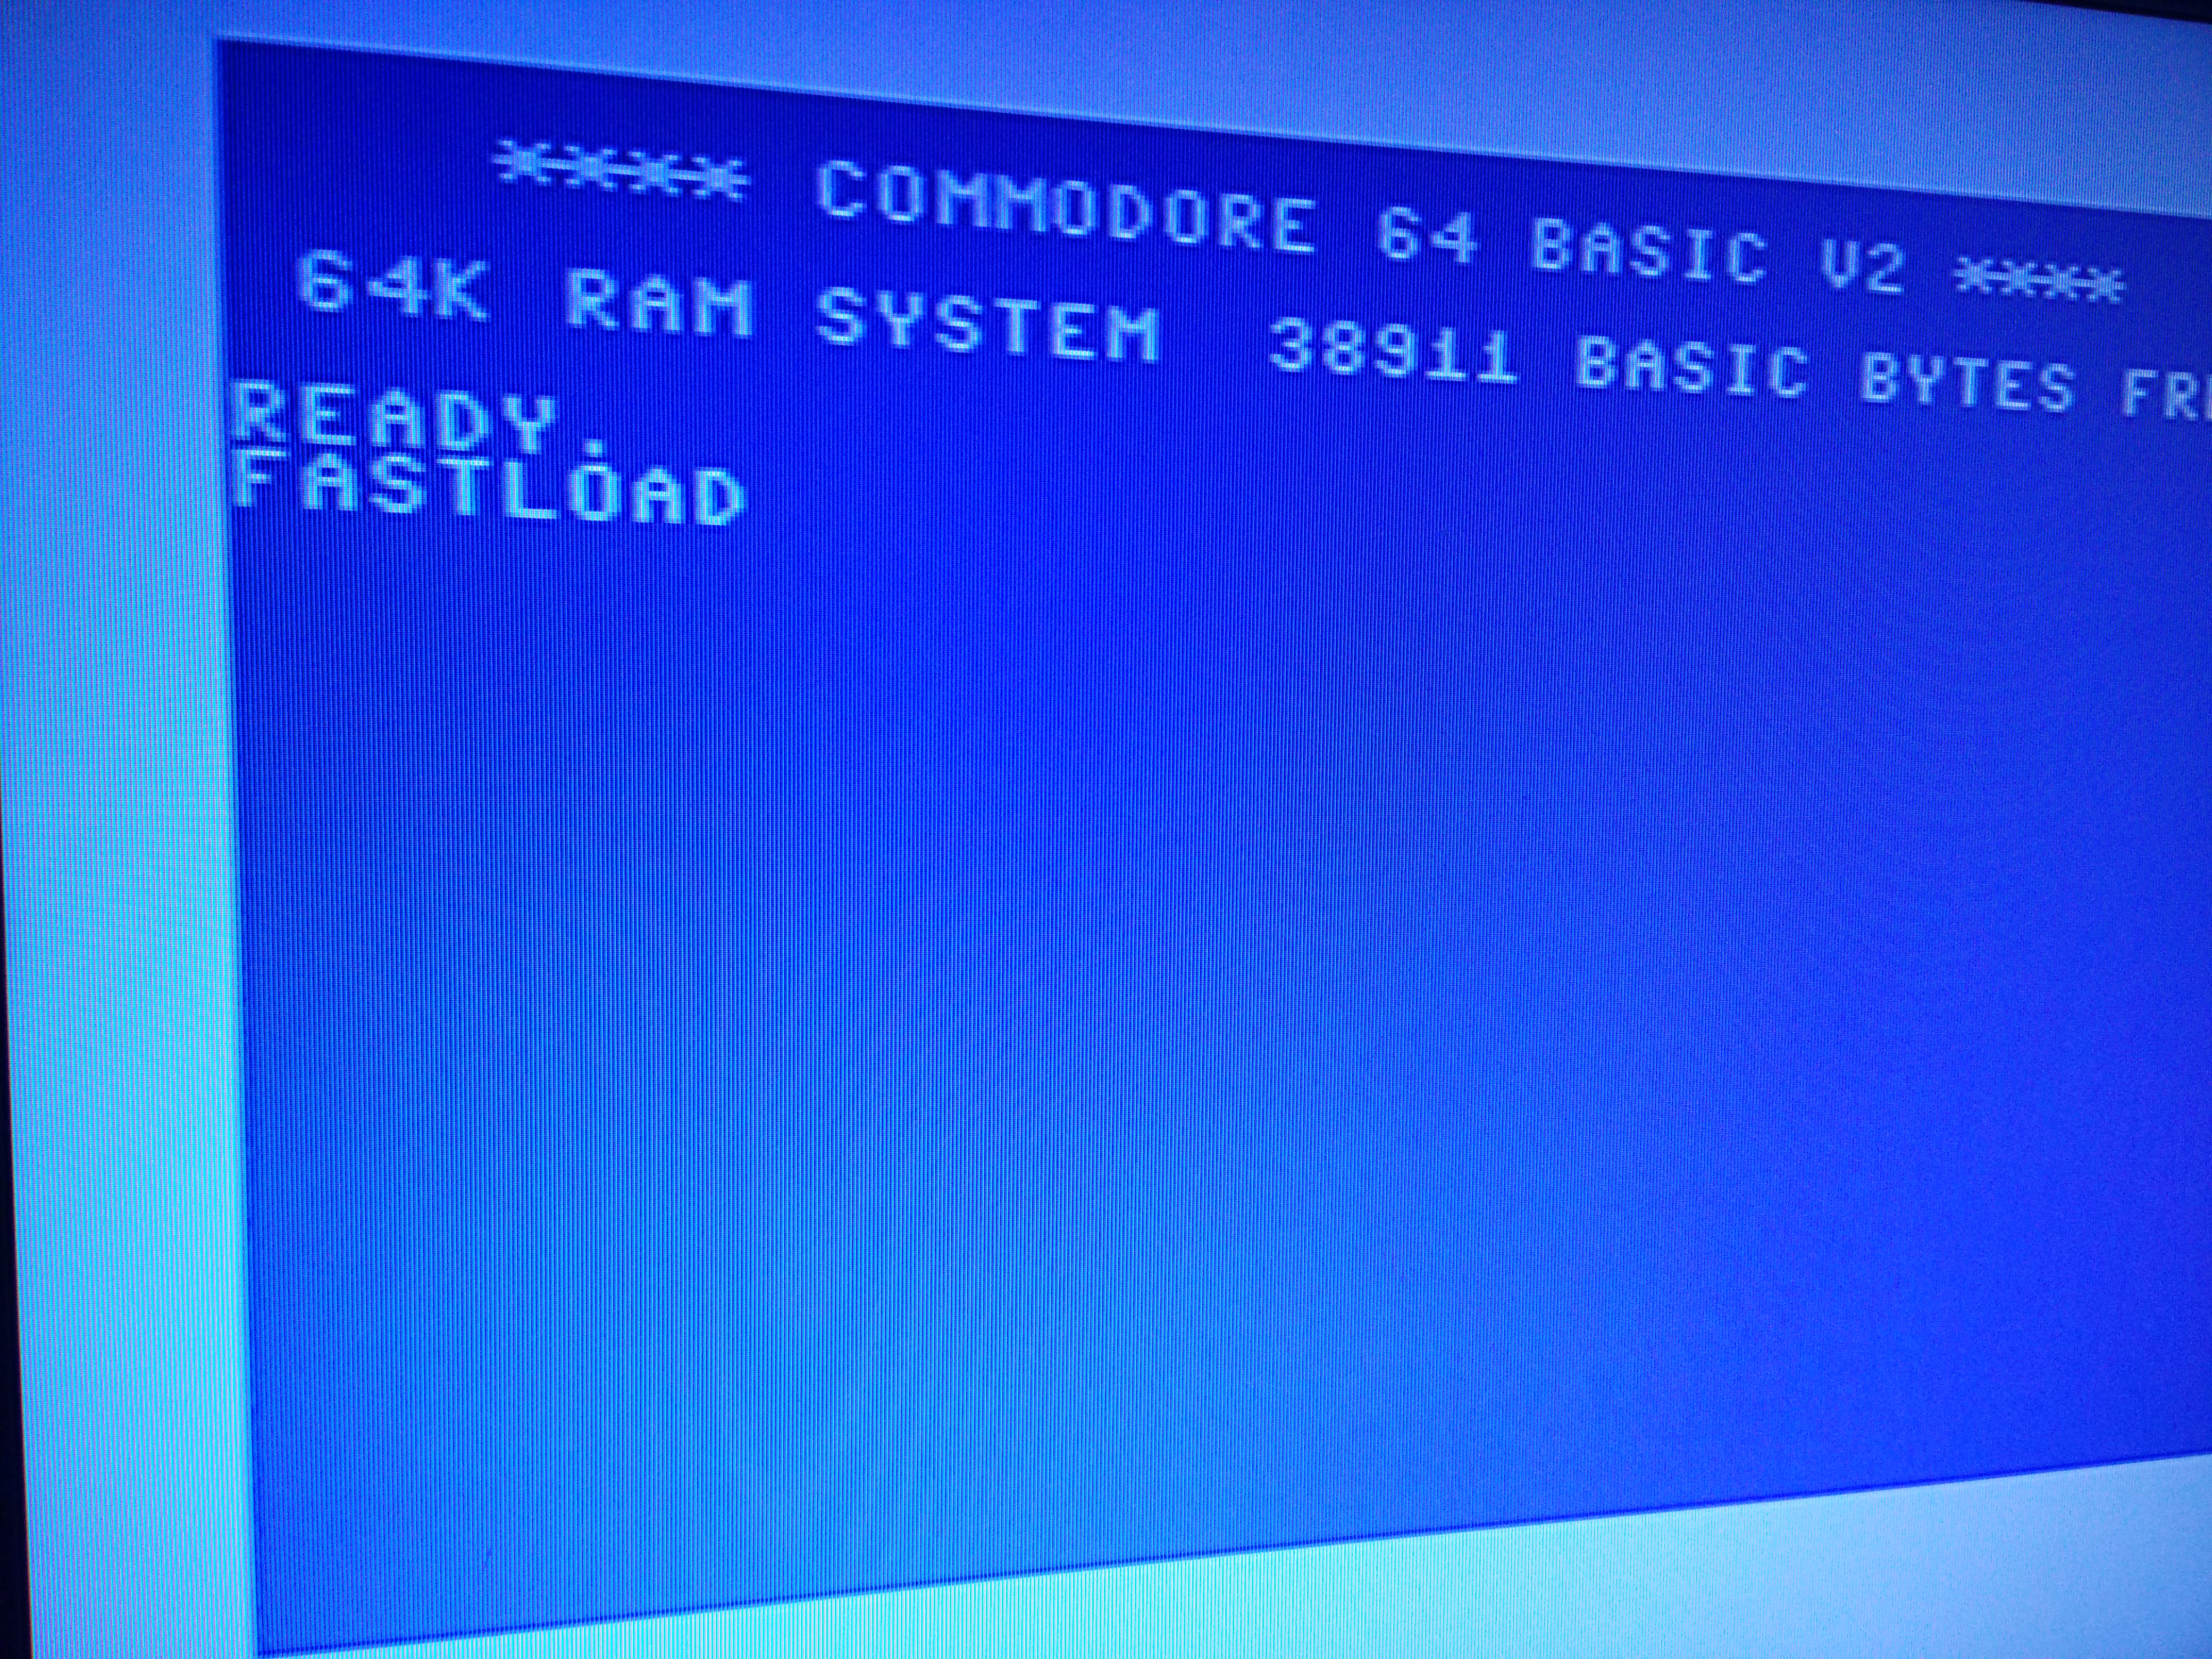
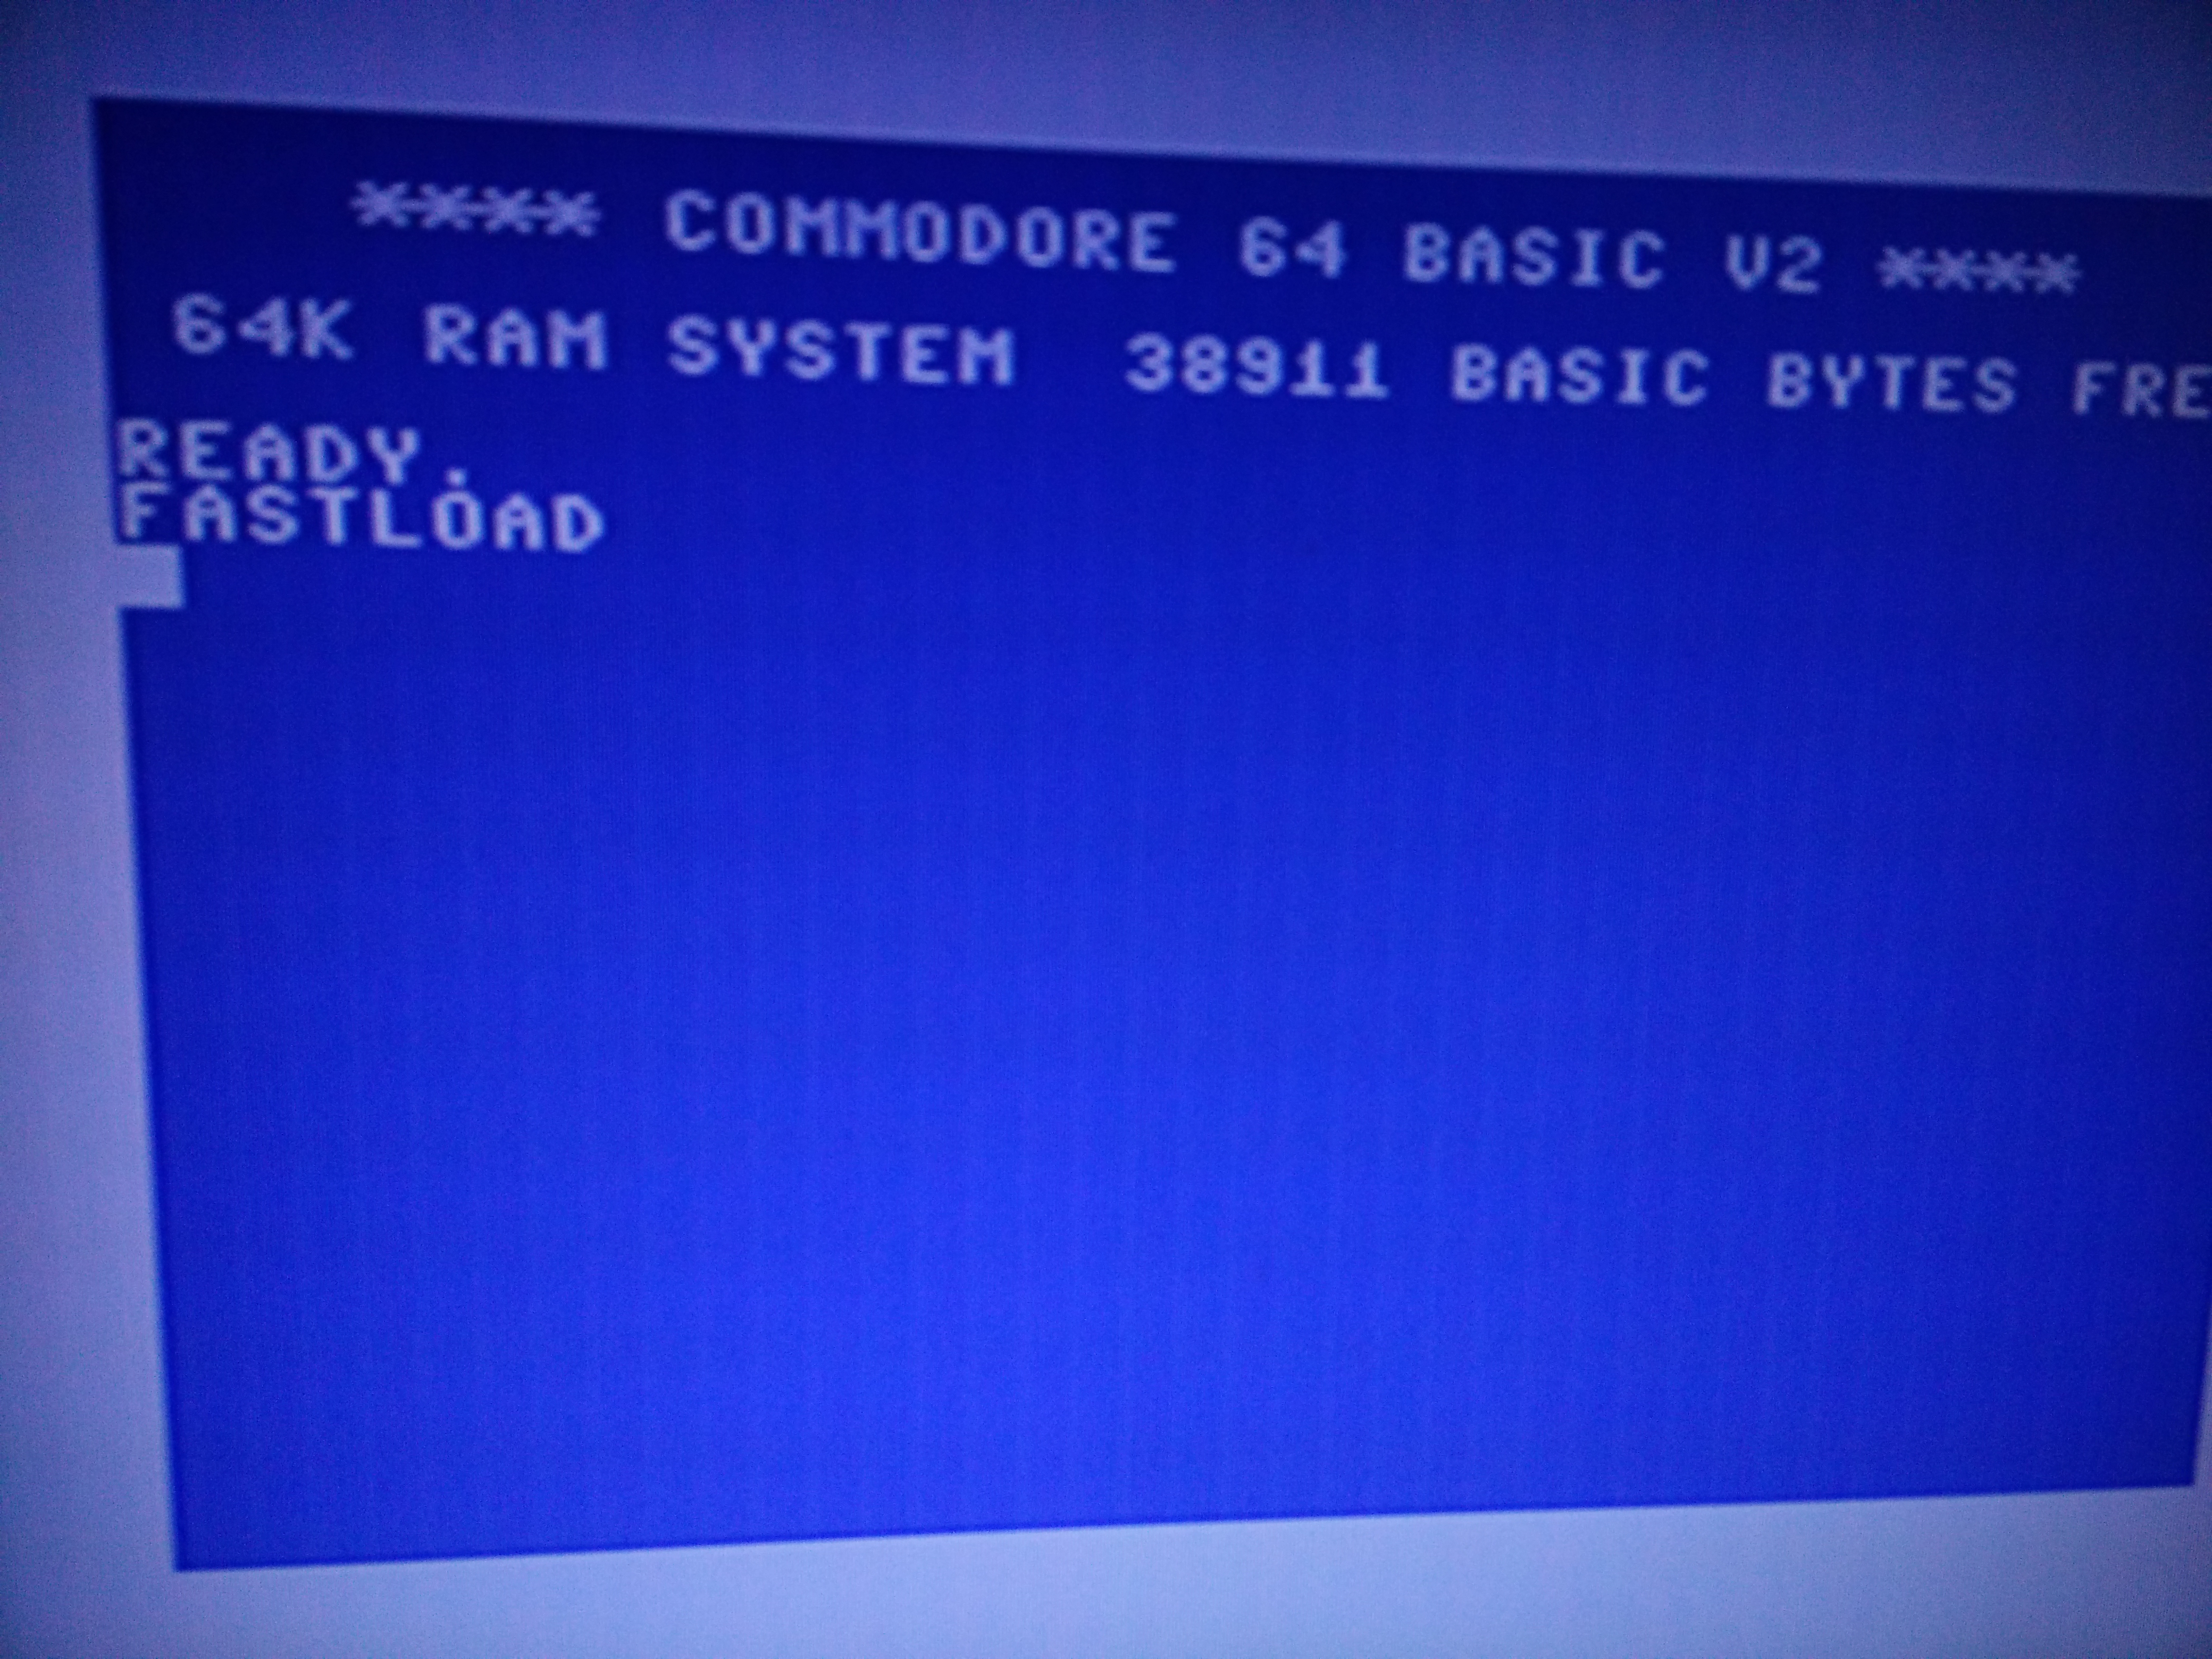
An update to this post, I fit a Lumafix 64 to get rid of the vertical lines that appear throughout the display, which are very noticeable on the initial BASIC prompt.
To business
So first things first, I haven’t touched a soldering iron in I’ve no idea how long and I don’t want to practice on something delicate, so I found a solder practice kit to get back into the swing of things:
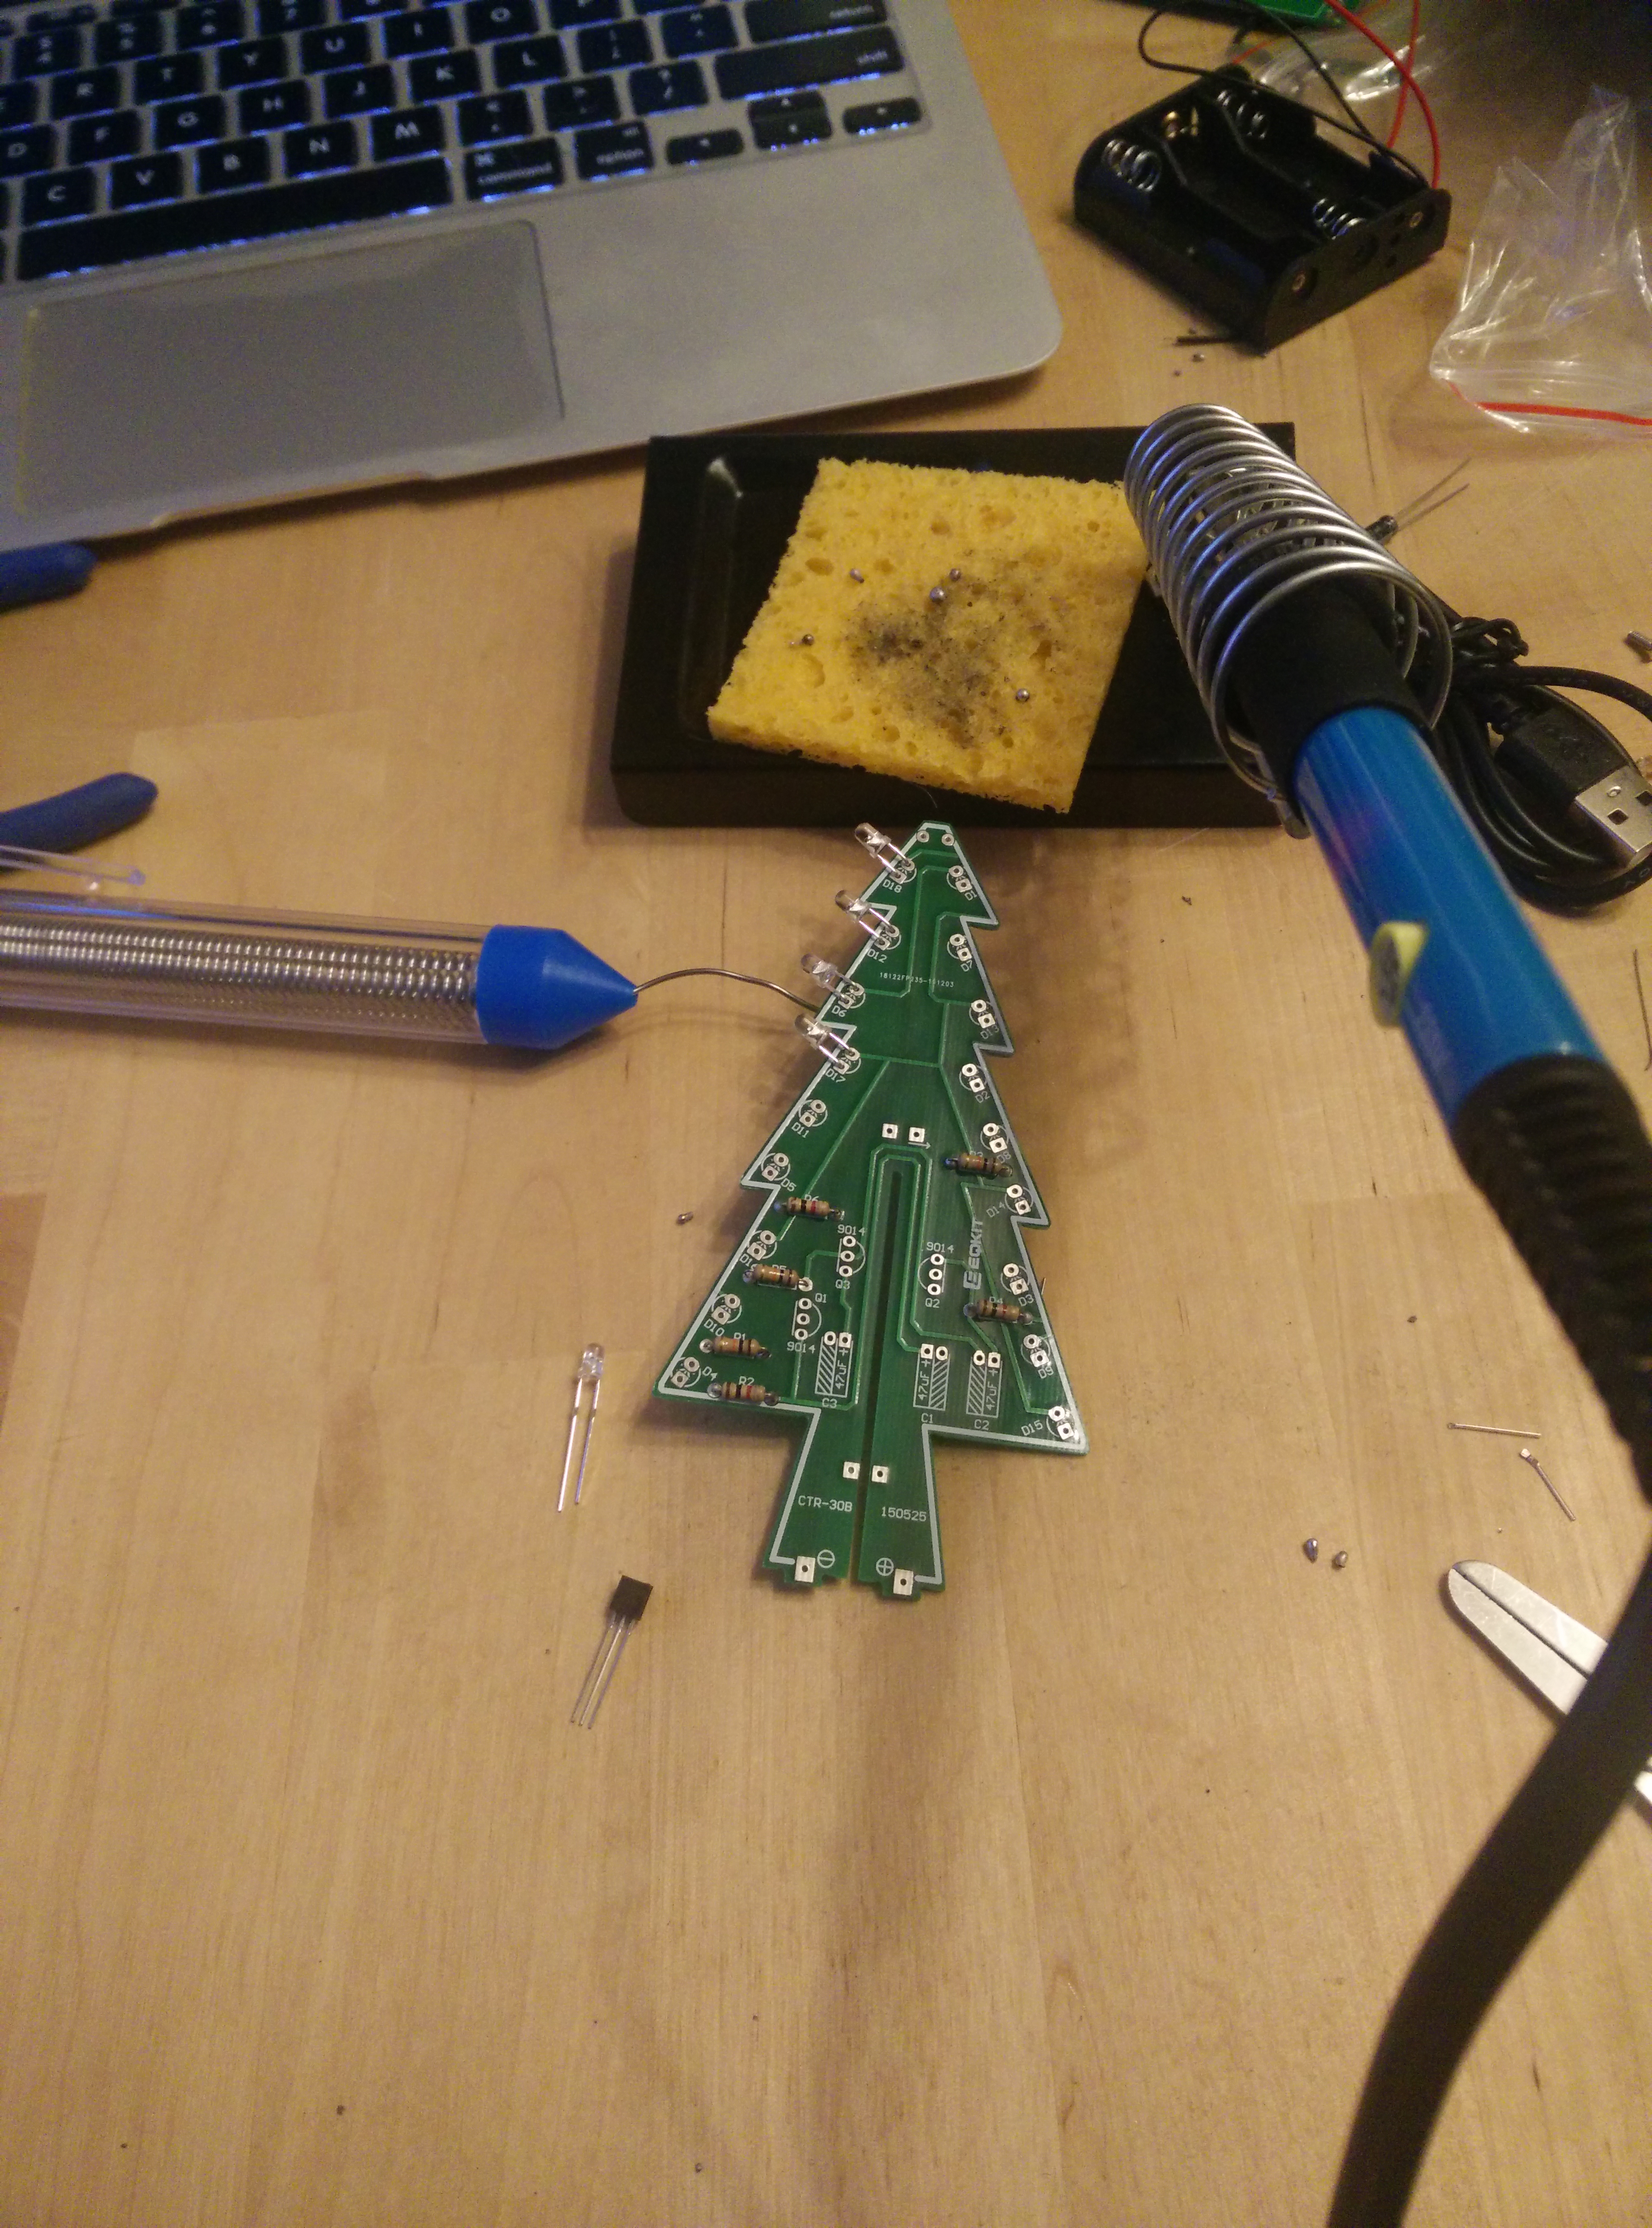
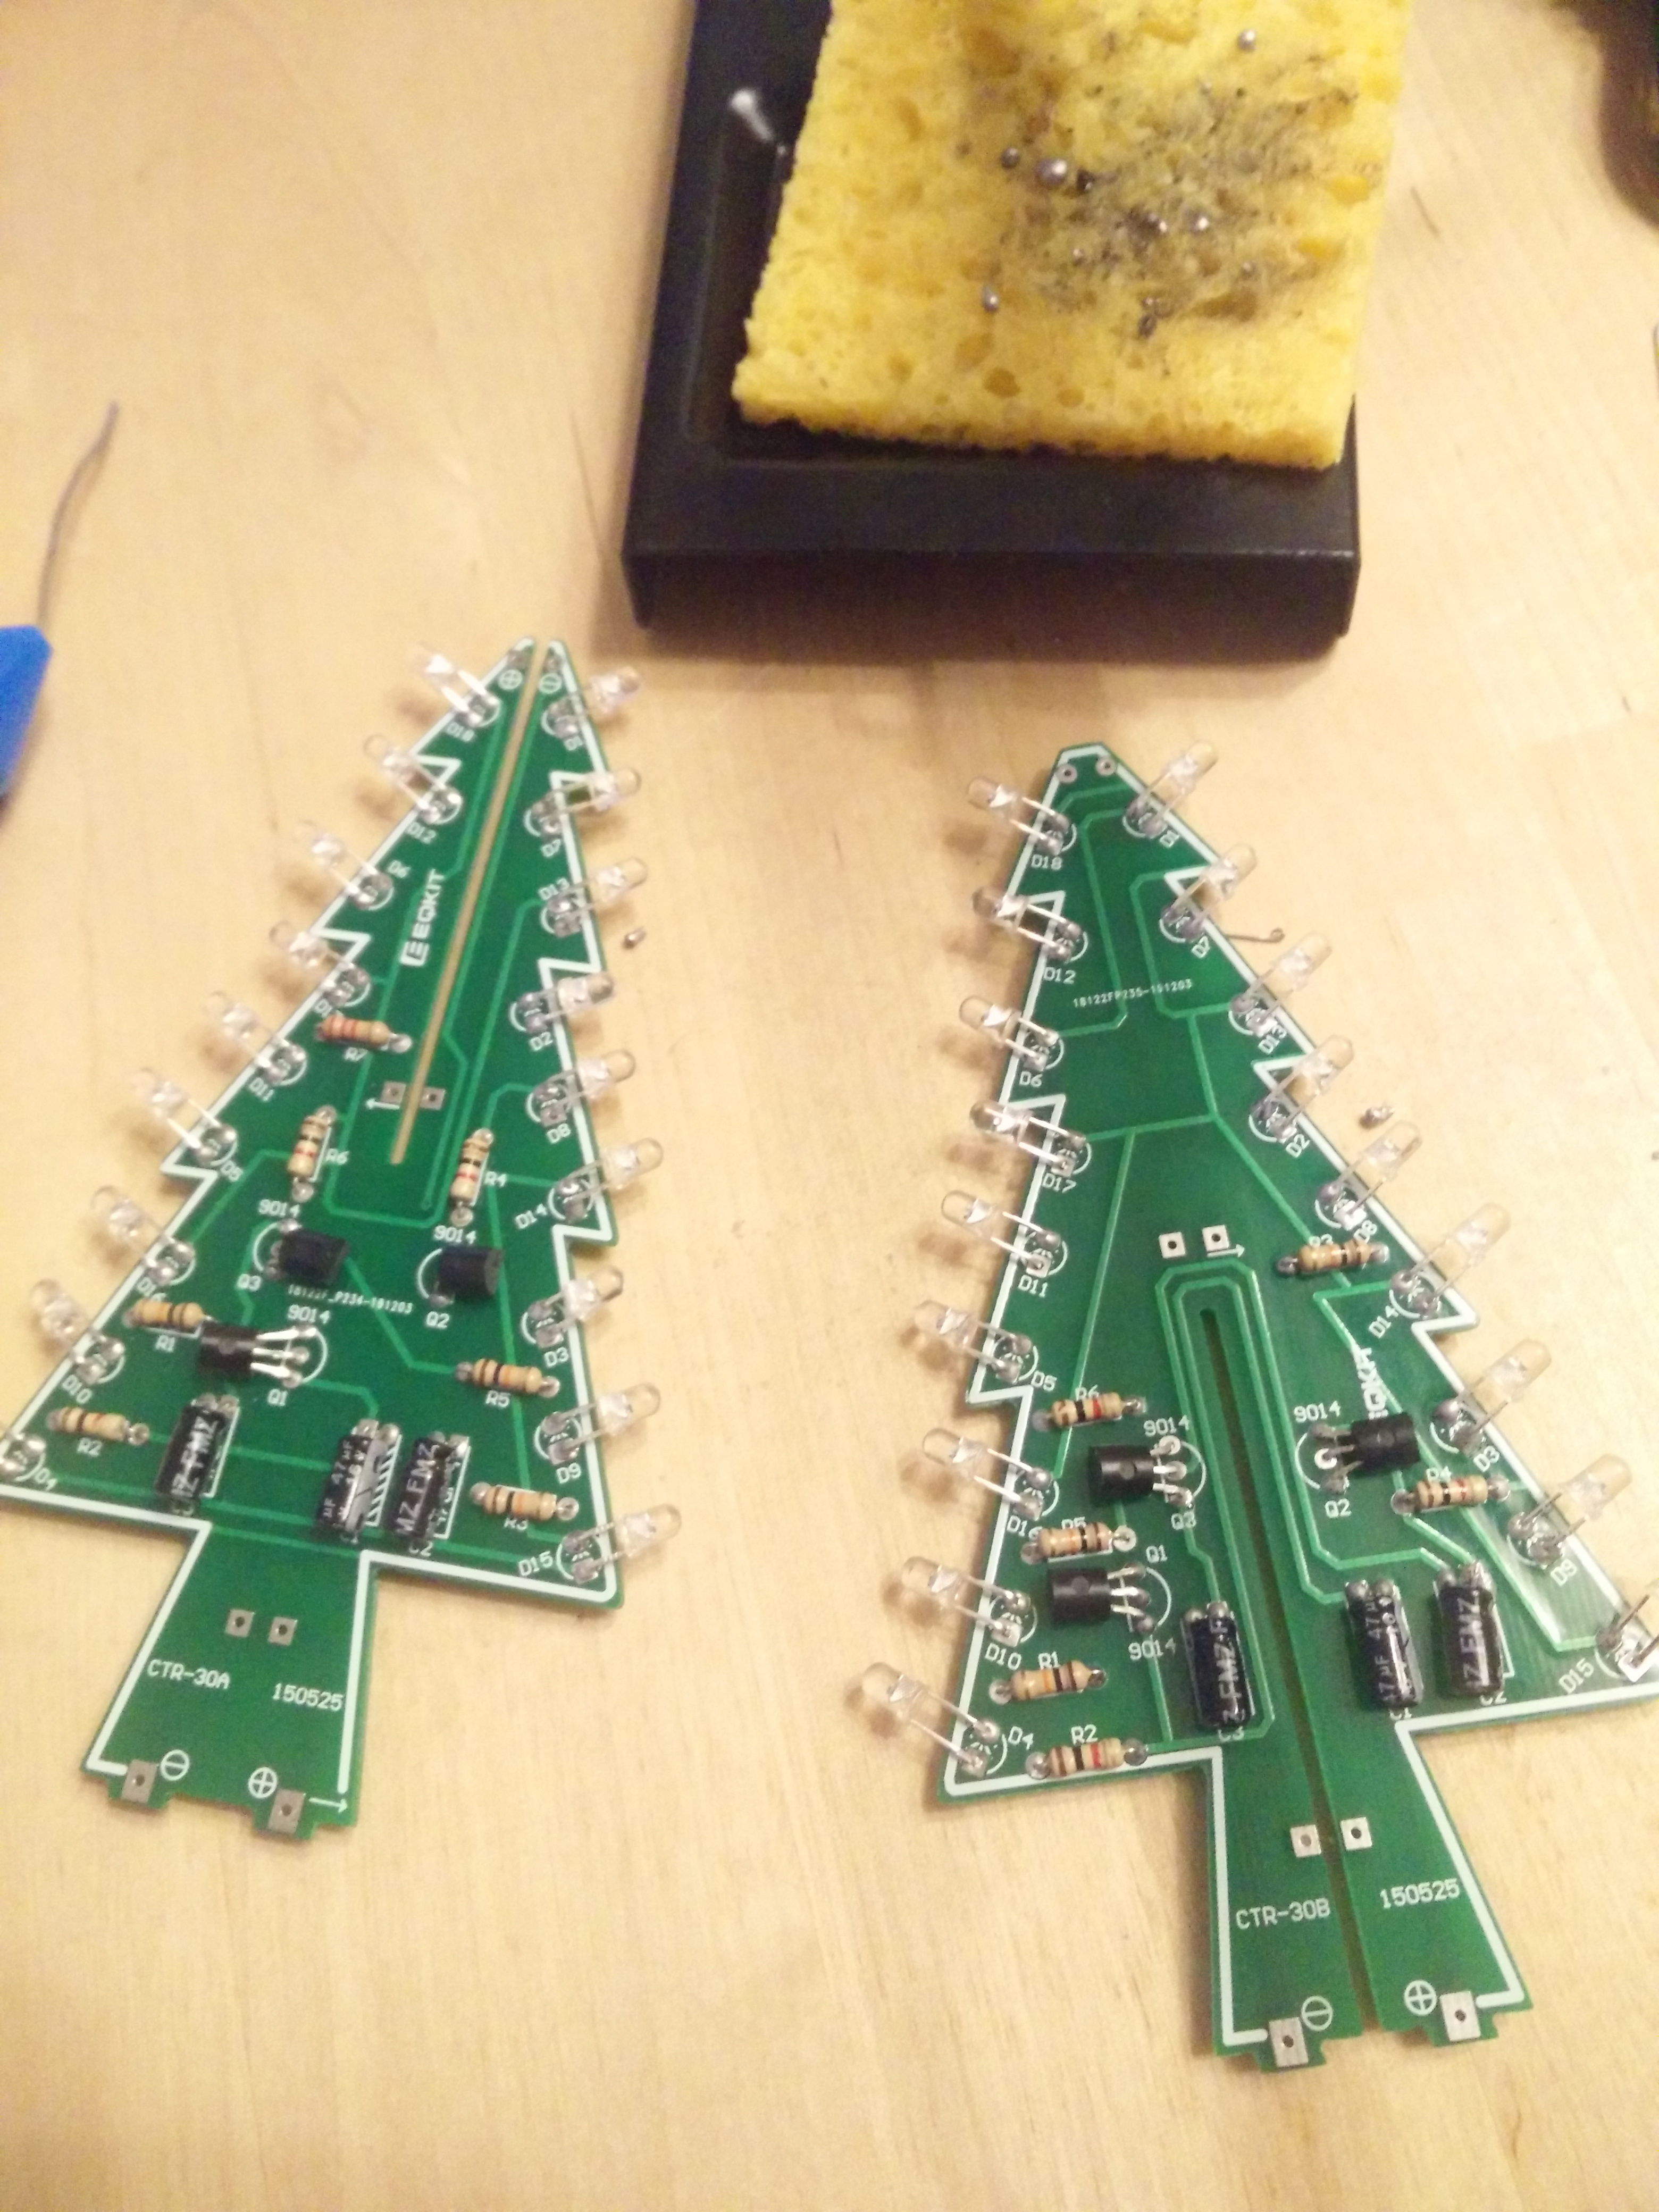
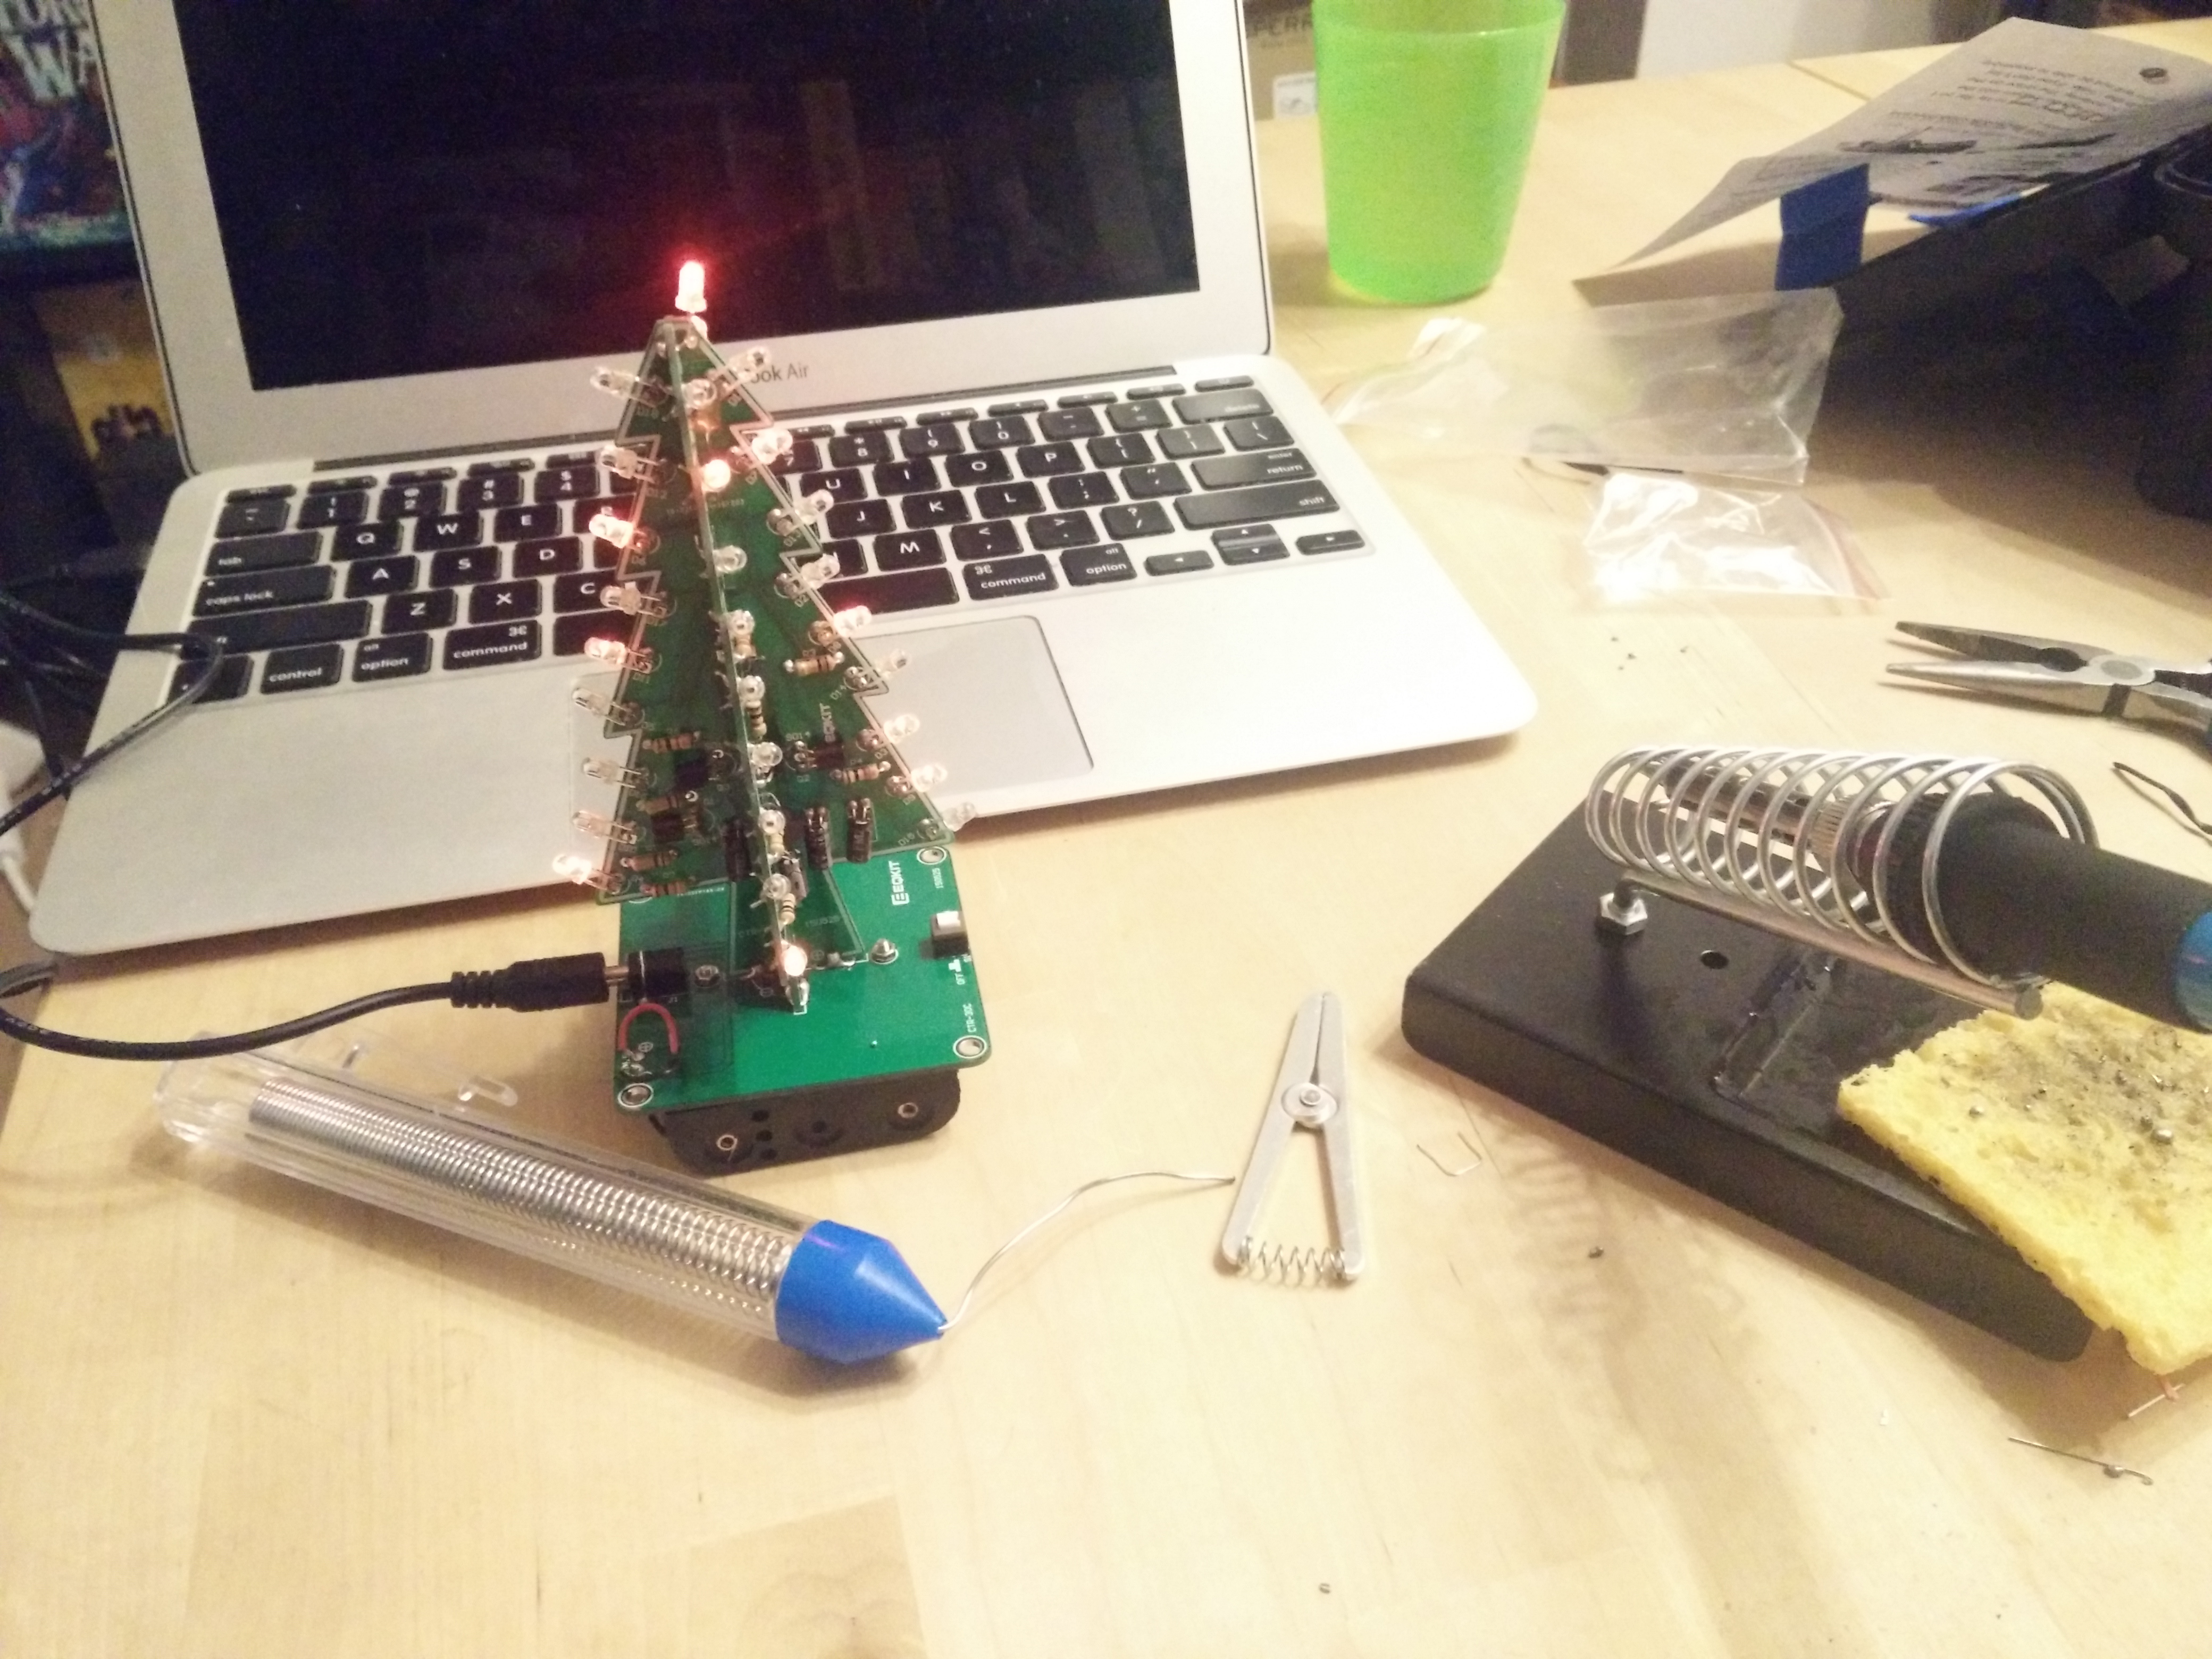
I recommend it for practicing through-the-hole soldering techniques.
Now to the C64 itself.
I bought recap and heatsink kits of retroleum.co.uk which is basically a little ziplock of capacitors and heatsinks.
We open the console, disconnect the keyboard and power LED cabling to expose the motherboard shielding:
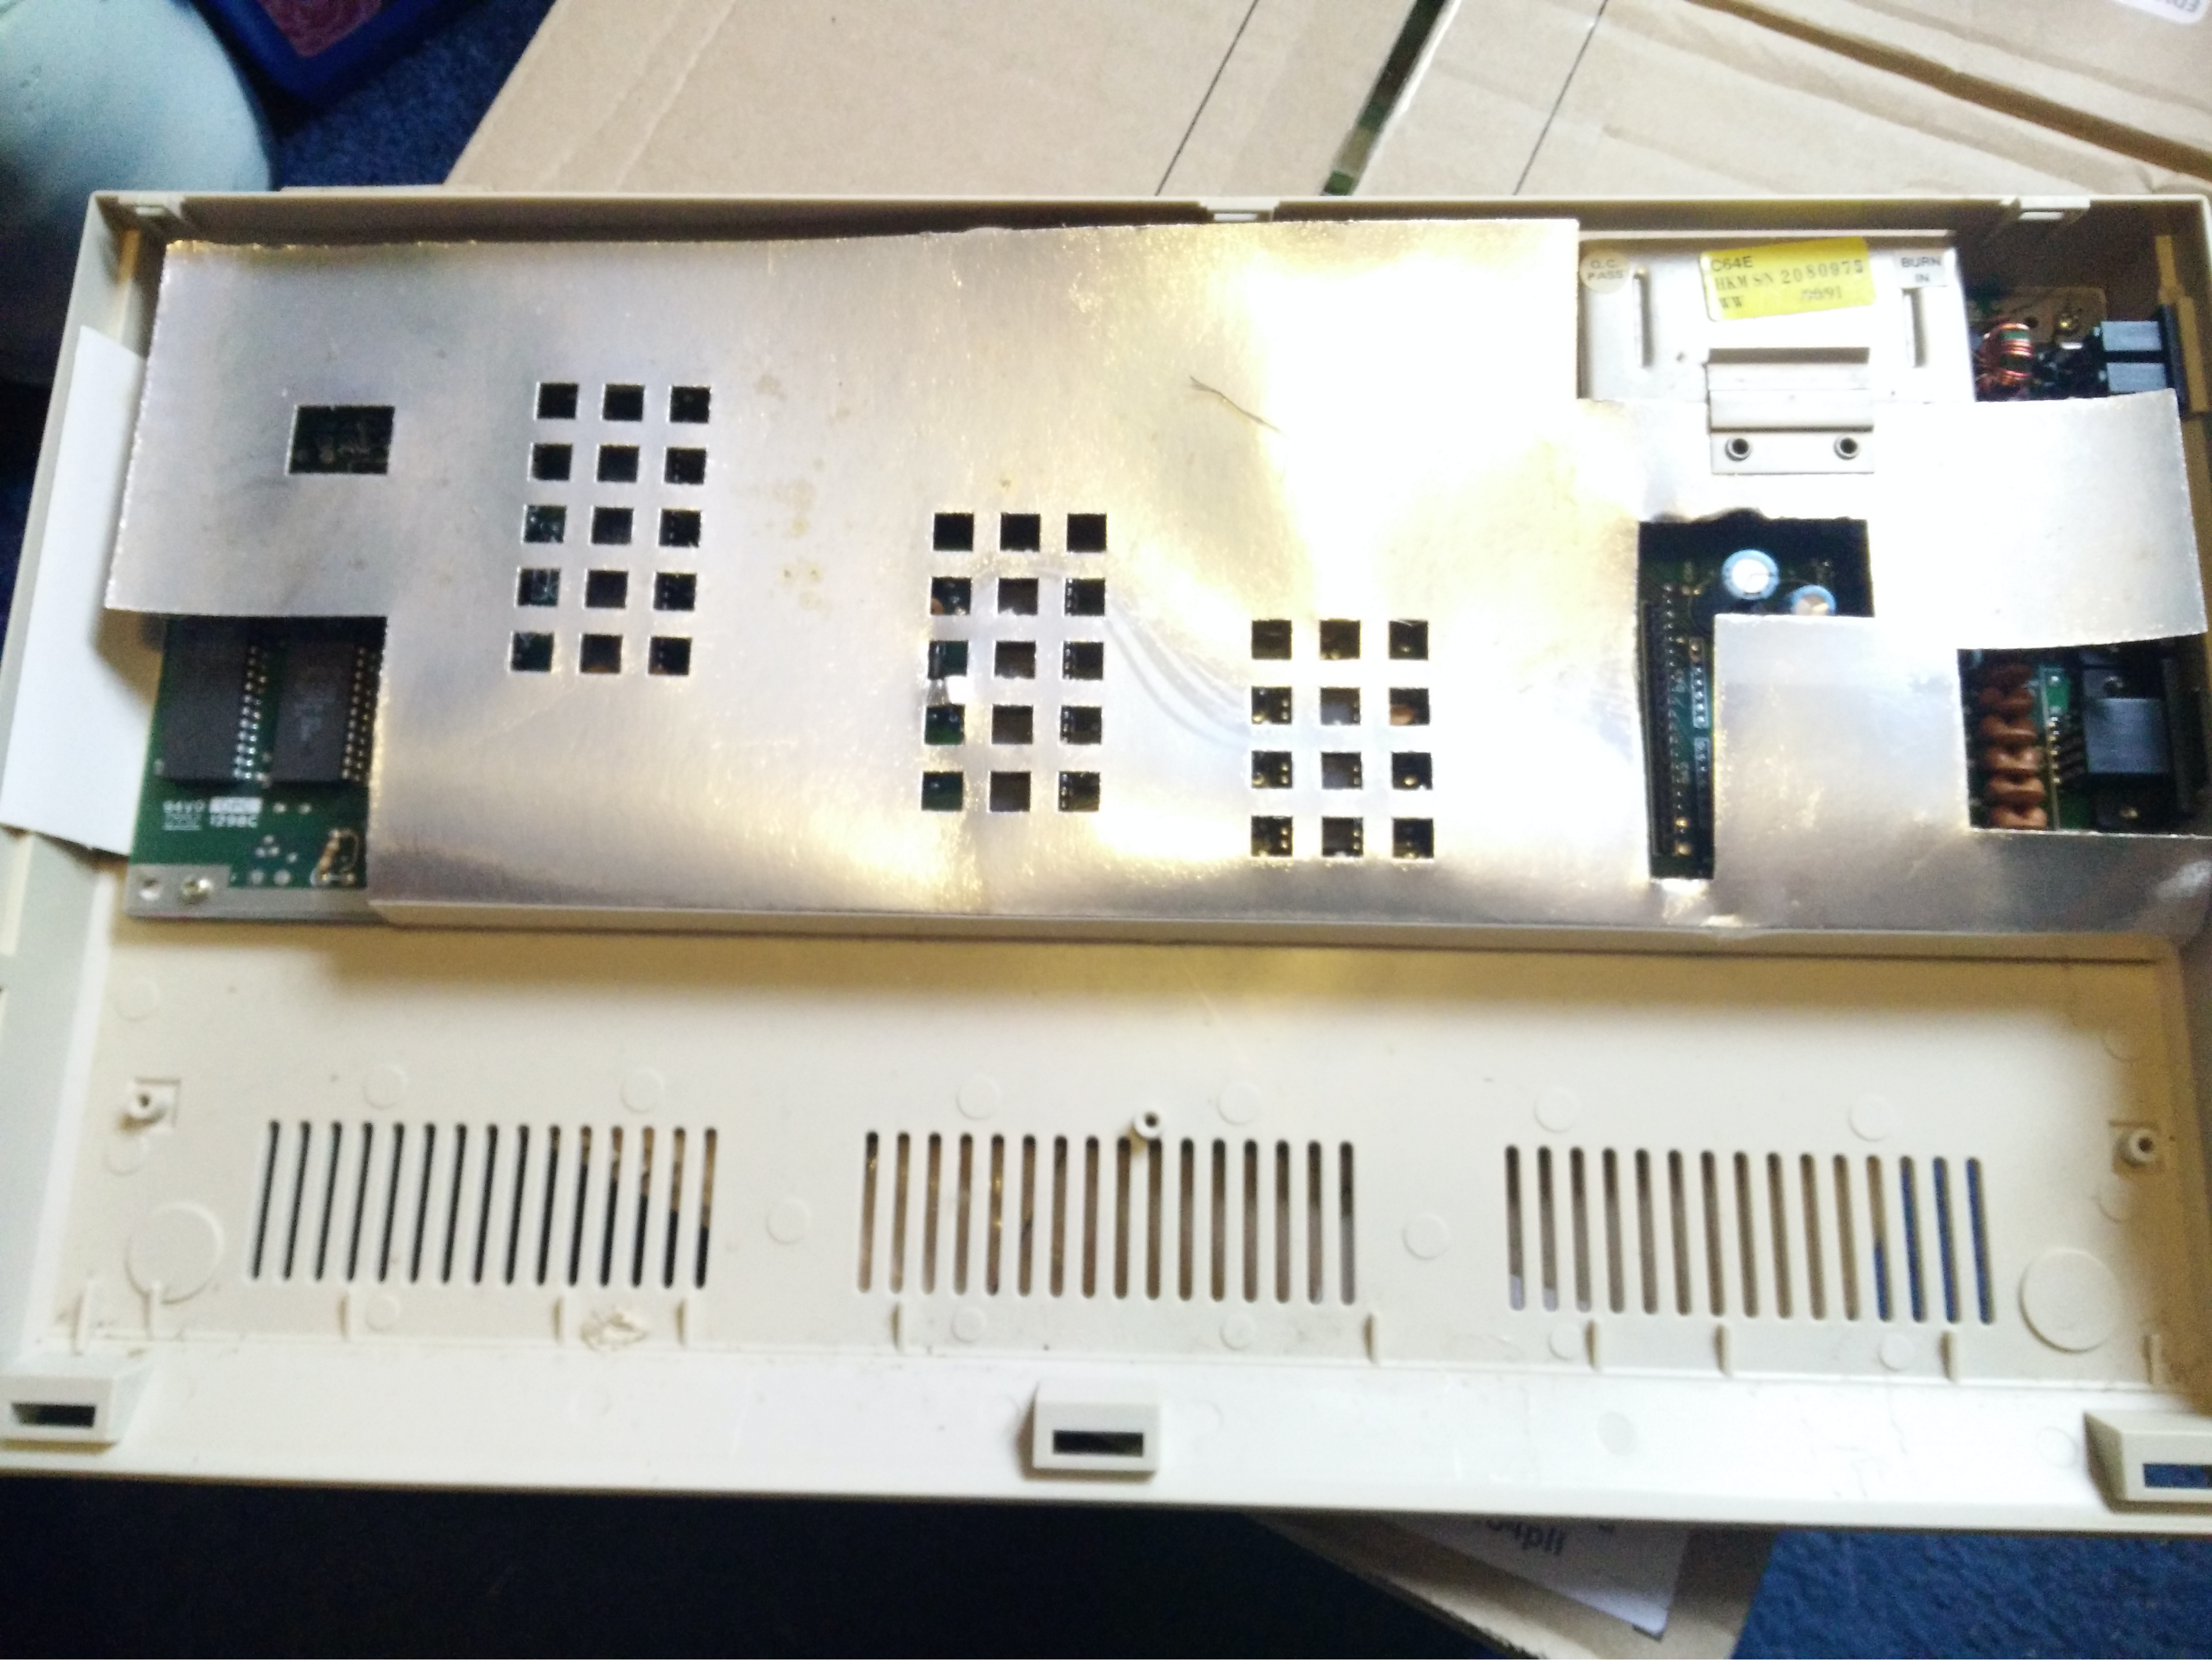
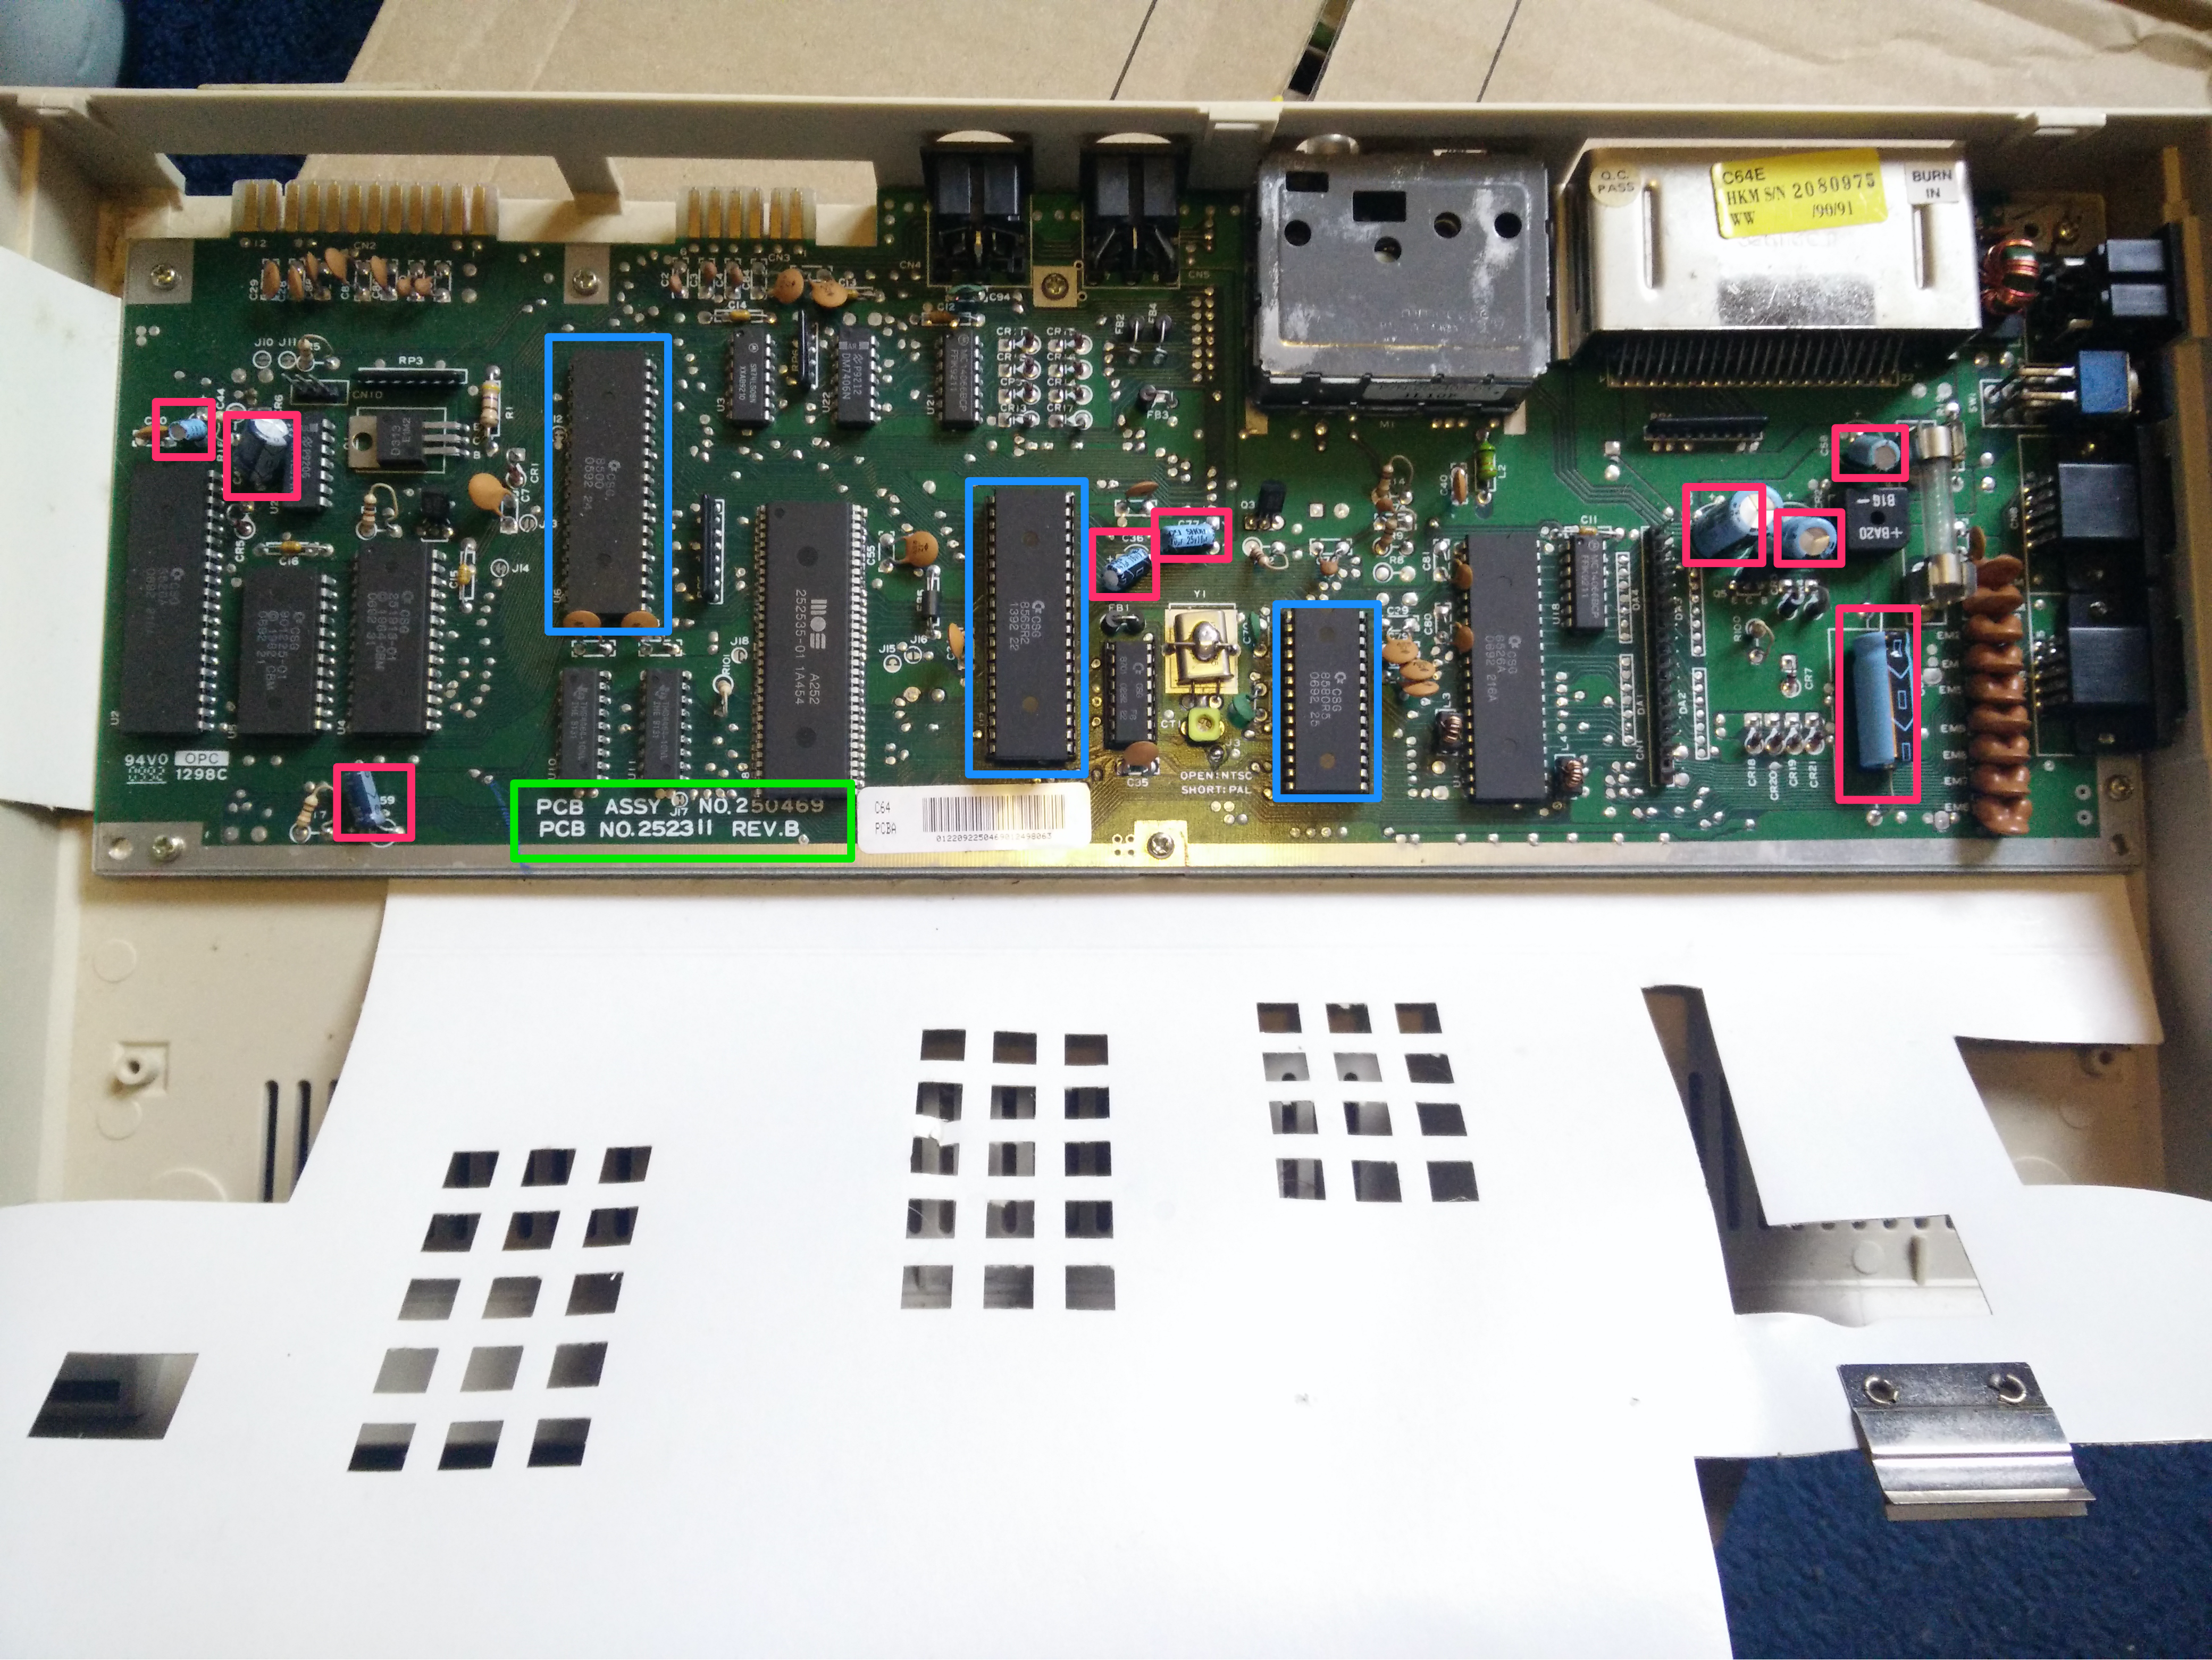
We can easily unclip this to peel it back and get a view of the motherboard itself. The area highlighted in green is our “ASSY NO”, which tells us which capacitors to order for the recapping.
The capacitors to replace for this revision of the board are highlighted in pink (As you can see, we’re only replacing the electrolytic capacitors, leaving the more stable ceramic ones in situ)
The areas in blue will be the more hardworking chips we’re going to heatsink.
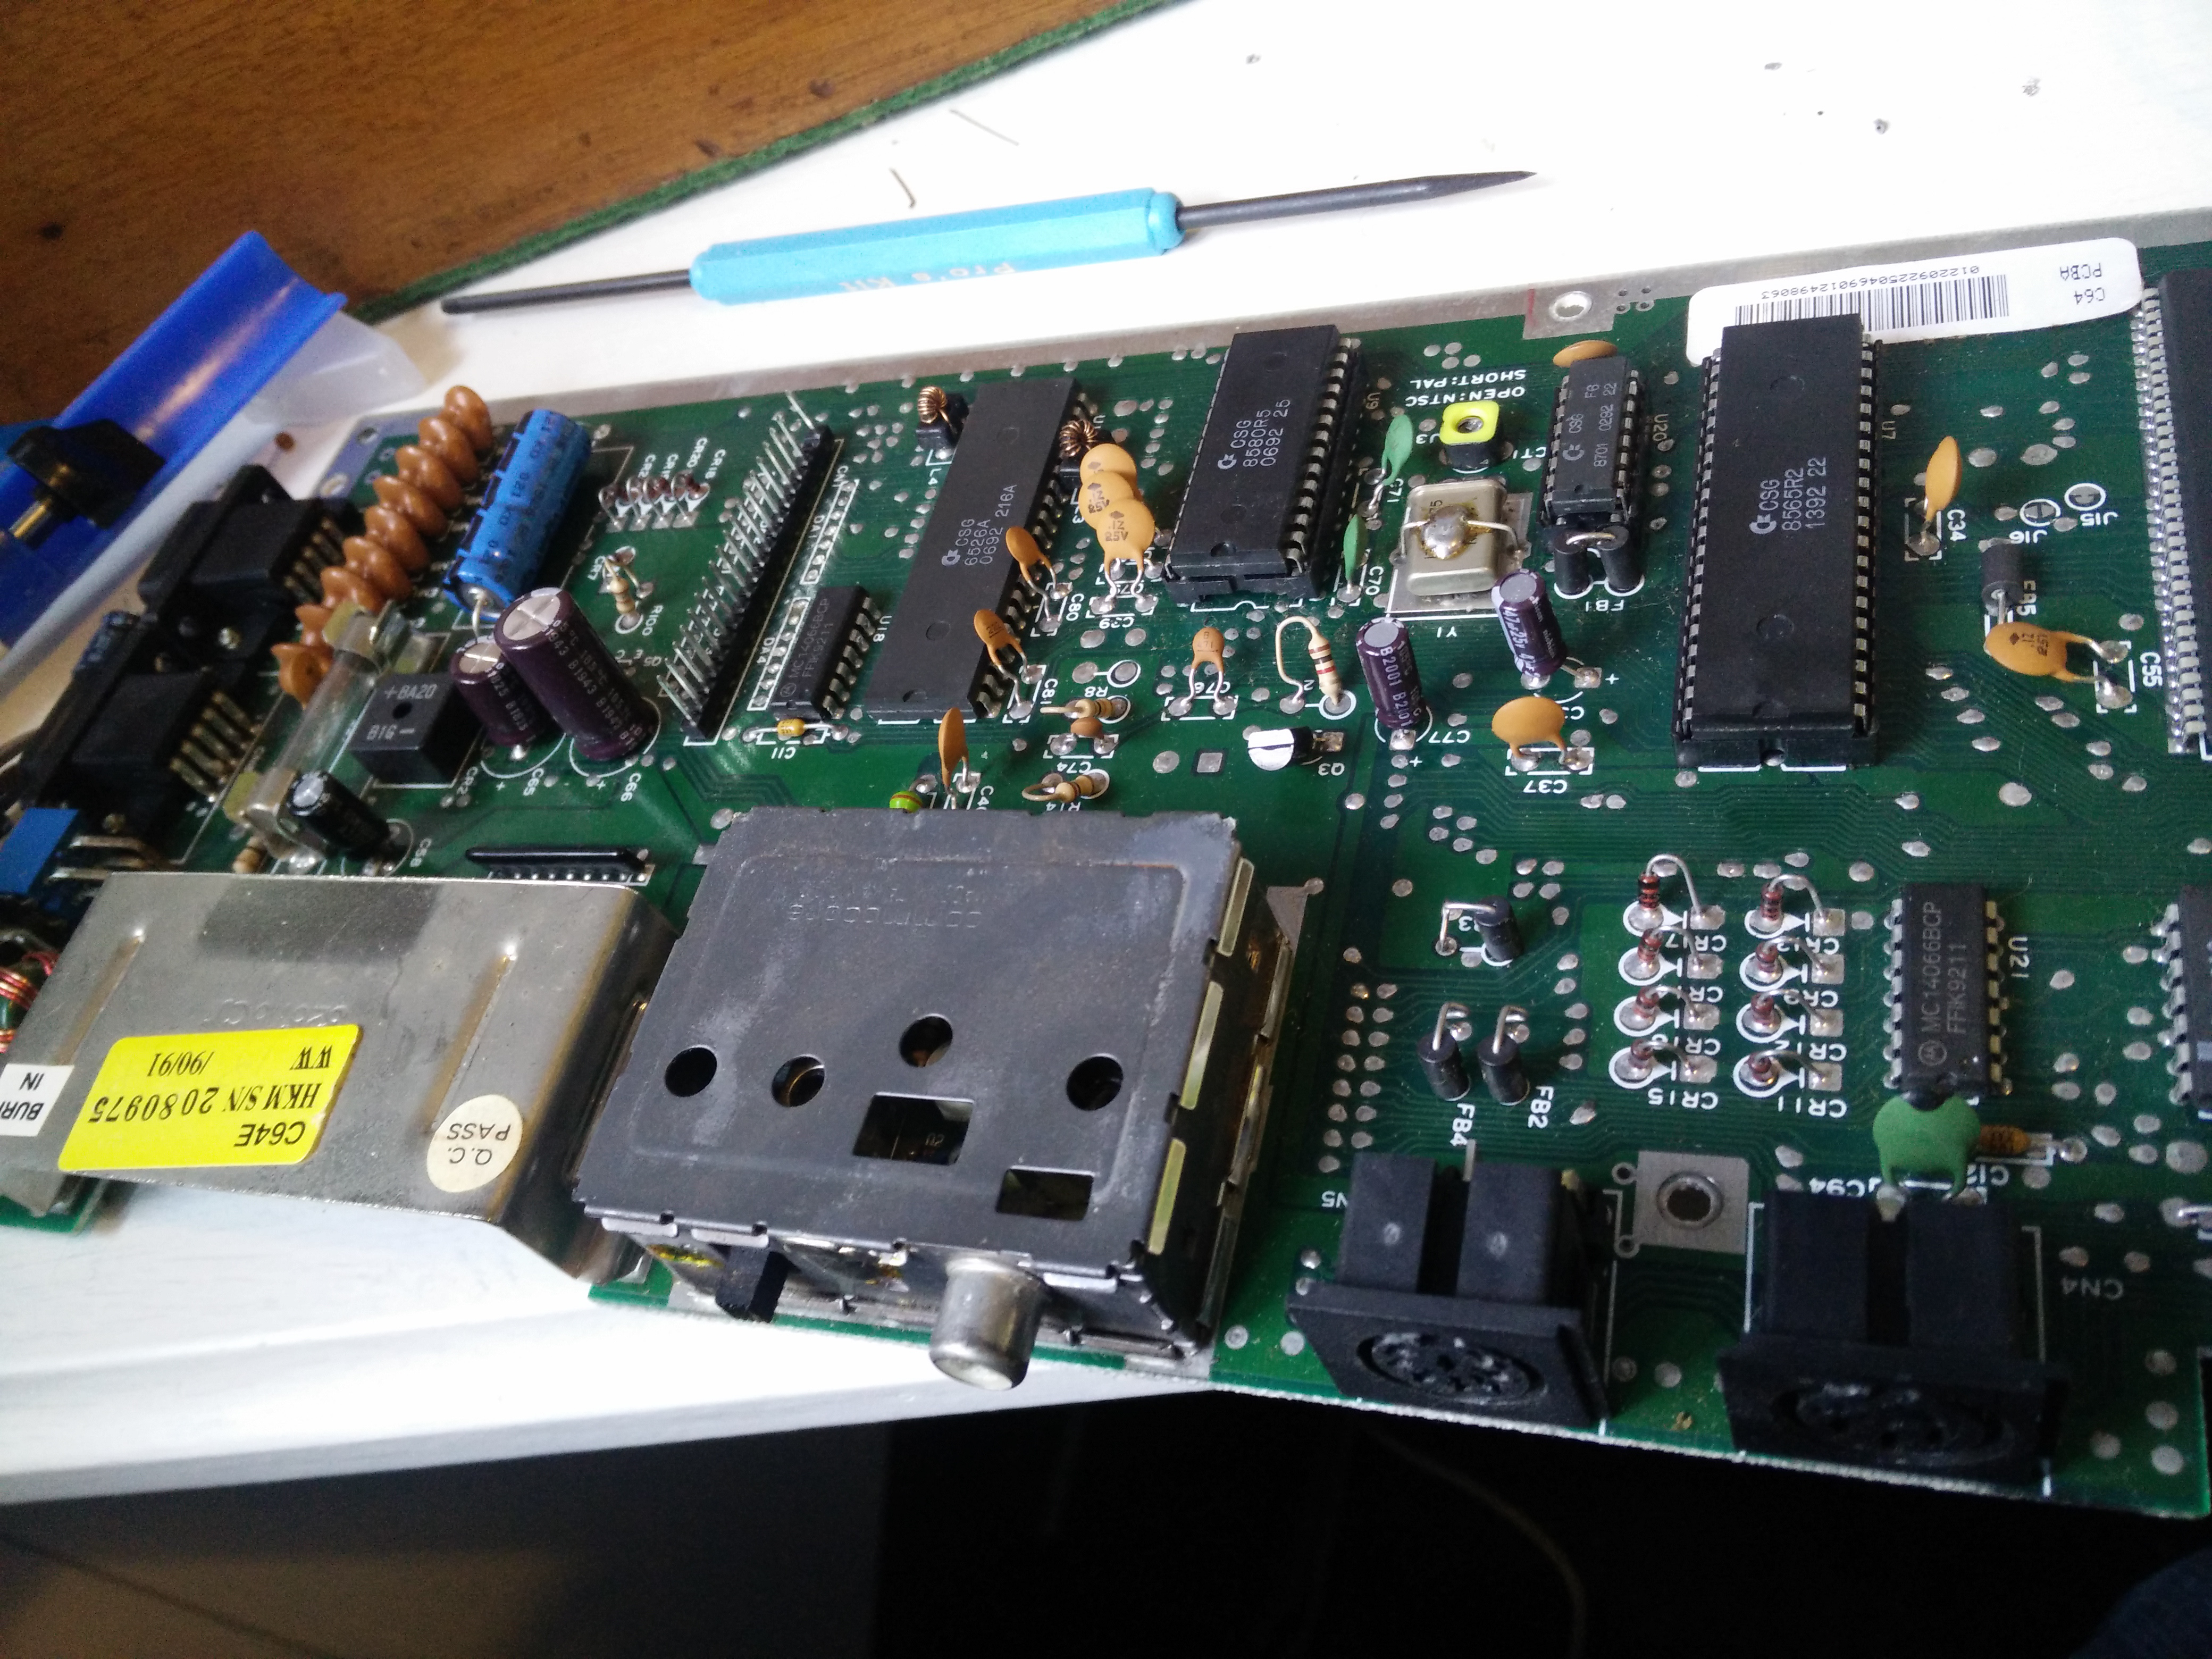
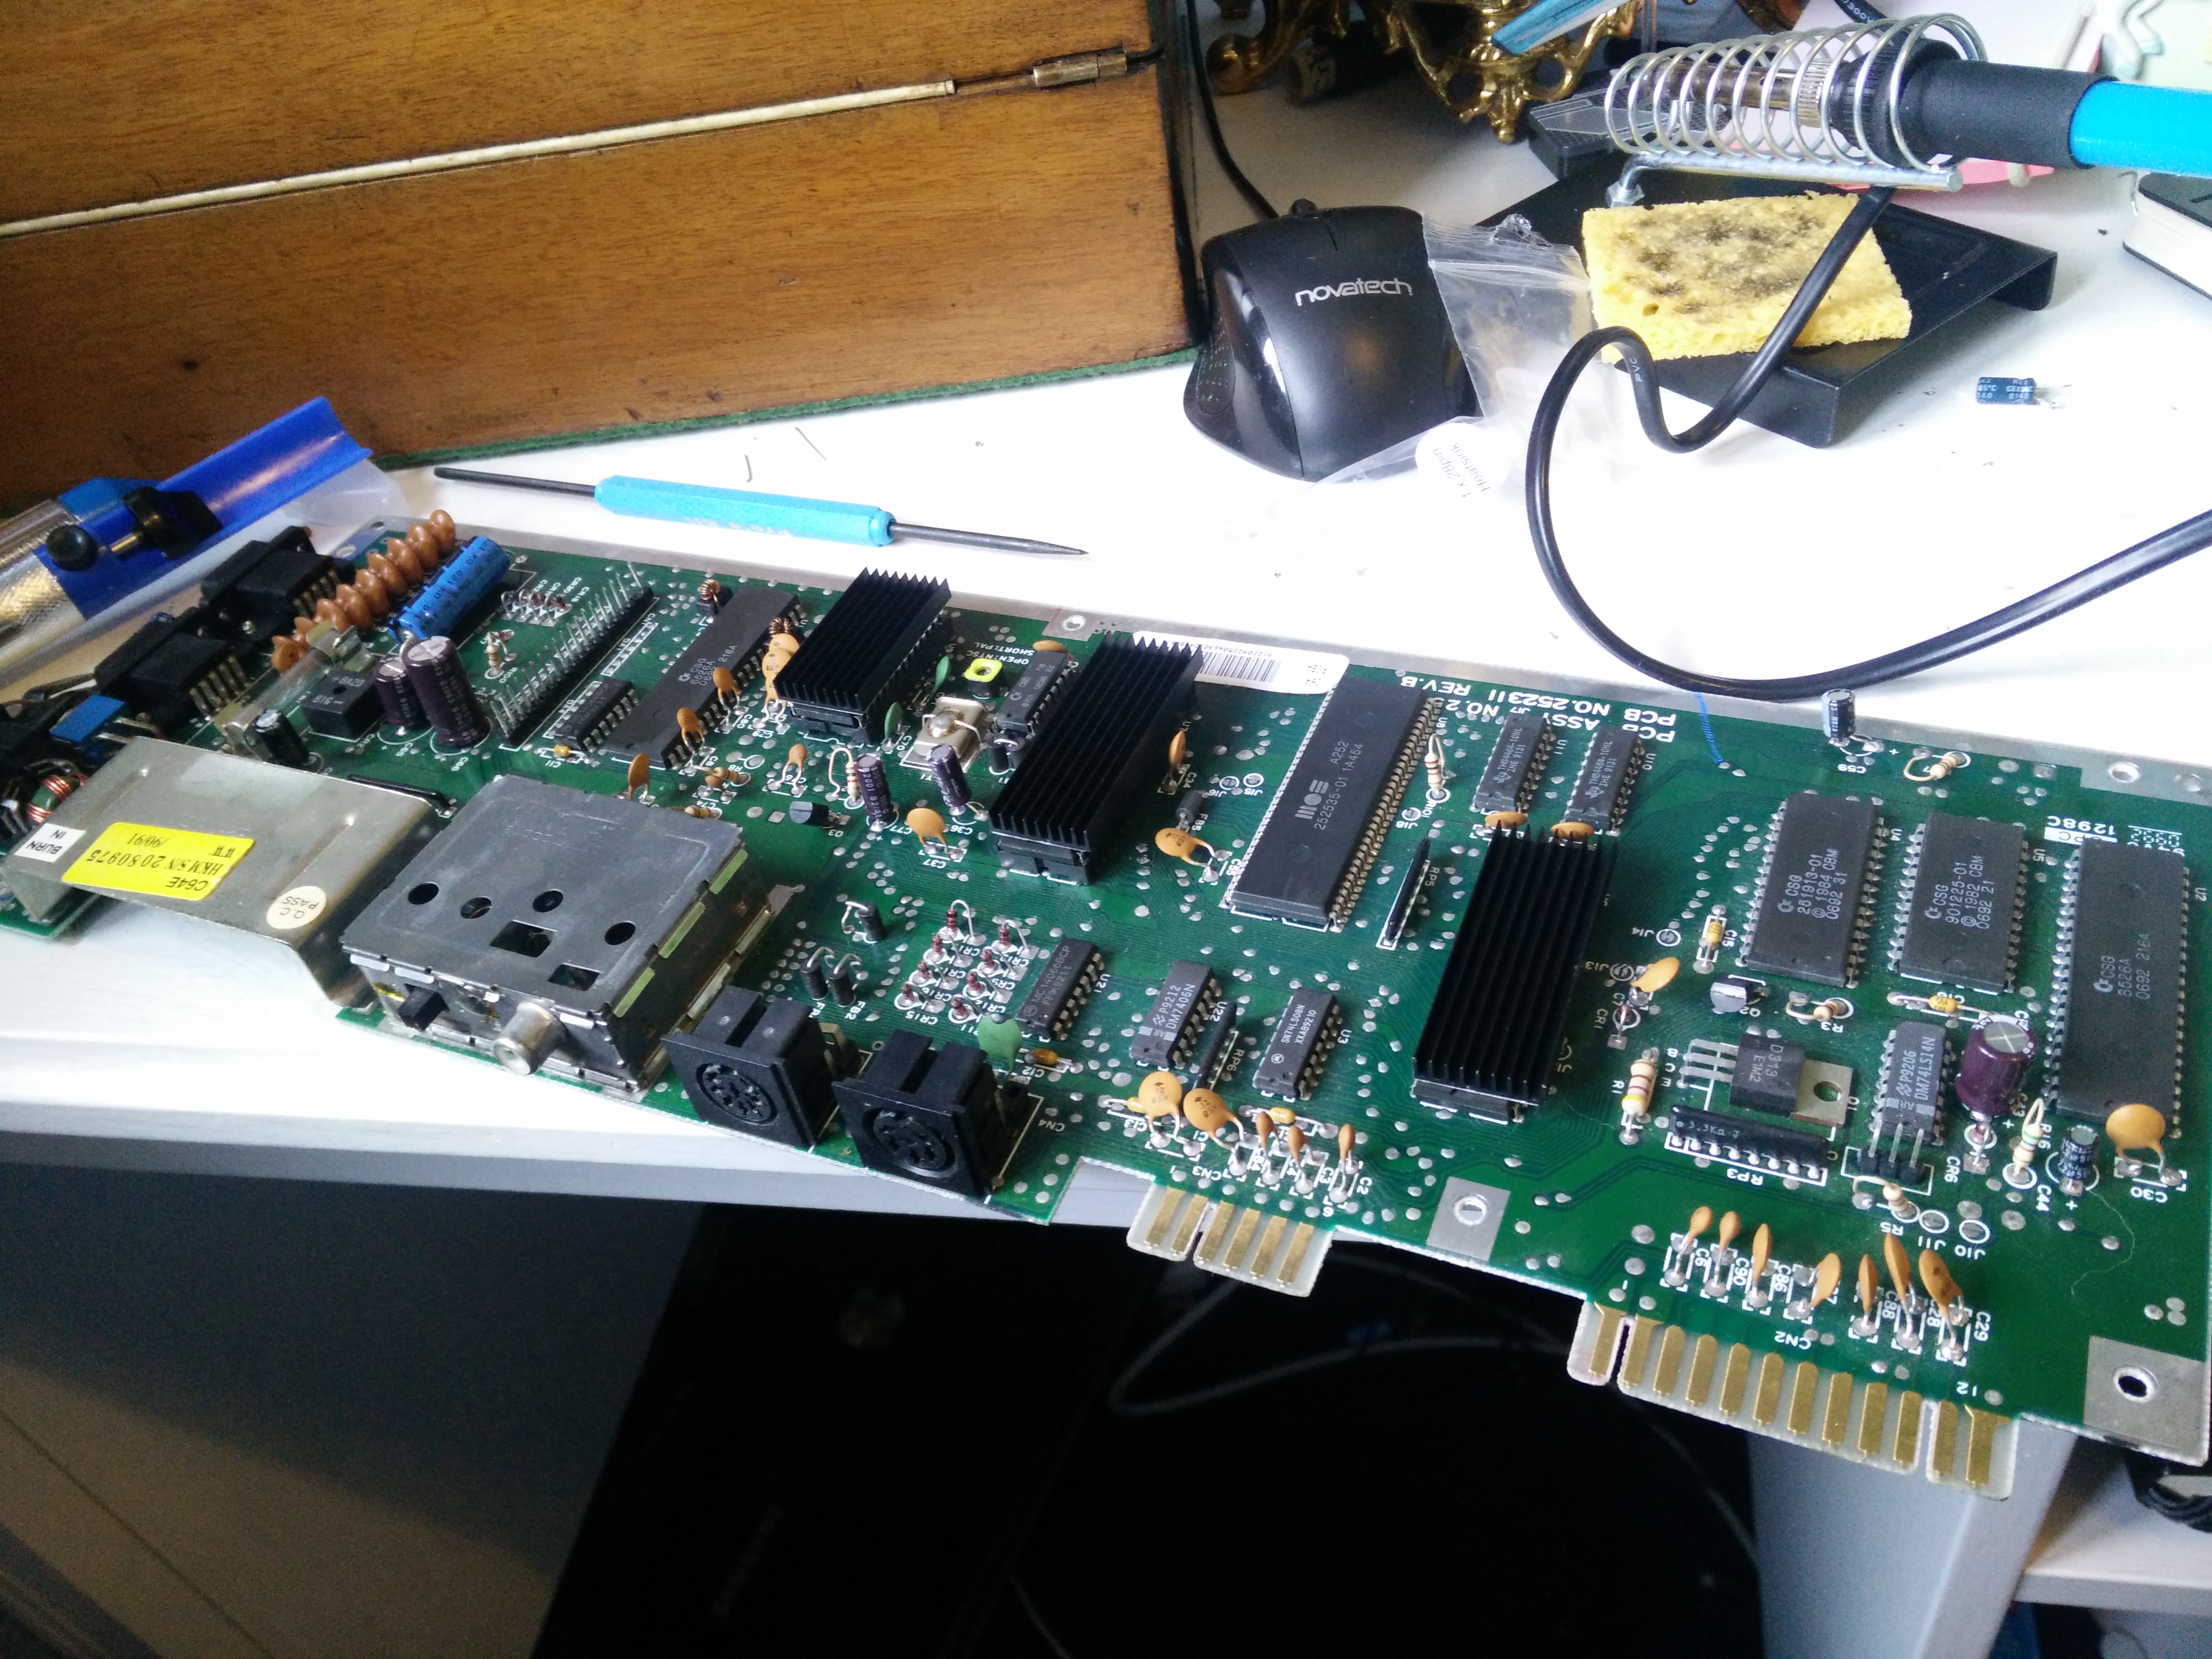
After removing the motherboard from the lower part of the console casing, here’s a closer look from another angle:
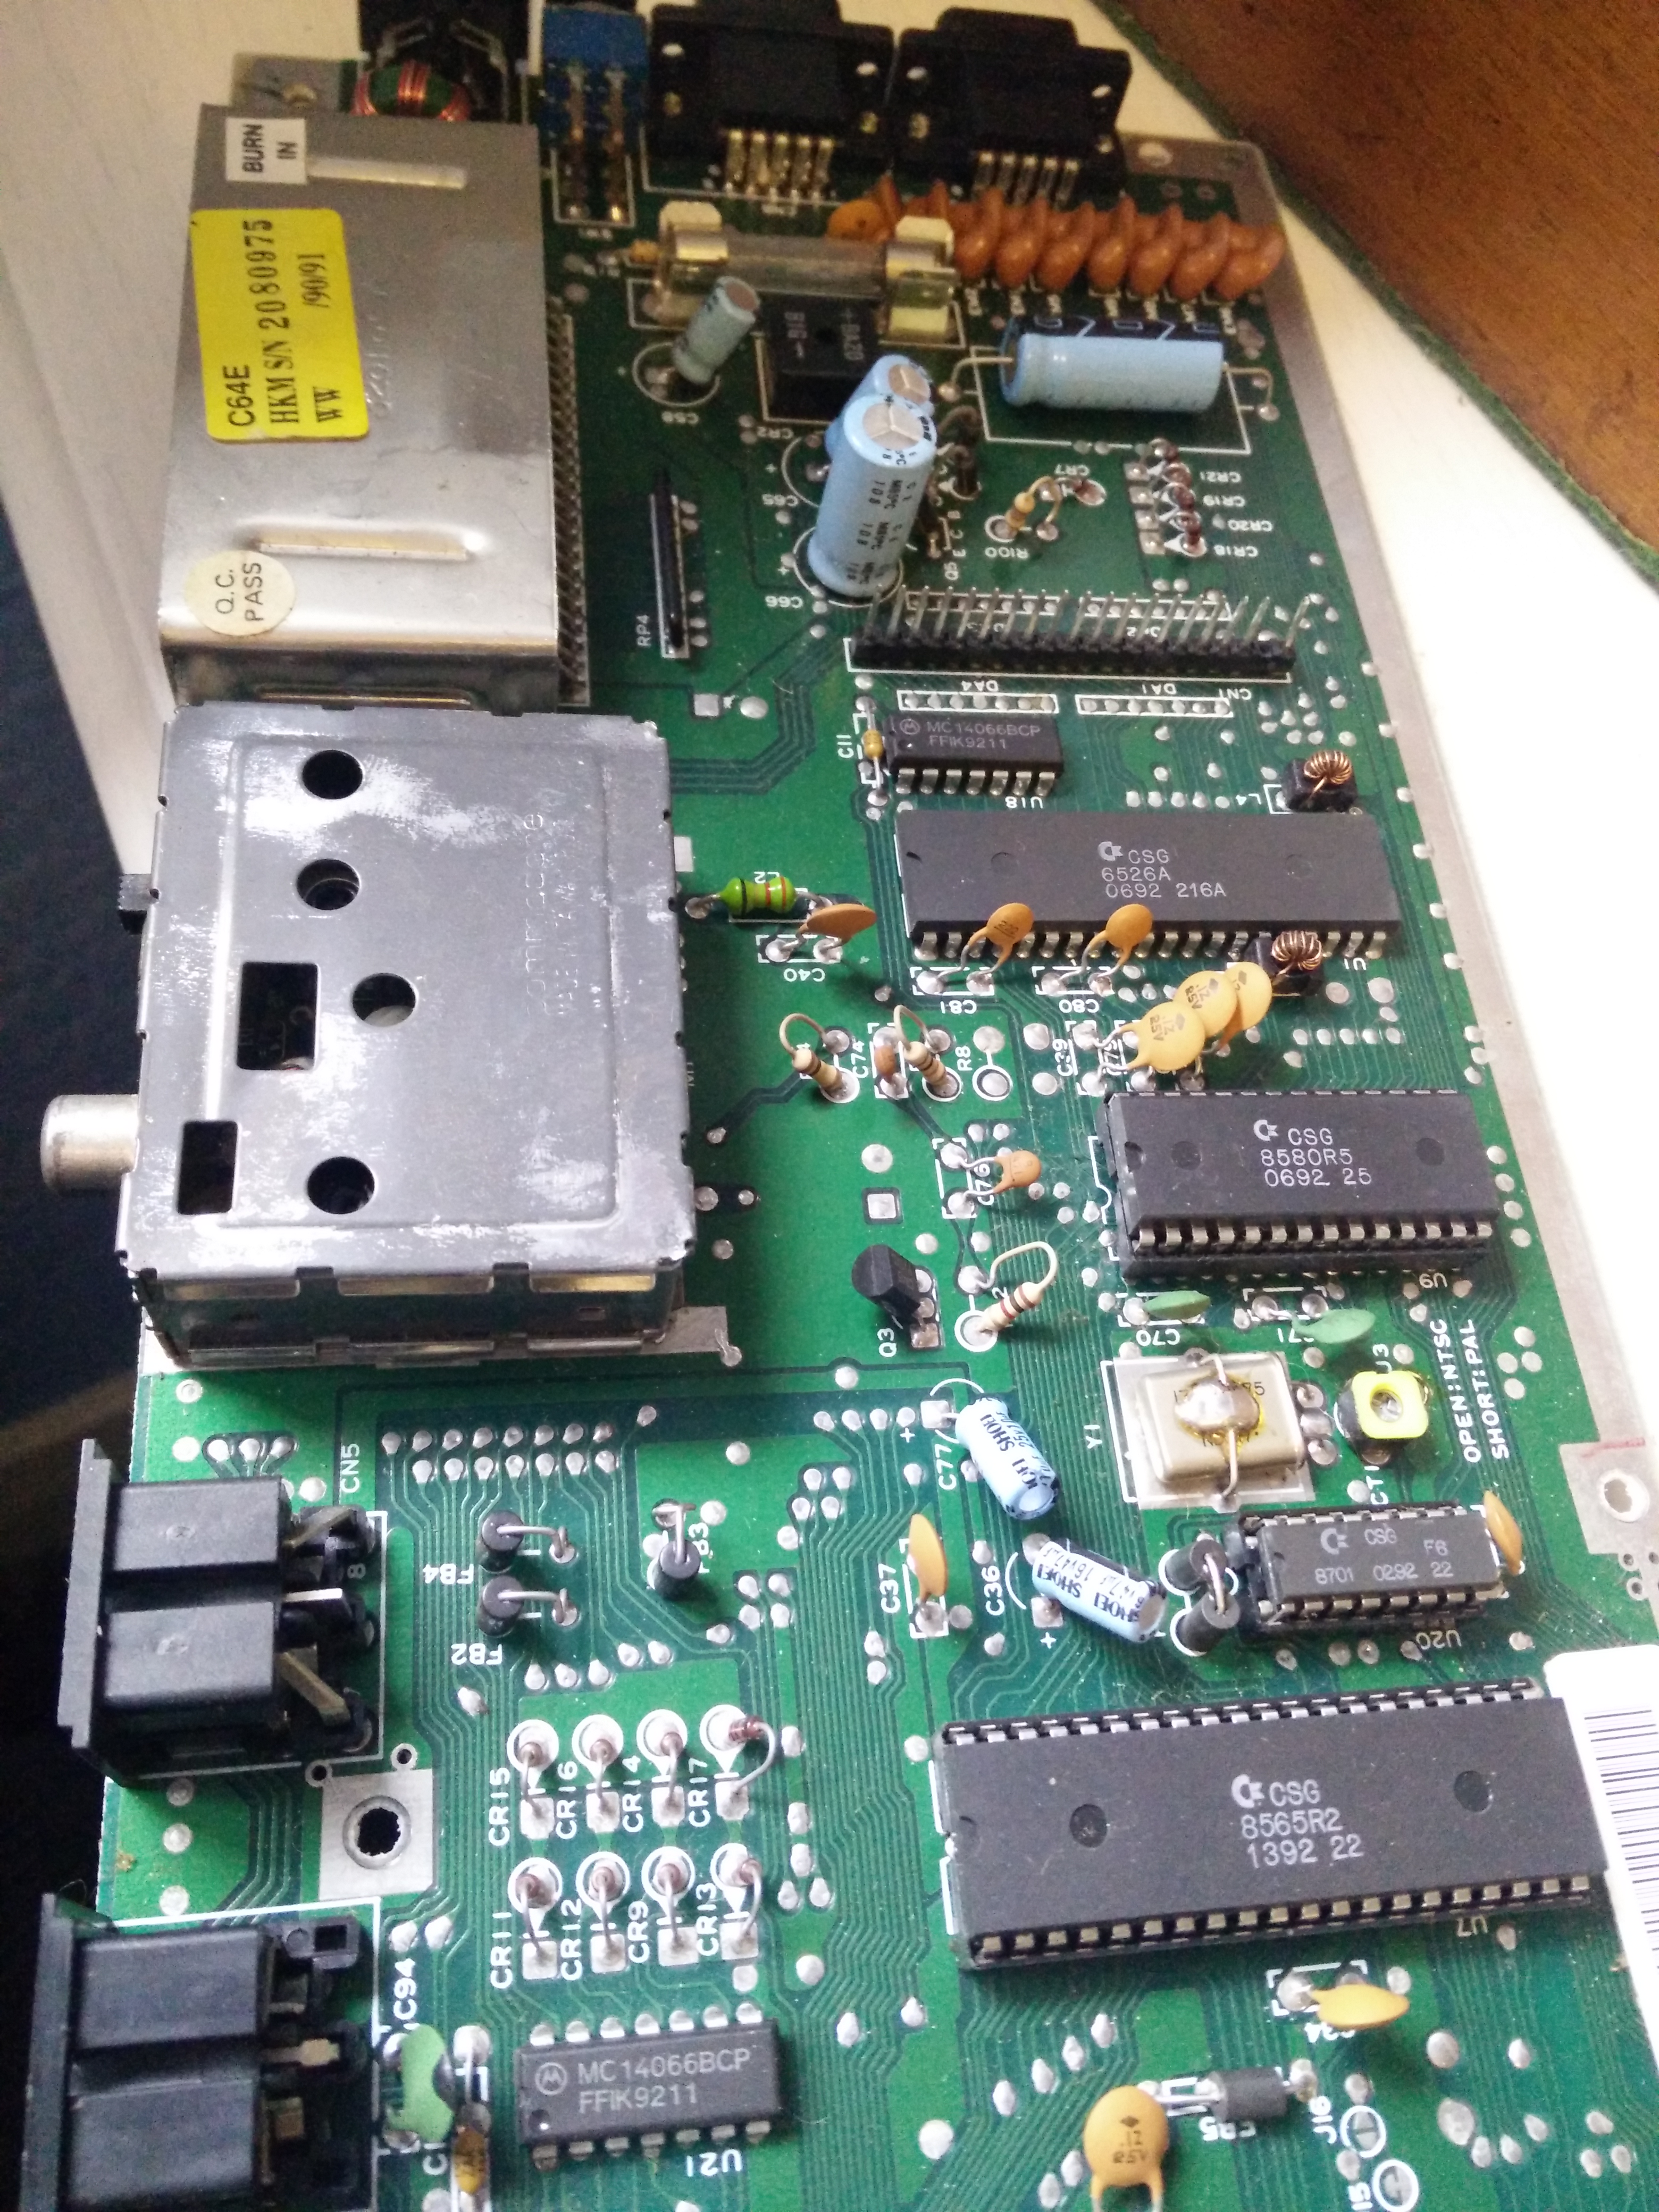
Other tutorials exist for soldering so I won’t dwell overlong on that, except to say that since these are exclusively through-the-hole components it’s probably the perfect next step after a practice board (My next project will probably be either an Amiga 600 or CD32, which feature increasing numbers of SMD components).
So here’s how the board looks with the new capacitors:
and after a clean with isoproyl alcohol and some heatsinks attached:
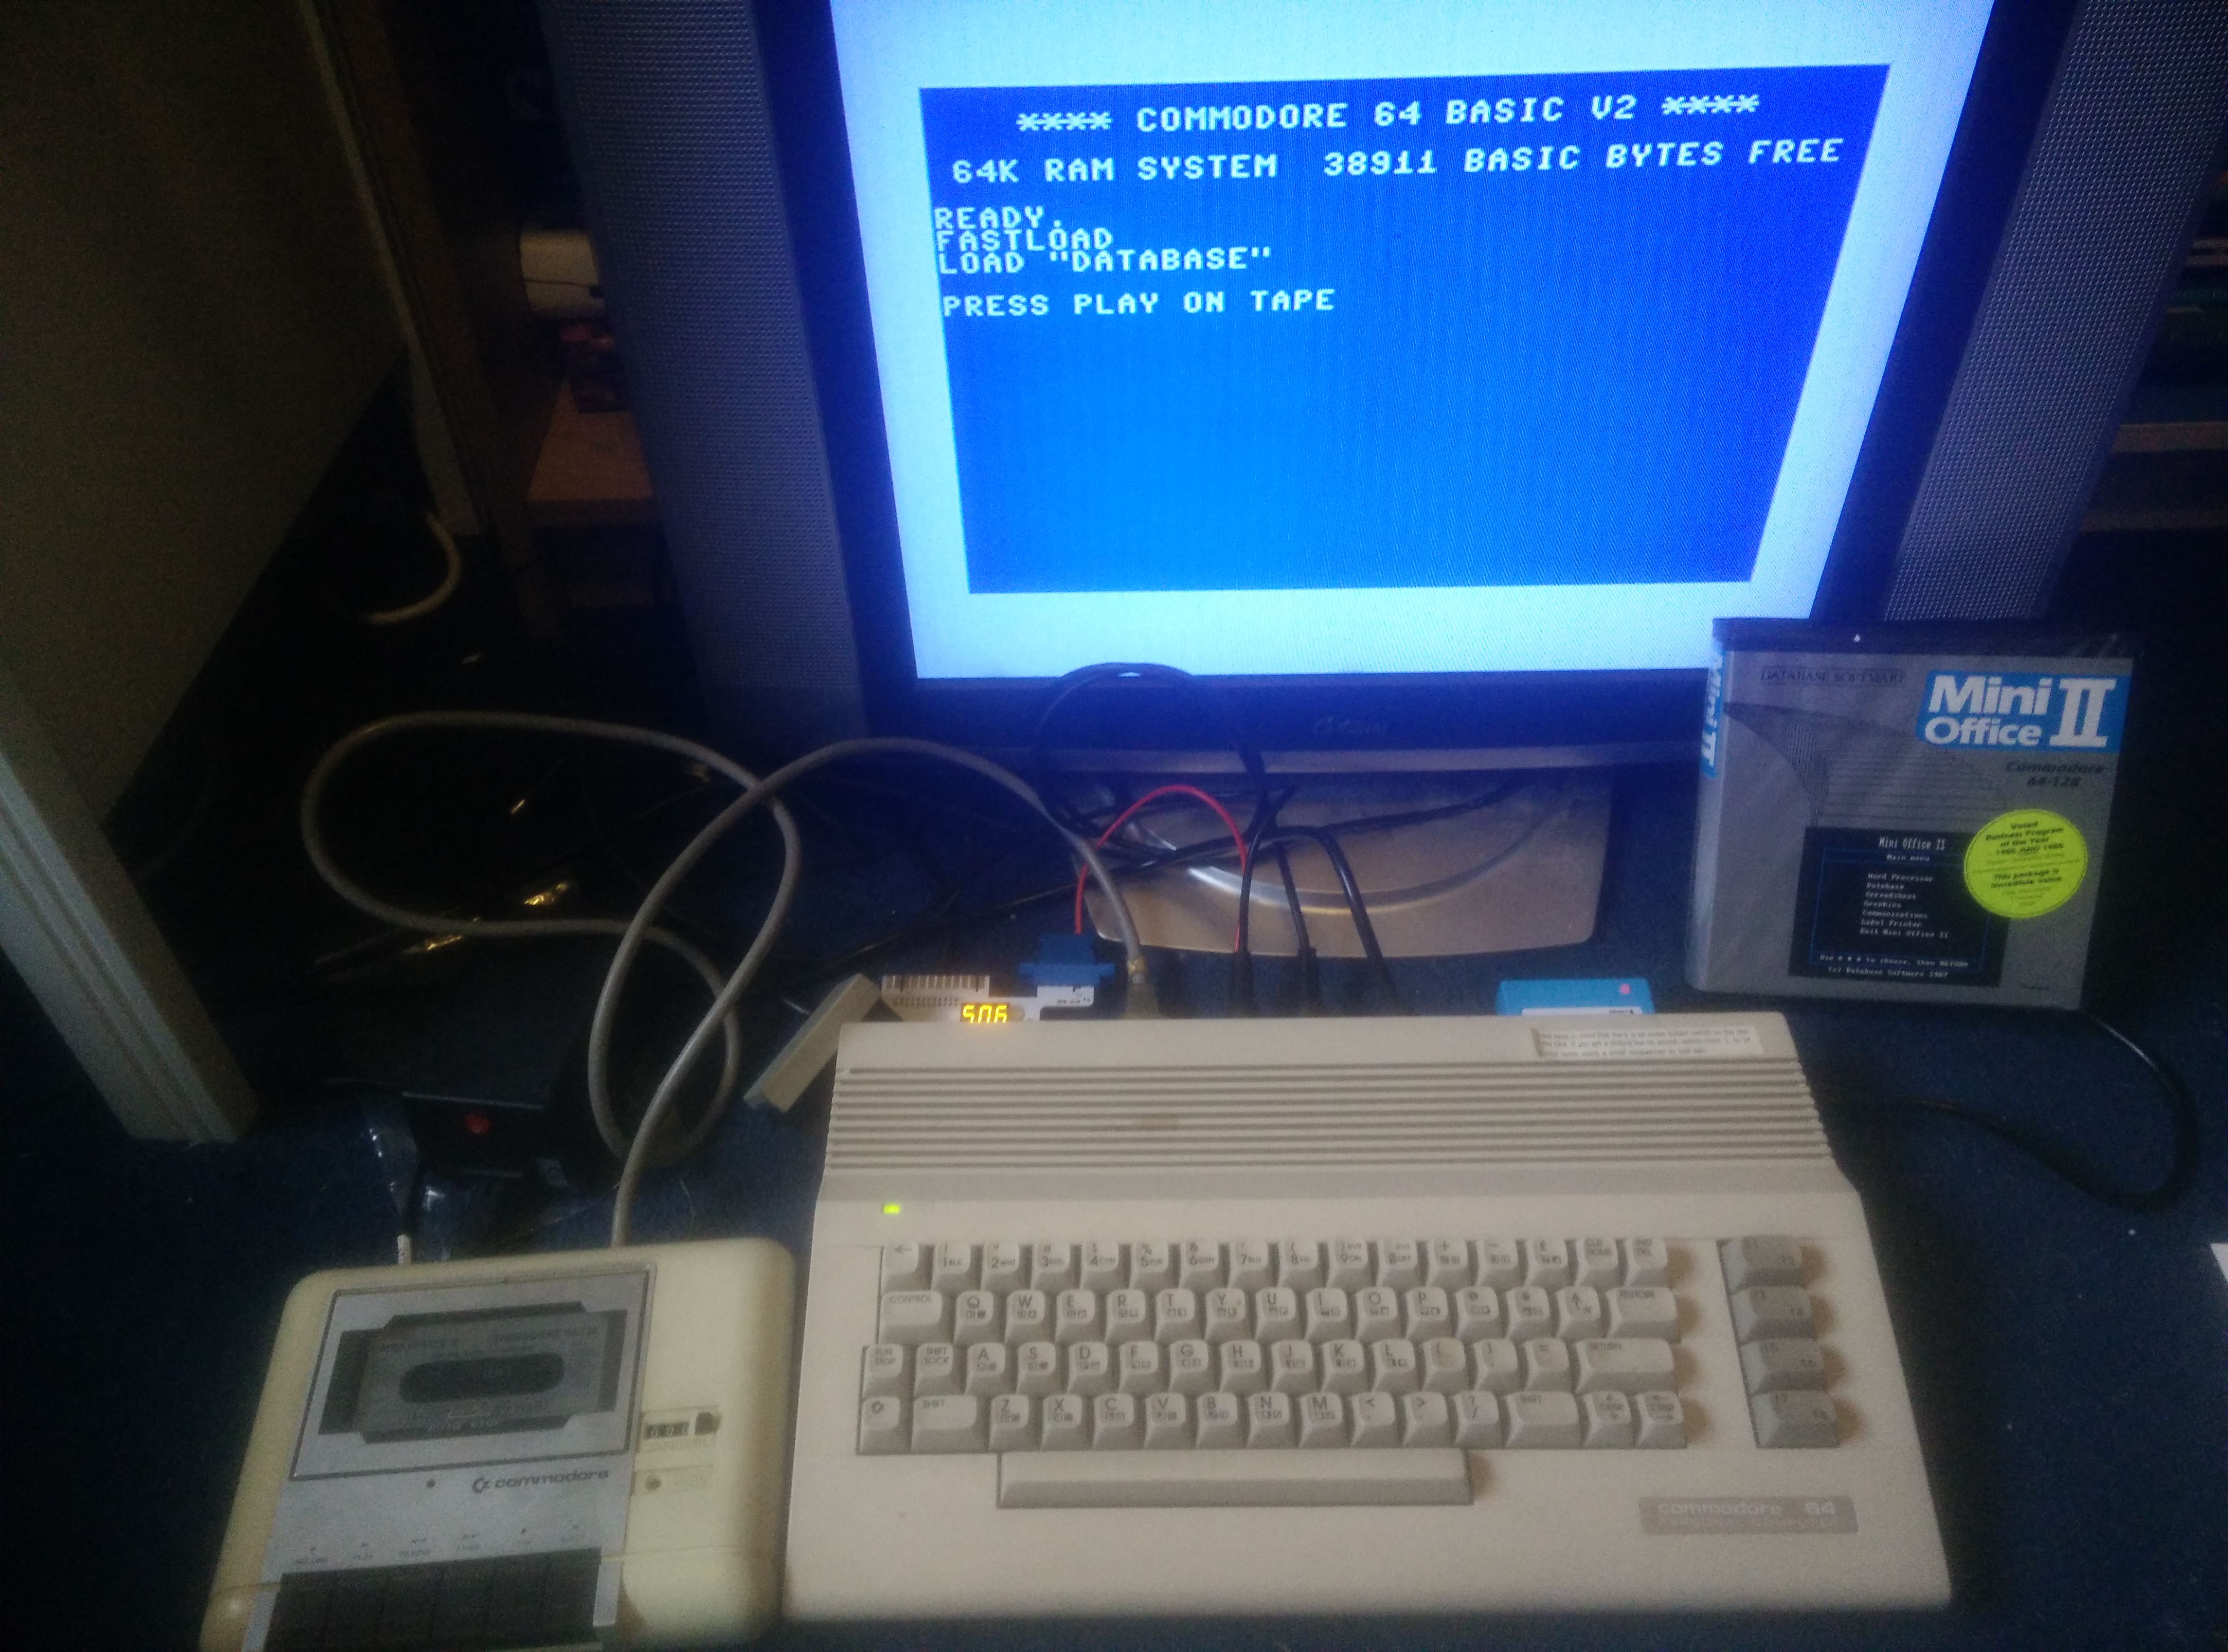
Peripheral-wise I still prefer my datasette for loading programs and games from cassettes as I’d never really used a 1541 disk drive before (Those were for the rich people!) so my console is still primarily cassette-based, but I have added an SD2IEC to load a few disk images from an SD card.
Usually only where either to buy the program now would cost over £100 or there was no cassette alternative released, So my SD only houses about half a dozen images, which is probably just as well since SD2IEC compatibility with C64 software is what I would describe as “Occasional”
If I really wanted to go overboard or needed more reliability I’d definitely consider the ultimate II cart which also has the GeoRAM memory expansion and a few other extras, but although I like the concept of the GEOS operating system it’s not something I really work well with since it assumes a disk drive and my preferred productivity software is mini office II anyway (Where all my household inventories, budgets and maintenance tasks are saved to an old-school tape cassette!)
Here’s the finished C64 booting up again. What a star!
Further updates:
Since the post above I’ve fitted a Lumafix 64. Other technical explanations exist as to what it does so I won’t cover that, I’ll just say it’s definitely worth getting. It’ll take about 5-10 minutes to fit and the difference is incredibly noticeable, online photos just don’t do it justice (That includes those from my 5 year old phone of course!)
The problem can be seen below, particularly clear in the lower part of the image, look for the repeating vertical lines:
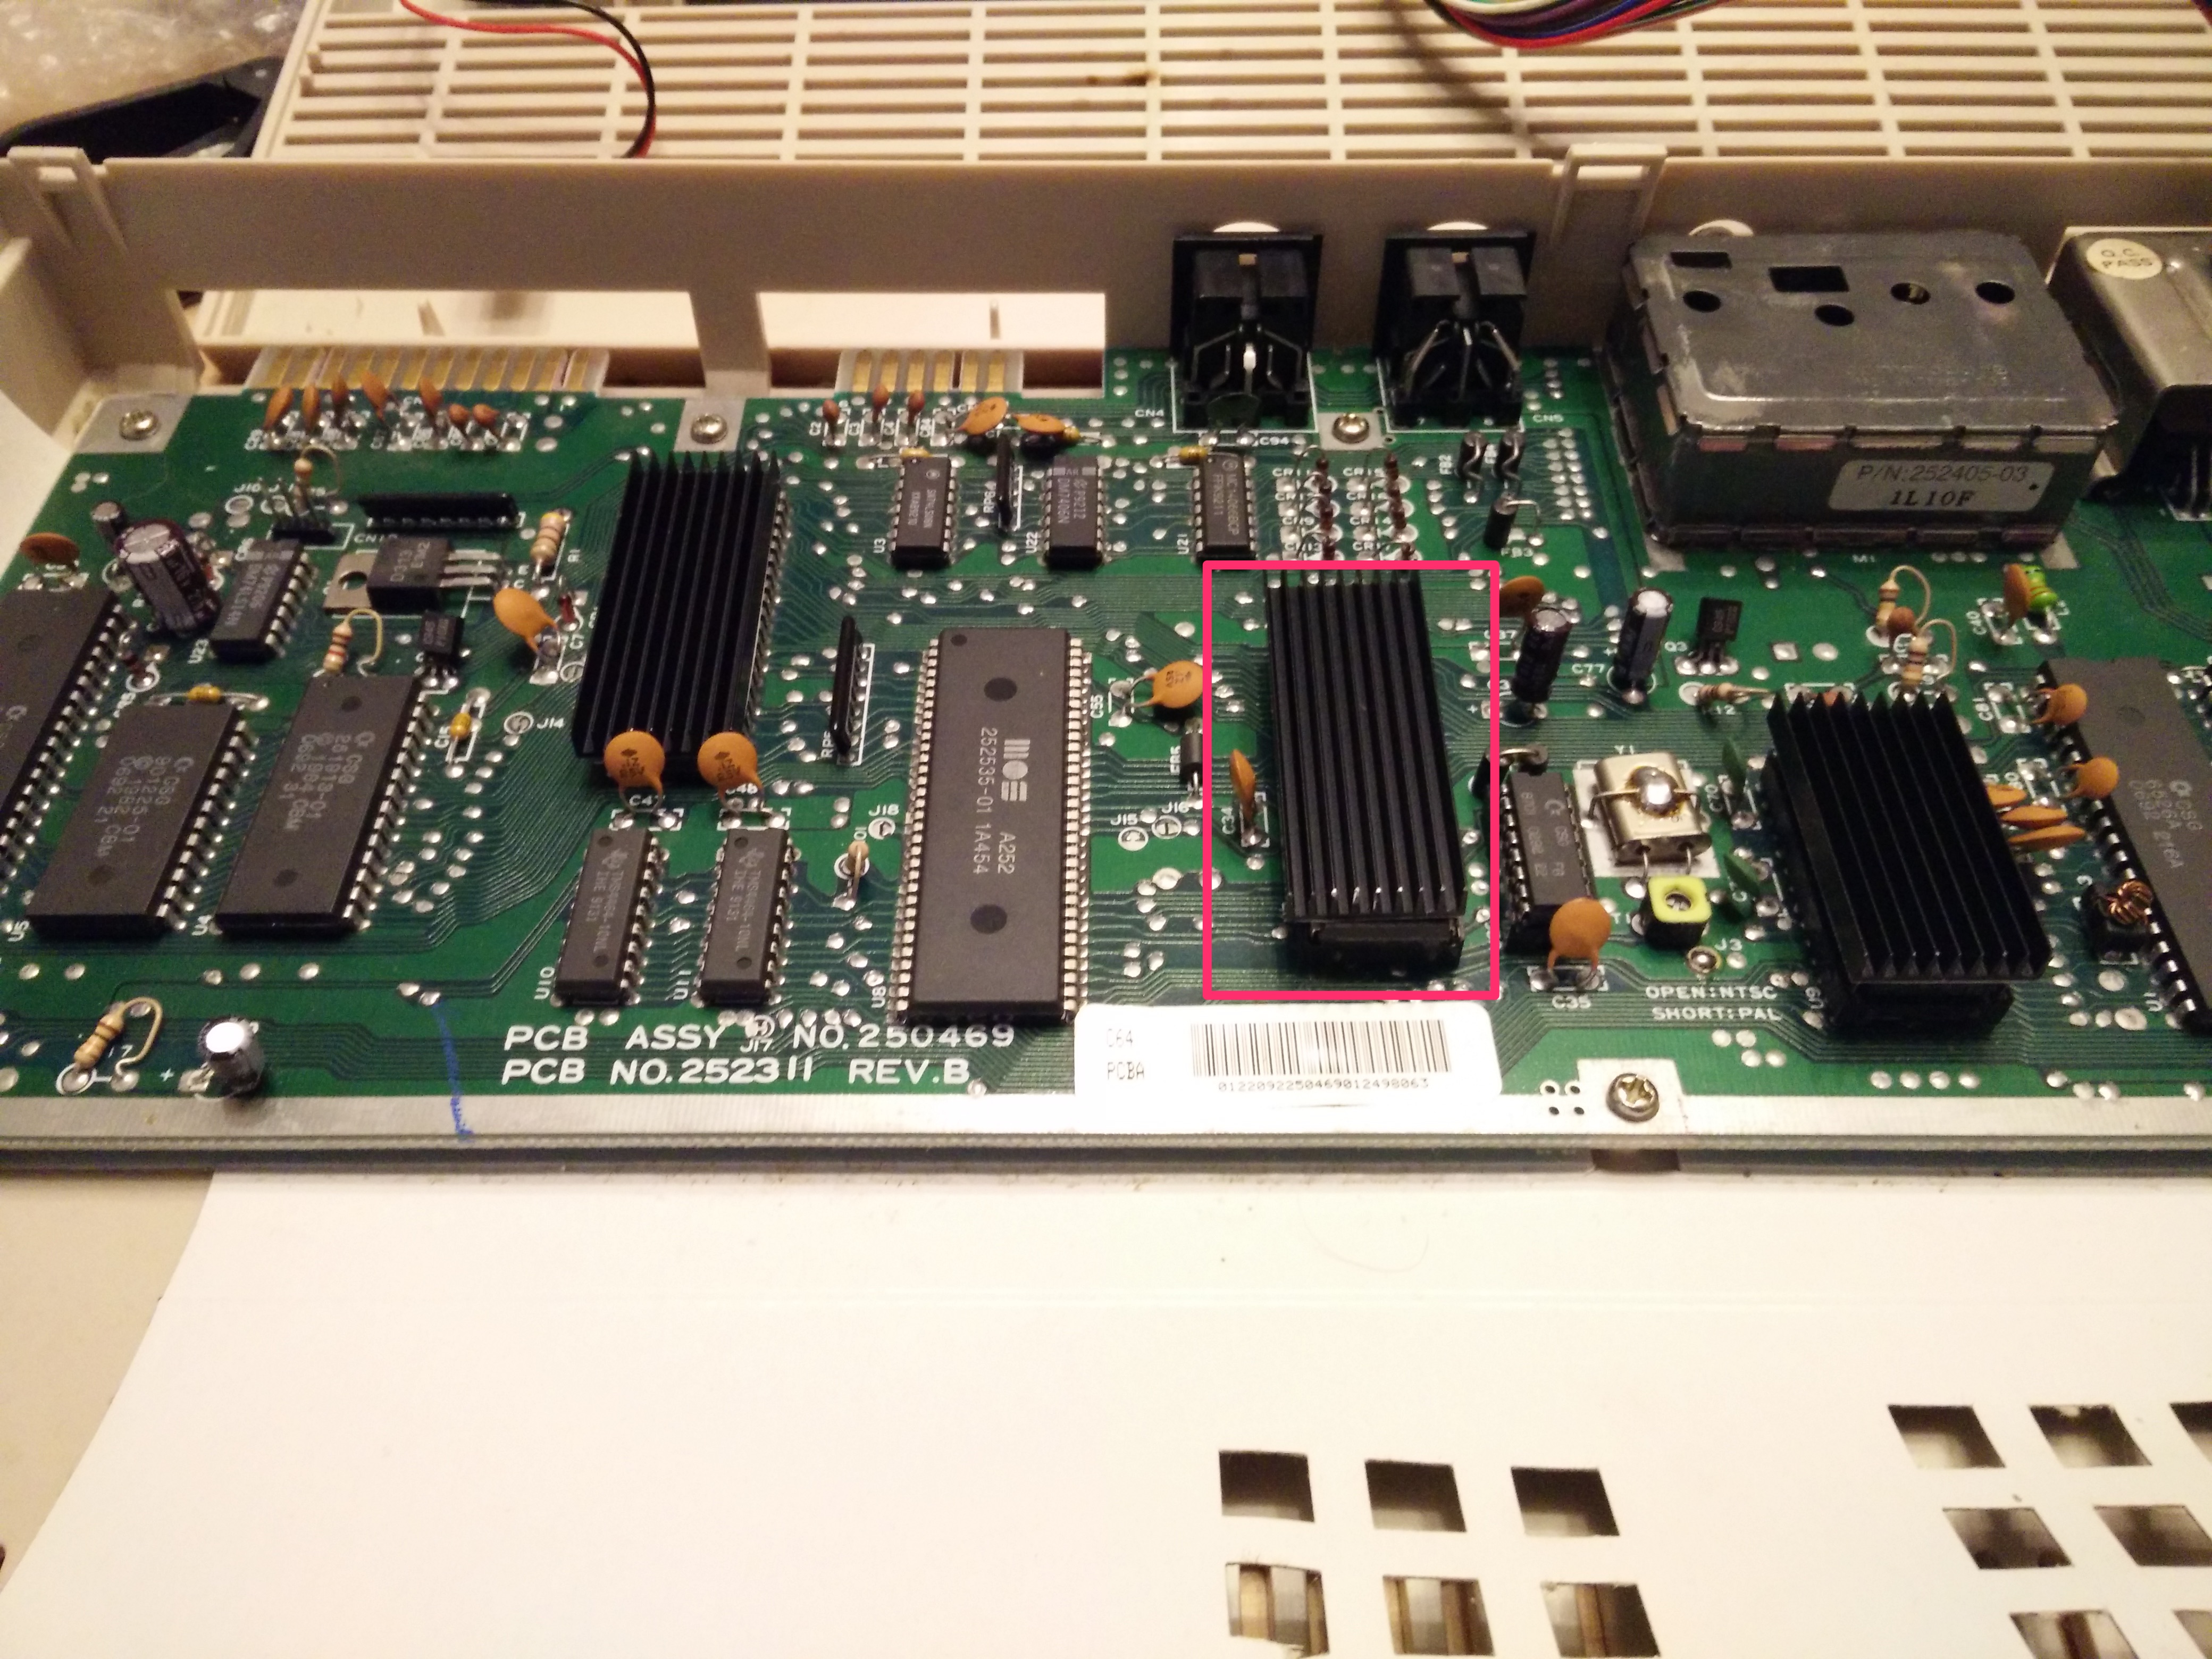
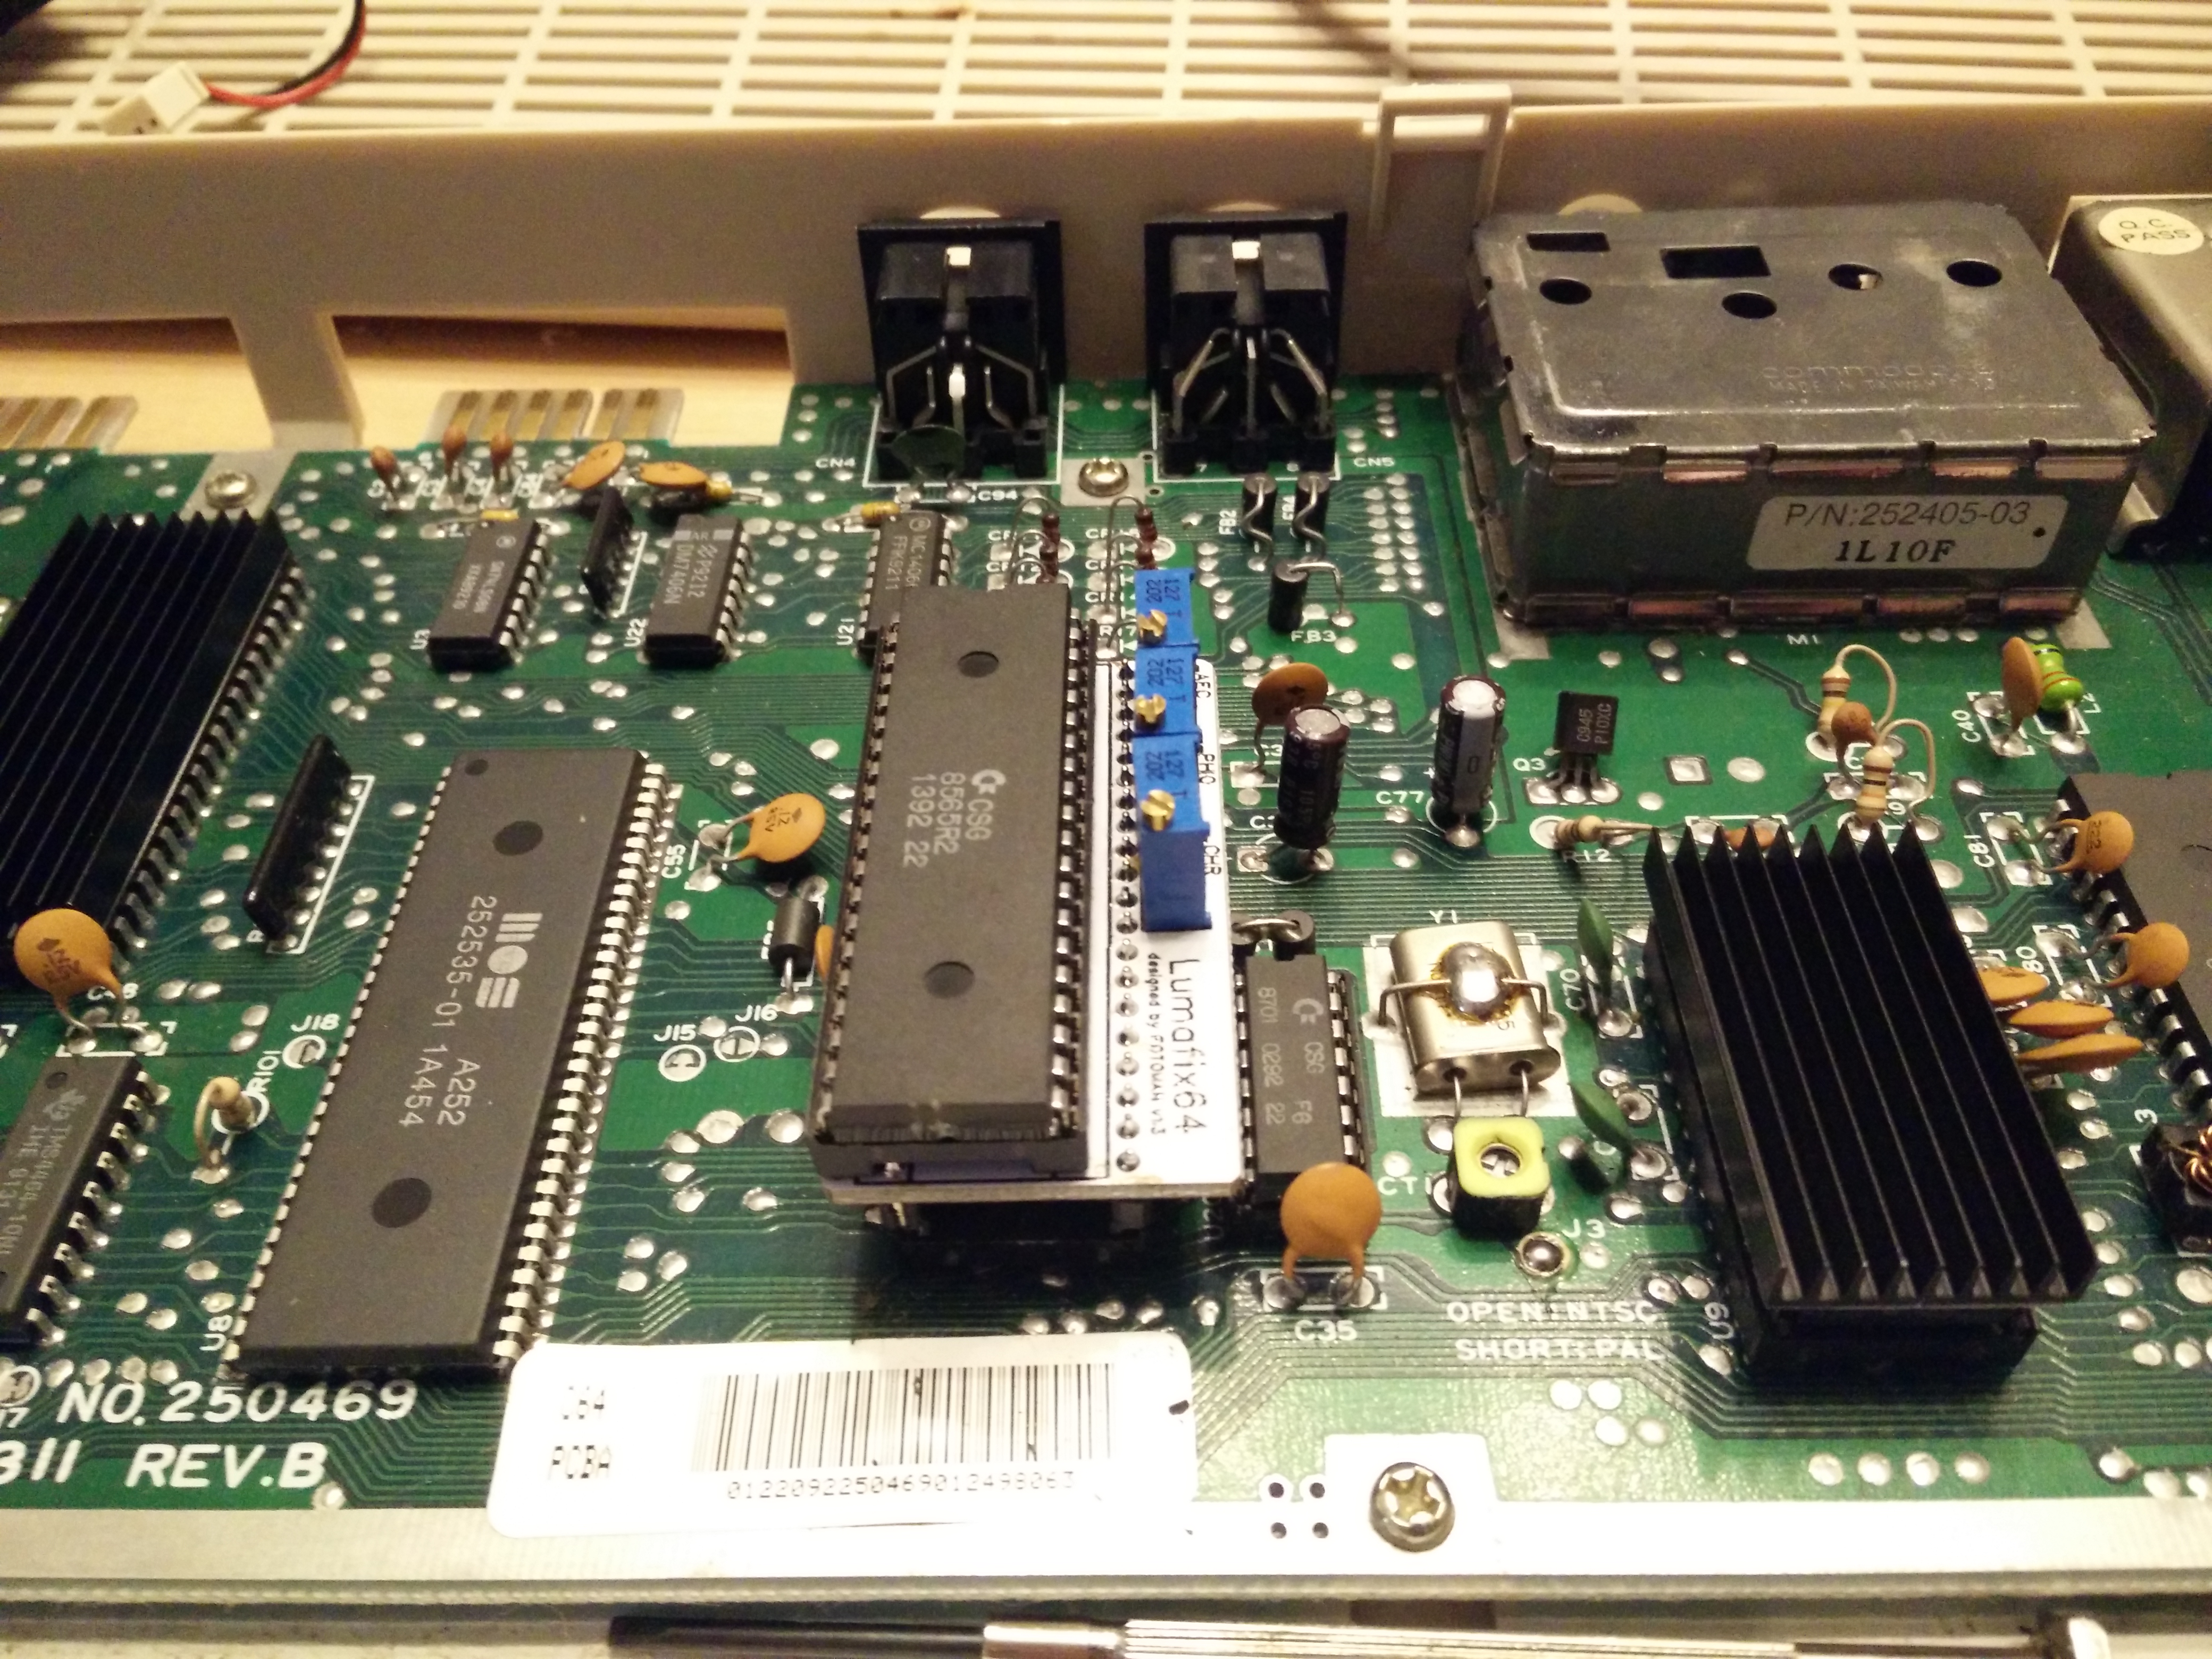
Here is the VIC-II chip below which we will be fitting it to. We will first remove the heatsink (this was initially to make the chip easier to remove, but with the lumafix 64 we add so much vertical space we’re not able to keep both so the heatsink is a goner for me after this)
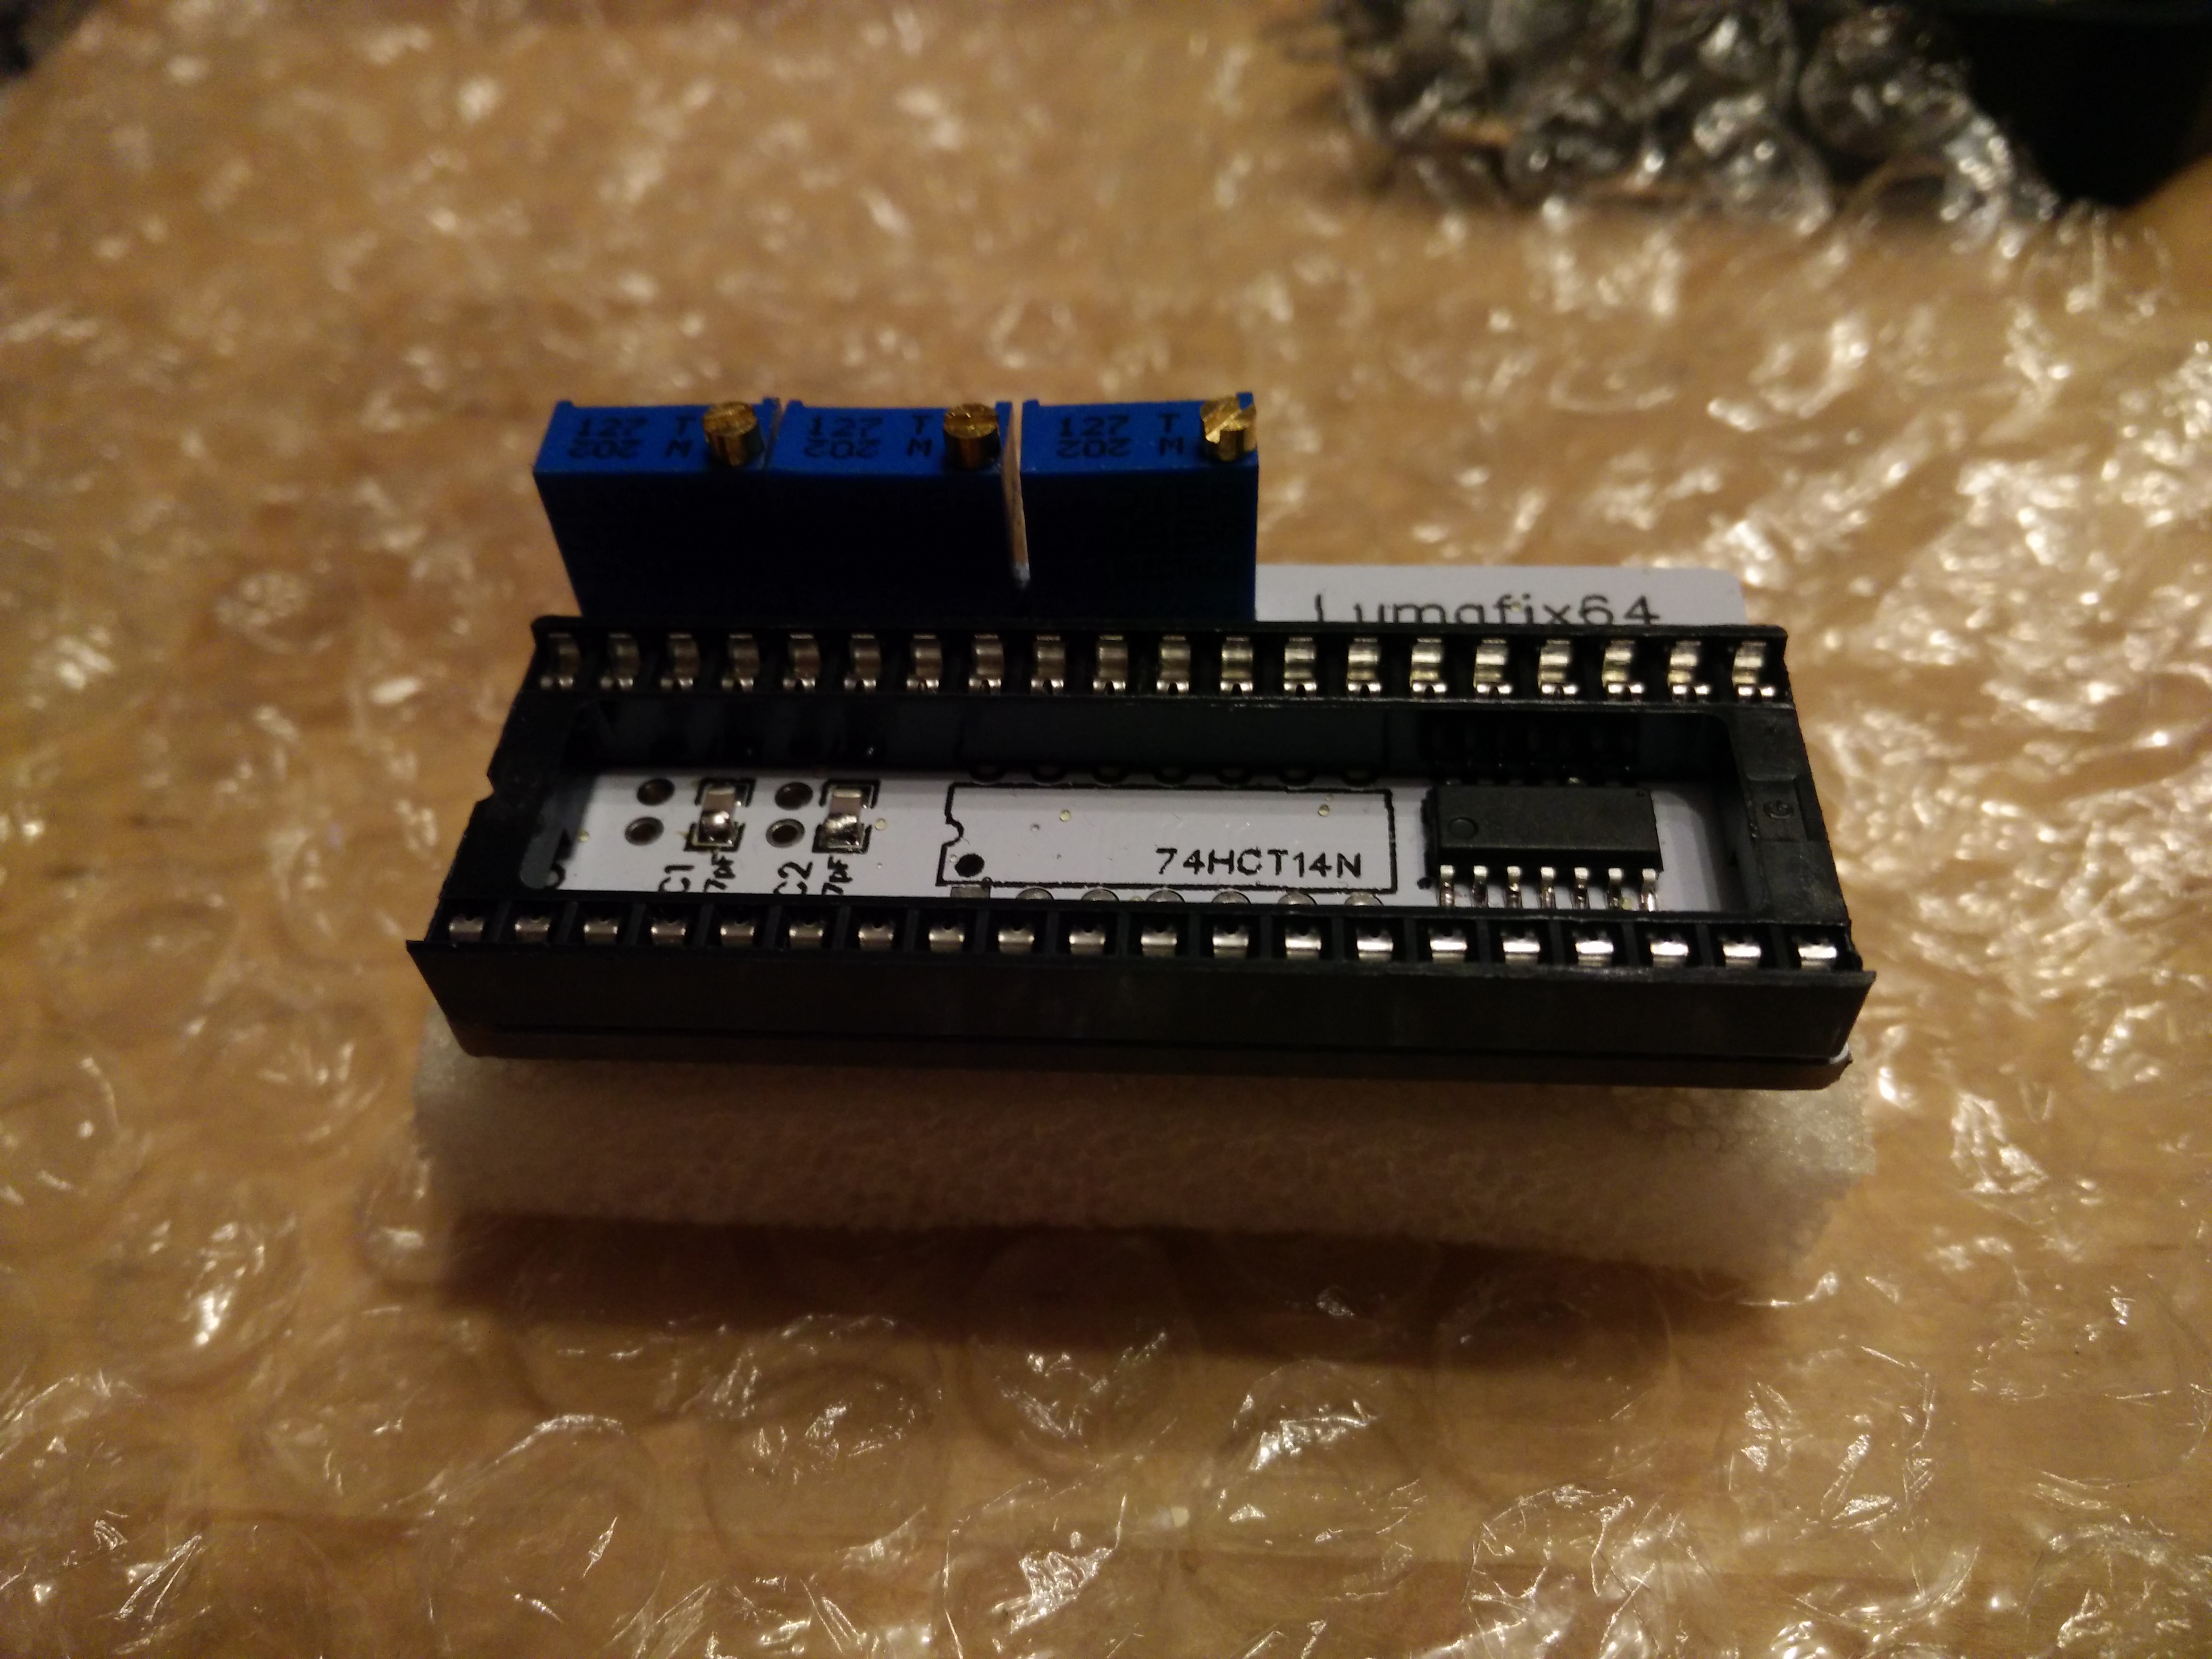
And the Lumafix 64 itself. It’s a small PCB that will be seated where the VIC-II currently sits, with the VIC-II then seated on top of that:
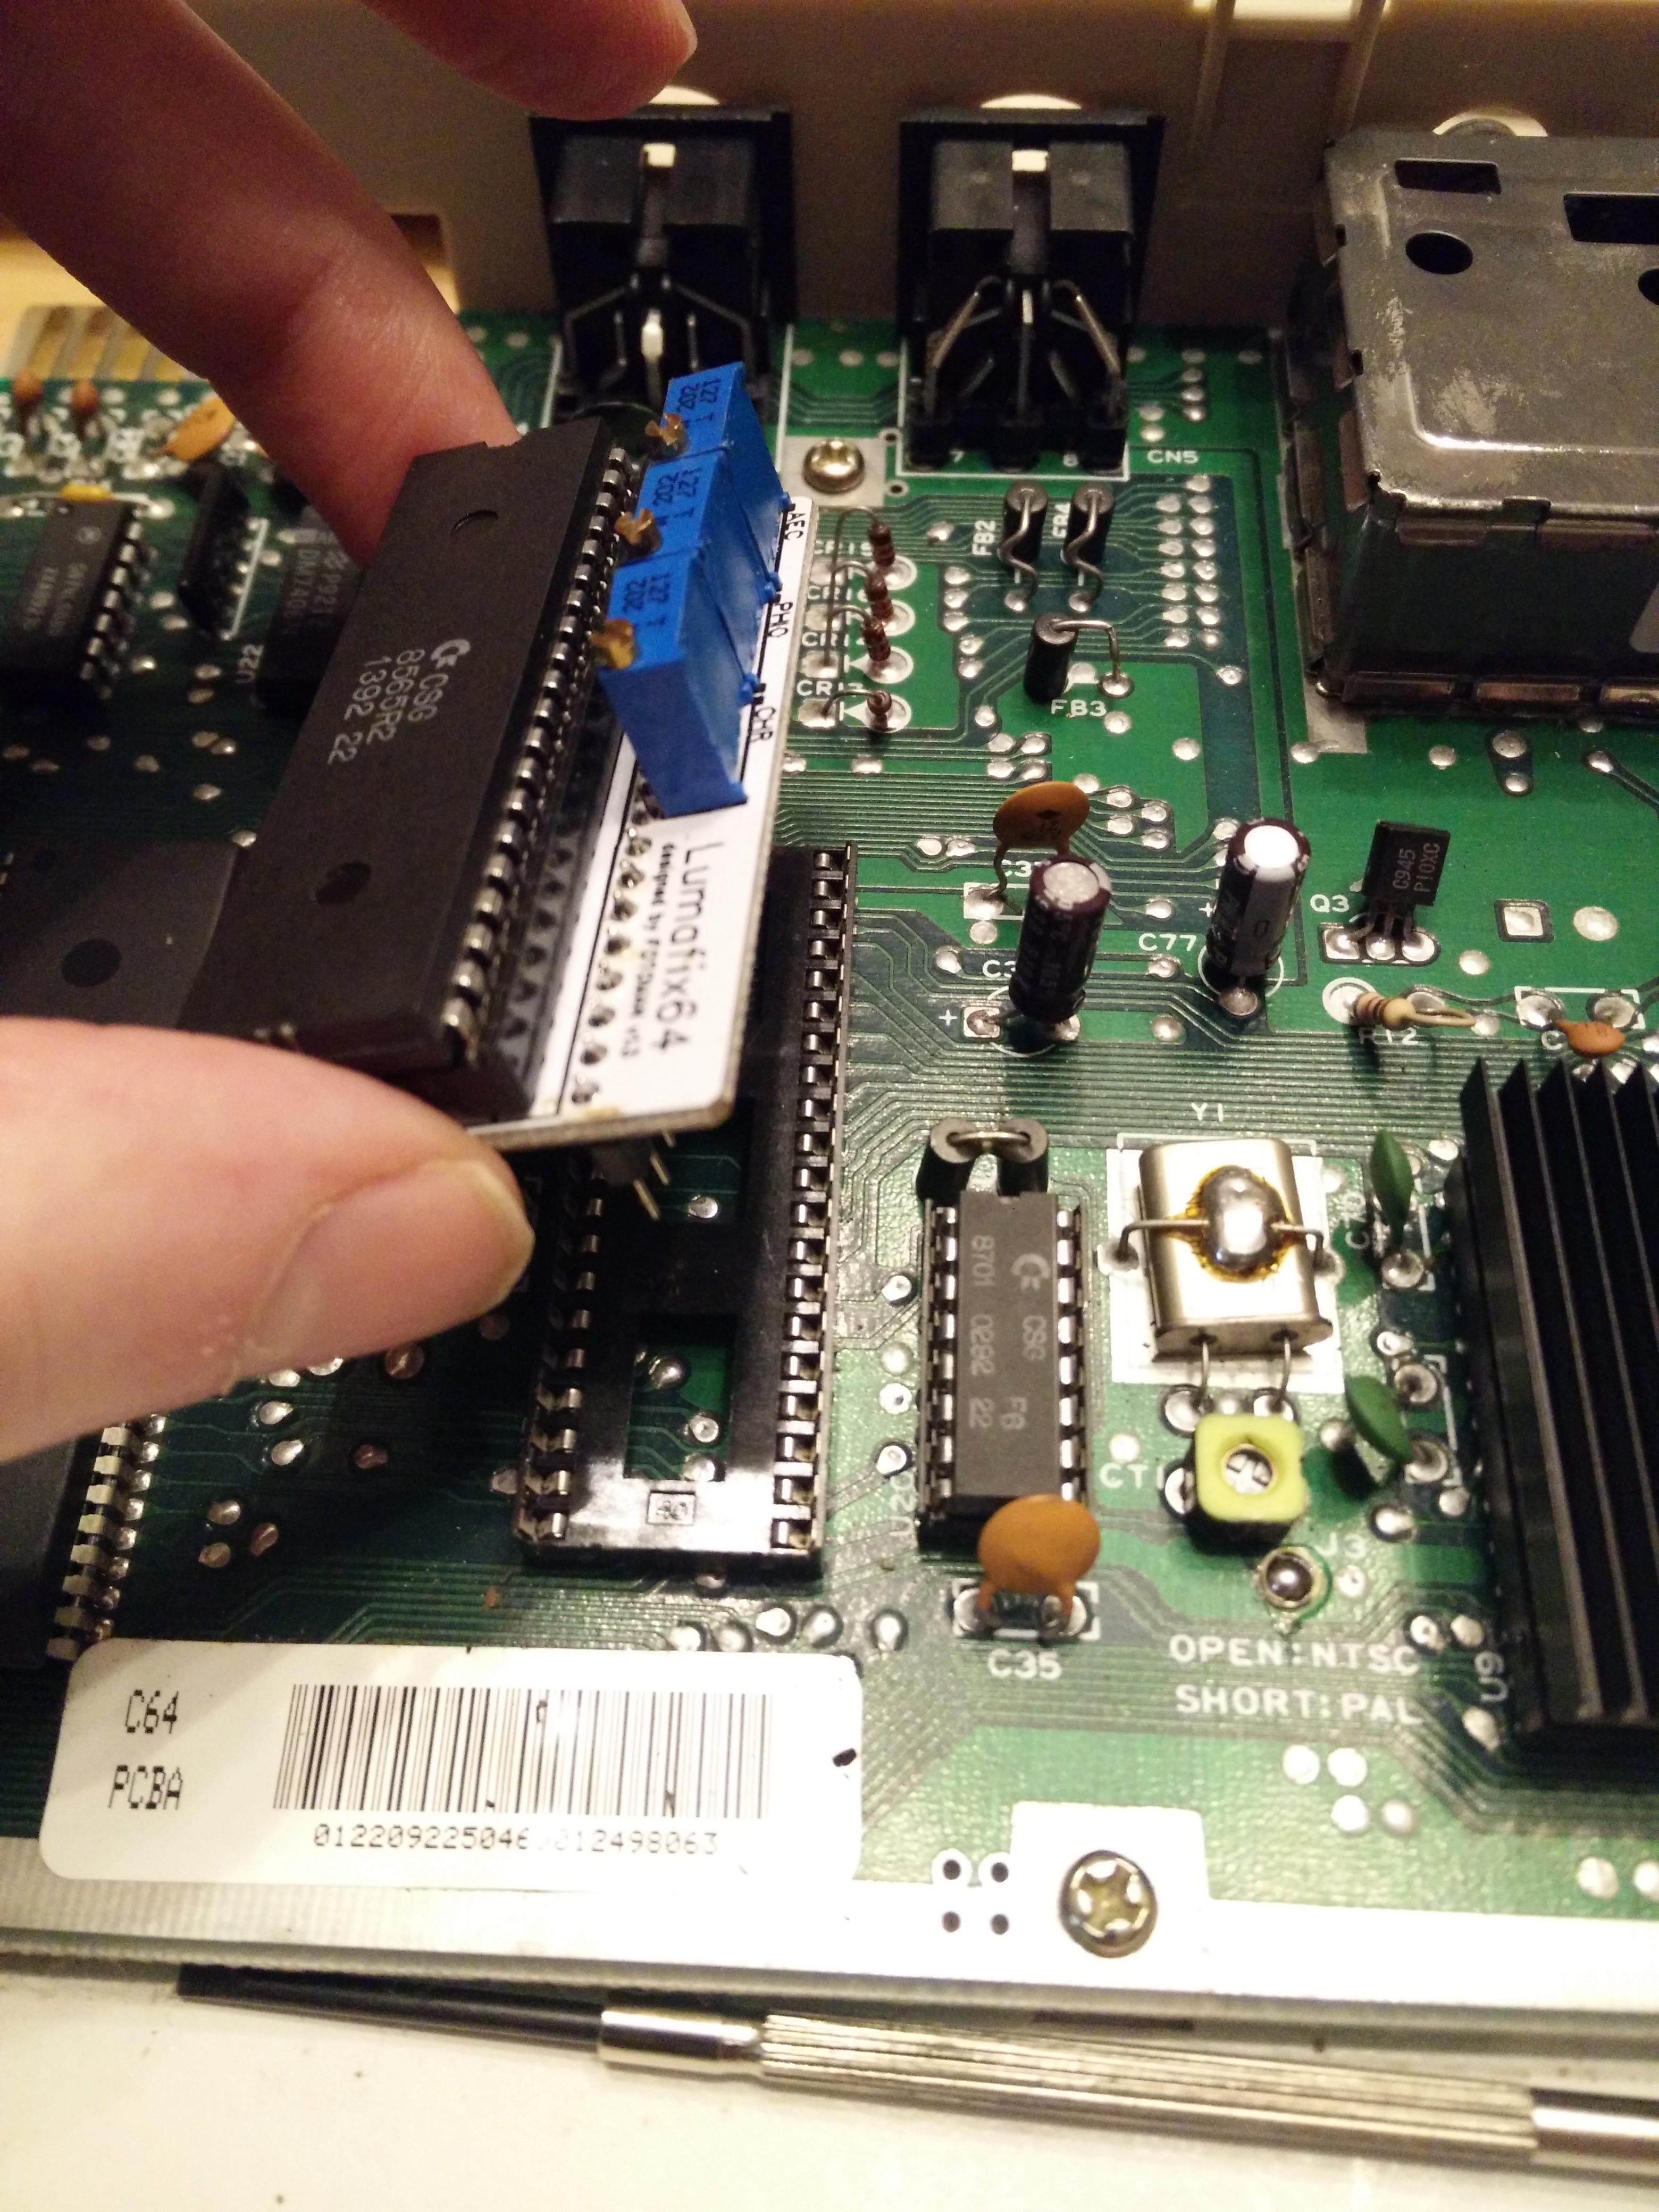
and so fitting it is as simple as this:
Aside from the problems of trying to take a picture of an LCD screen in low light, we can ignore the usual artefacts of the photography and notice the lack of those vertical lines from before, this screen is now a nice and neat uniform blue!