
Sega Game Gear Recap and Refresh
Resurrecting a dead game gear
Game Gears notoriously have issues with capacitors; The accepted rule is that if you’ve got a game gear which hasn’t been recapped, then it’s going to need it ASAP and without it will eventually die. I decided to recap my current one after successfully recapping my C64, as it’s not working anyway (it has a common feature of original caps which is no sound/video and it powers off within a second of turning it on).
I’m probably going to sell it, but selling a working recapped Game gear is going to return many times back what selling a broken one would fetch, so for the small cost of the capacitors it was worth a shot.
The difference in this process is that the Game Gear uses SMD capacitors whereas the C64 exclusively made use of through the hole capacitors, and I’ve never done anything with SMD (Surface mounted devices) before, so this’ll be a chance to learn.
Another Practice Board
I found a cheap practice board online by MYAMIA which has a load of different surface components to play with, including a nice small IC… and it doesn’t skip out on the challenge by giving you big components either!
Look at the size of that. Let me tell you that it was an involved process when one flipped onto its back and I had to try to flip it back over with tweezers.. And if you could’ve seen the look on my face when I went to pick another up and tiddly-winked it onto the carpet. One heavy sigh and an adventurous expedition recovered it!
Well Let’s get into it, my preferred method was to apply solder to one pad, use tweezers to drag the component into the solder as I remelt it, remove the iron, let the solder recool, then release the tweezers, then apply solder to the other side and touching up the first side again if it needs it.
After an hour or so I’m now an expert at holding a soldering iron in one hand, tweezers in the other and squinting at them both through a loupe, but it all worked out ok:
The death of optimism / Opening a Game Gear
Practice out of the way, I opened up the Game Gear itself to inspect what was currently going on in there. The results were not pretty at all.
All of the capacitors on the main board and audio board had leaked, corroded their own solder joins to the point of non-existence and were affecting surrounding components, at that point I’d changed this from a repair job to a hobby task because the entire thing looked and smelled banjaxed beyond redemption.
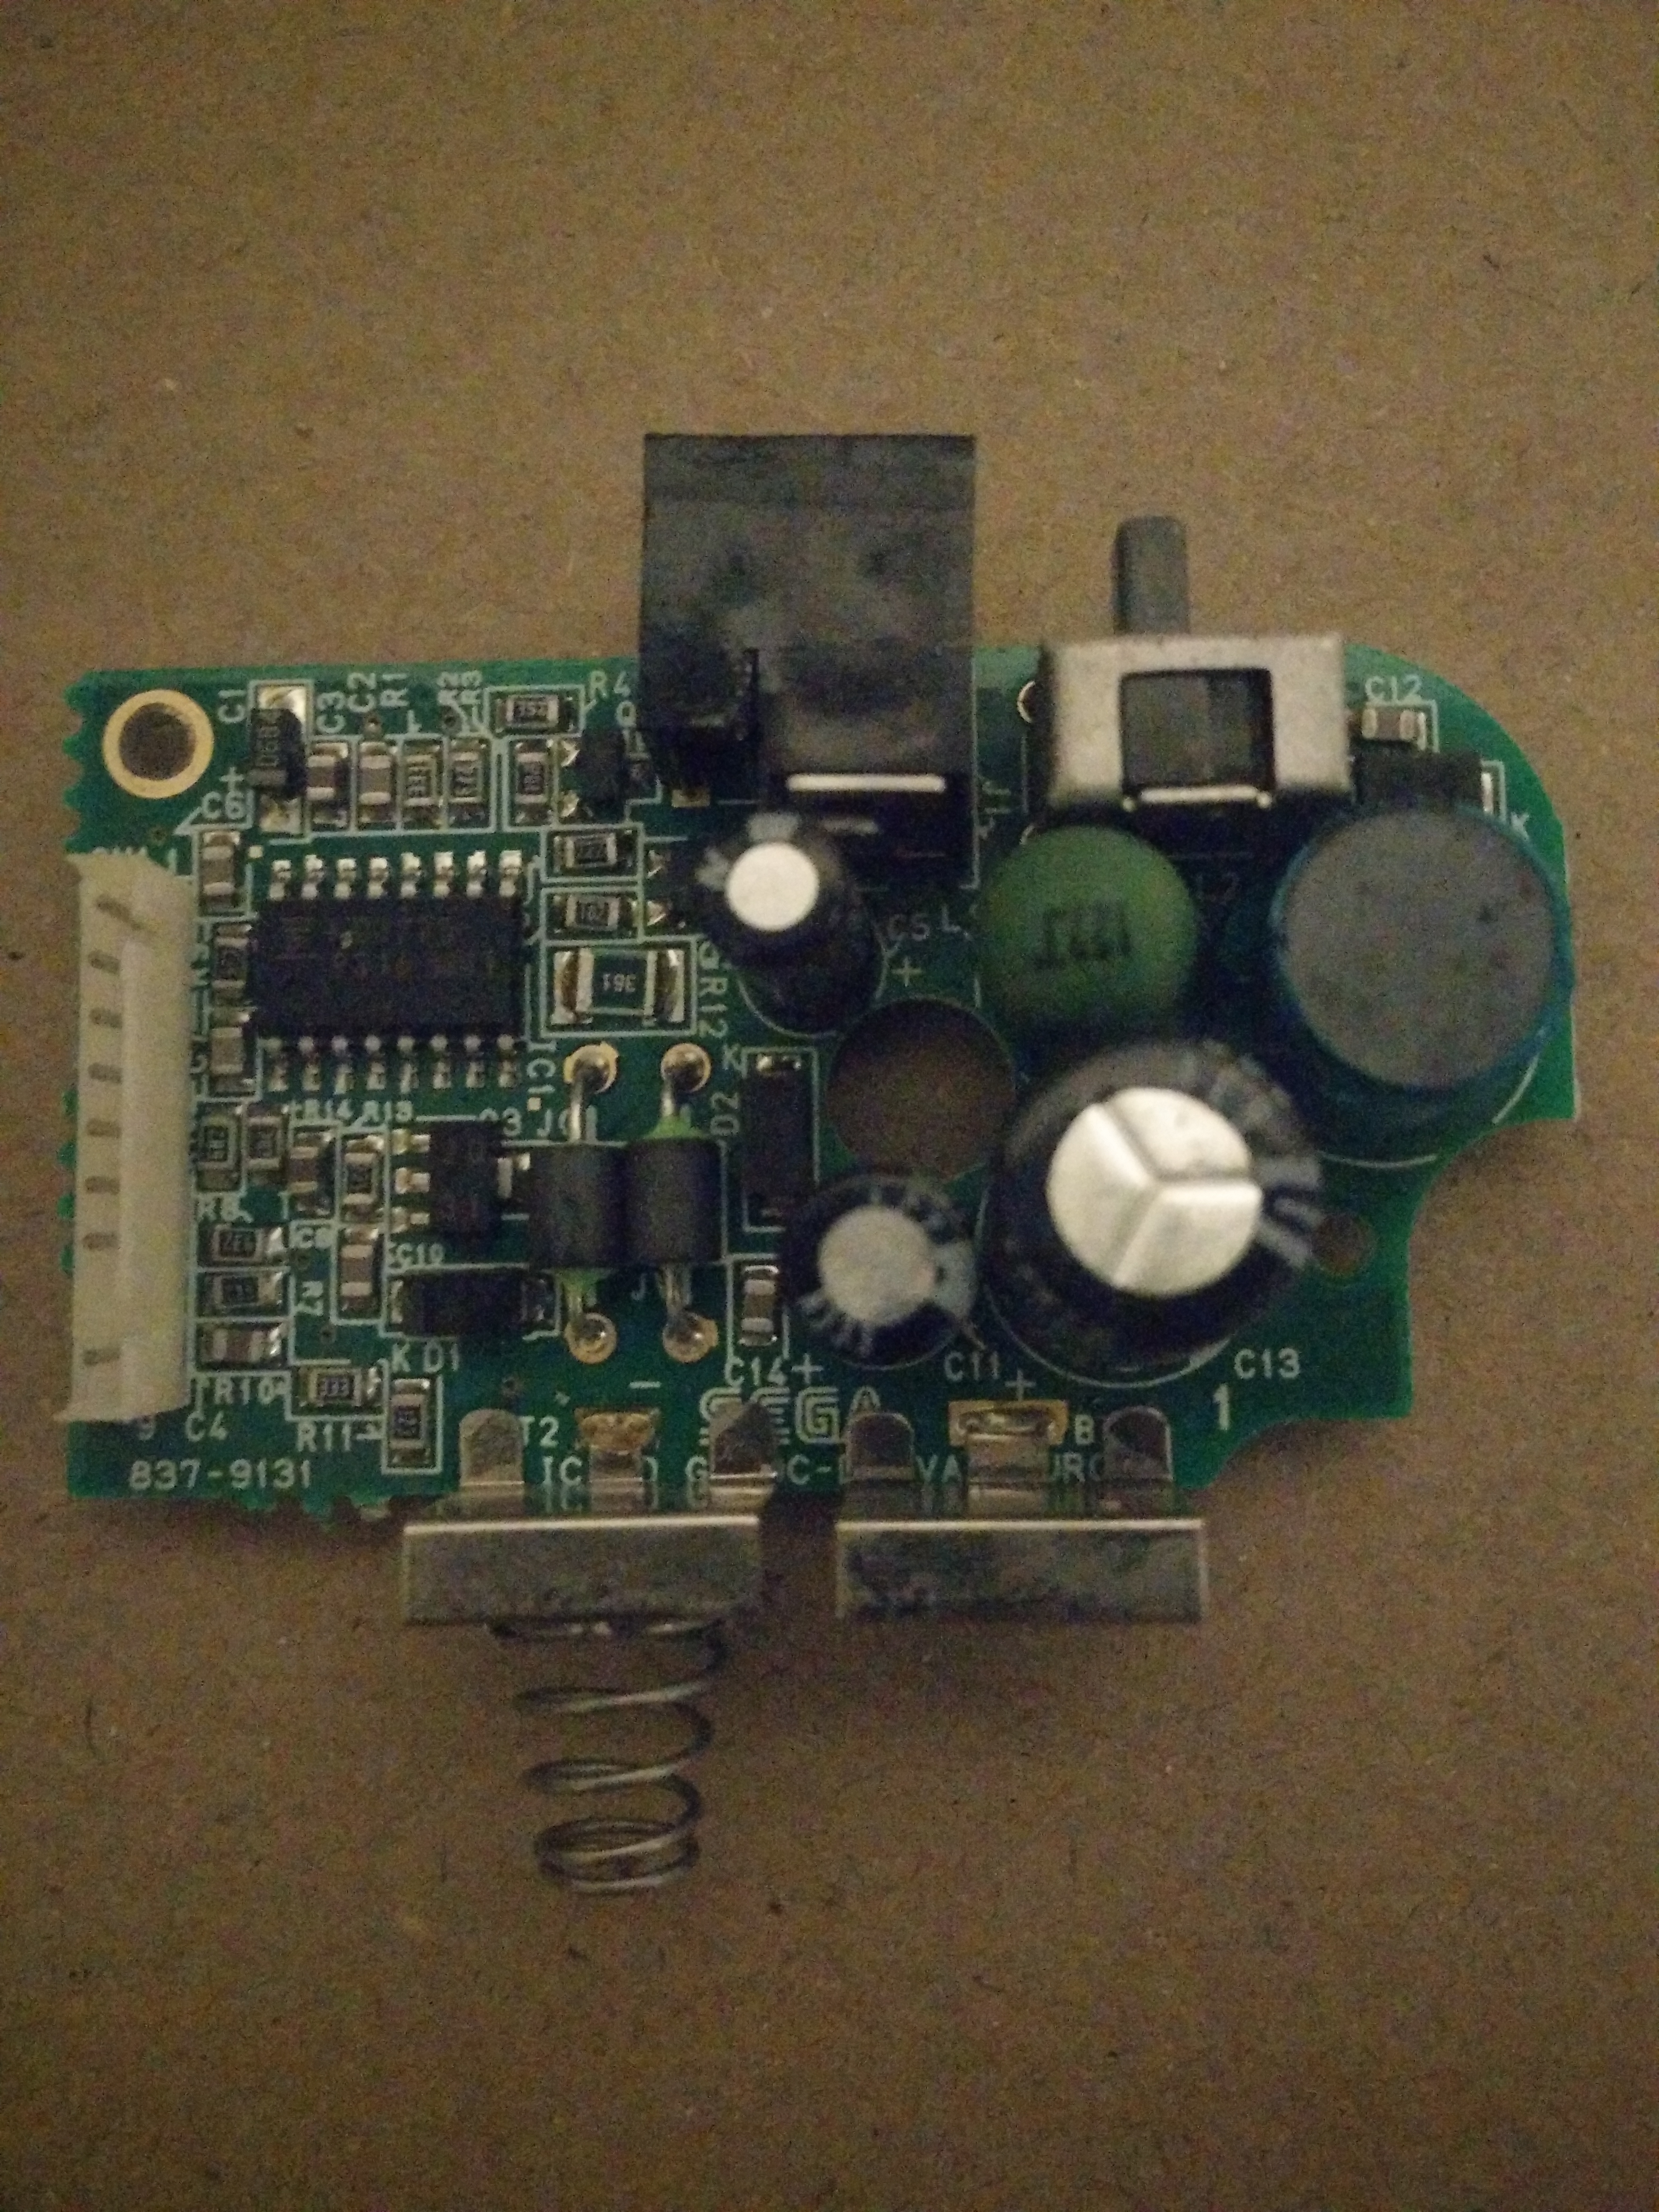
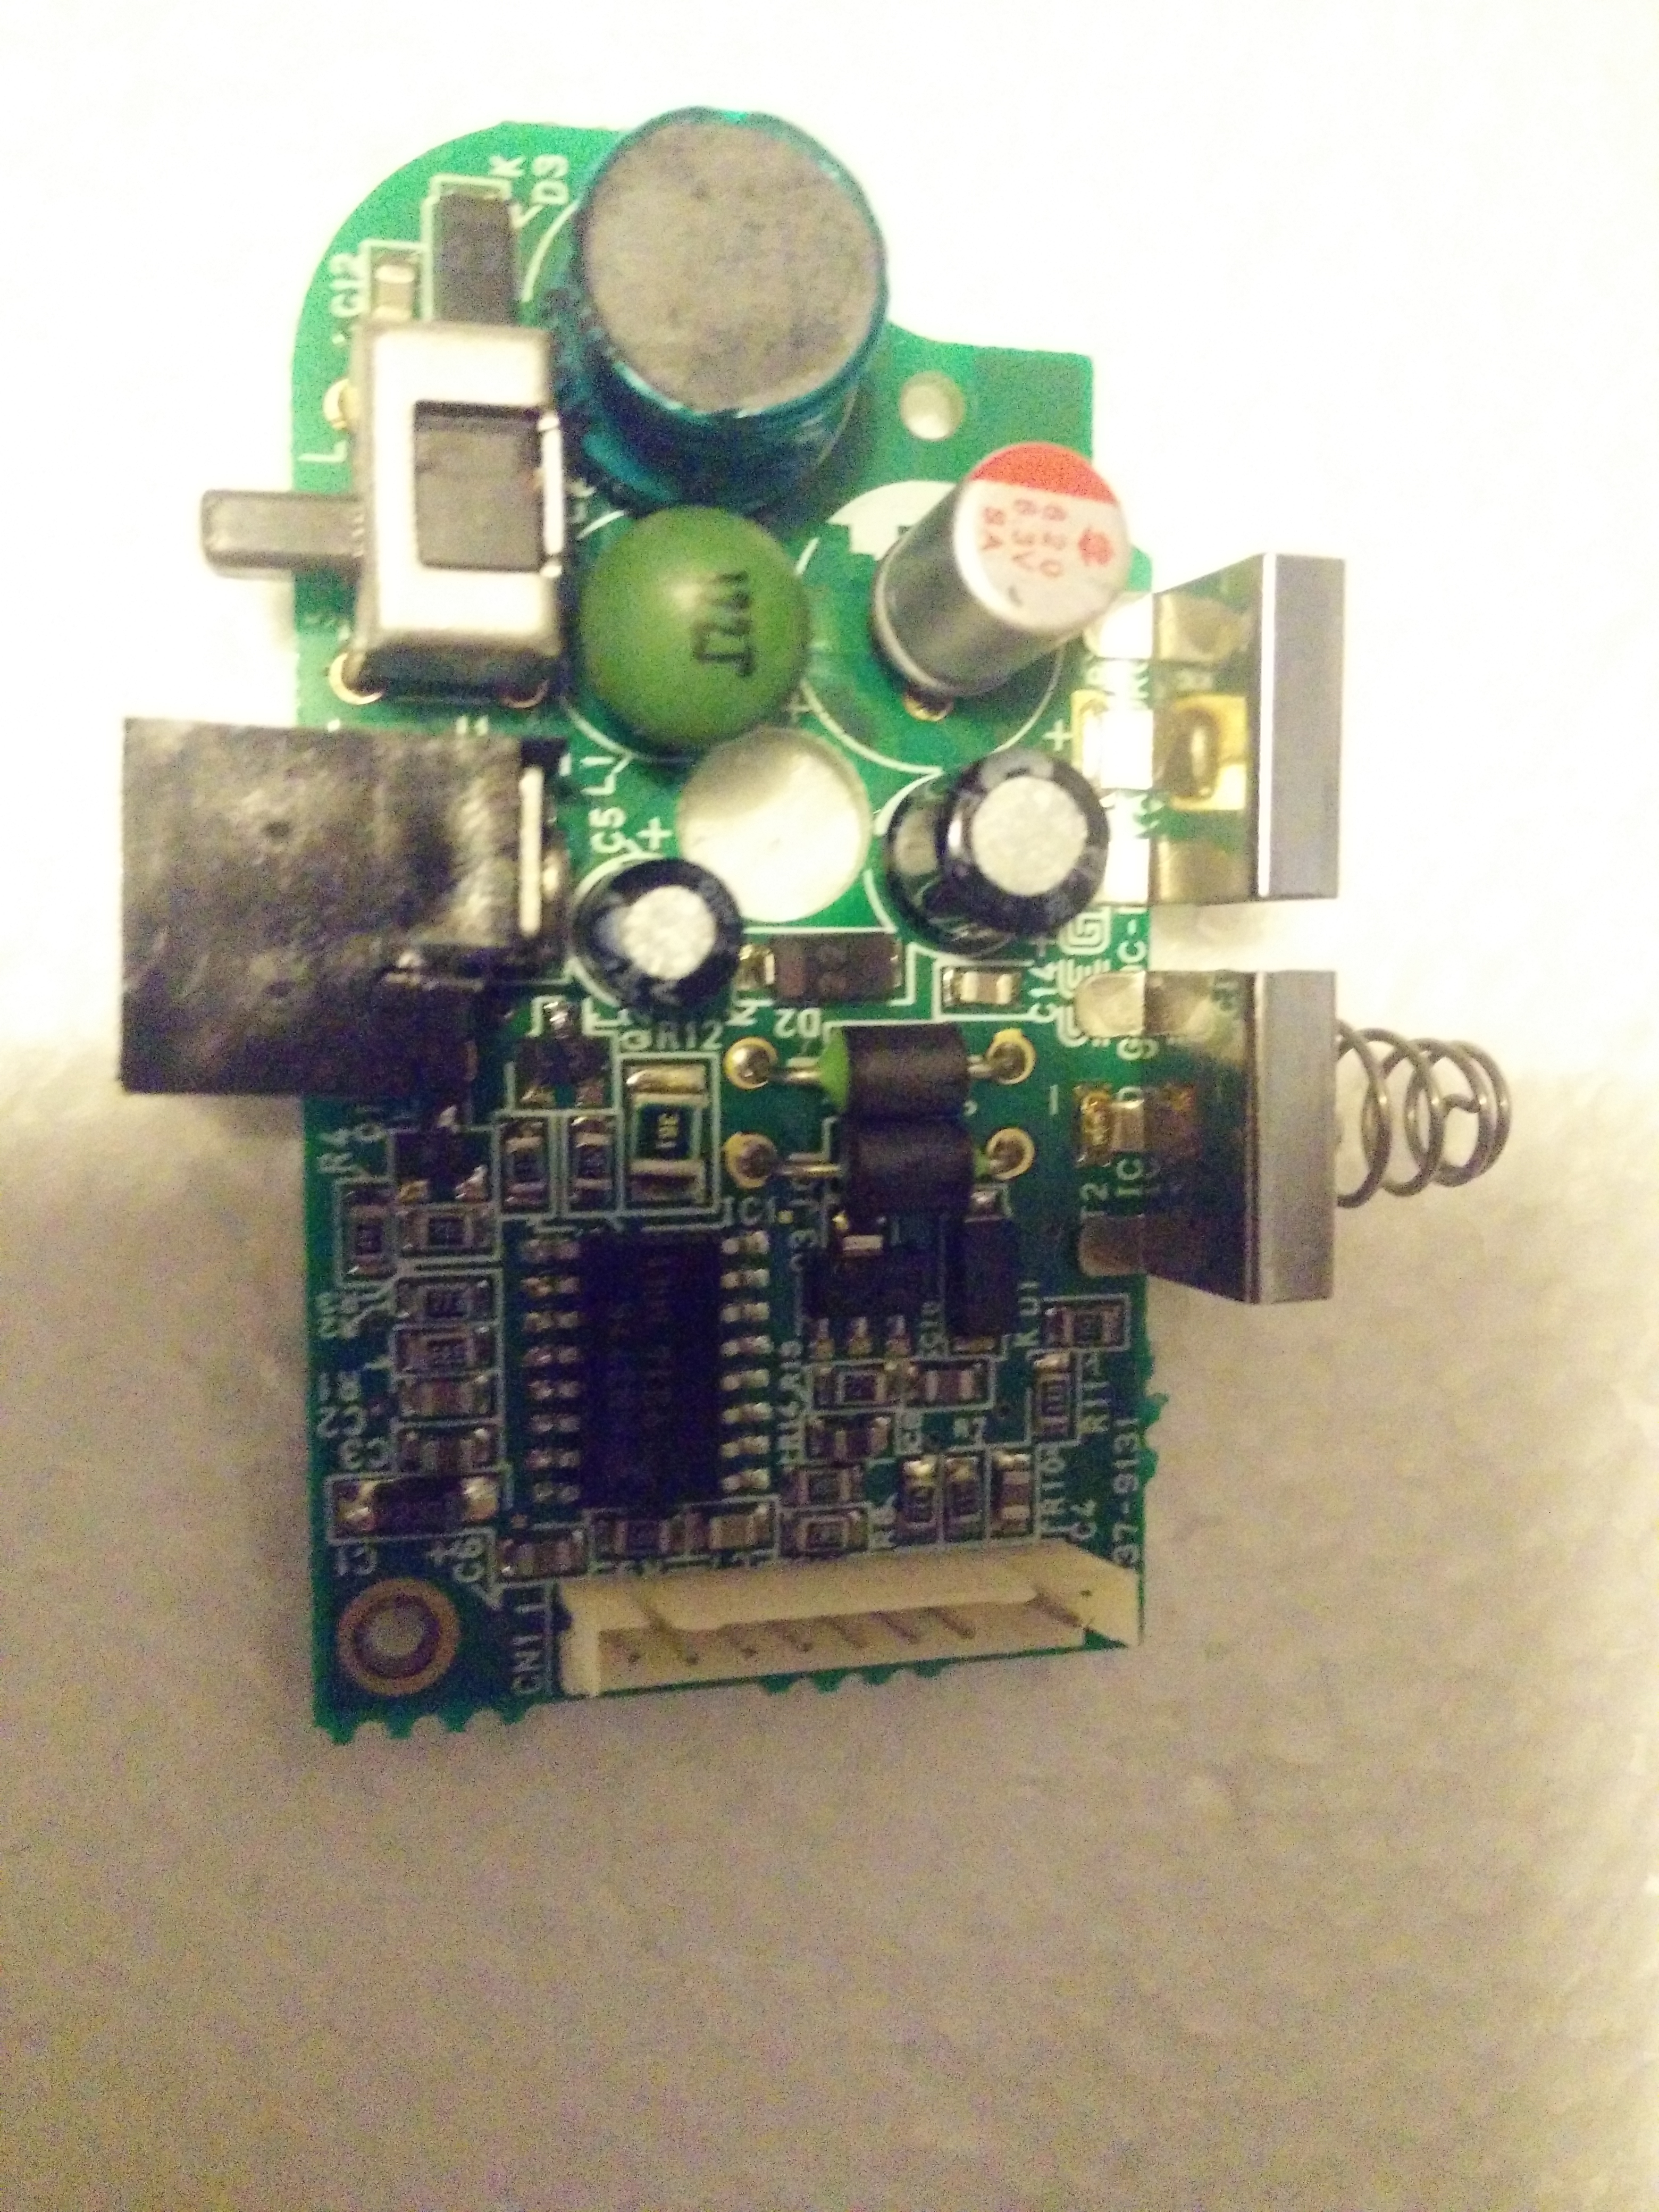
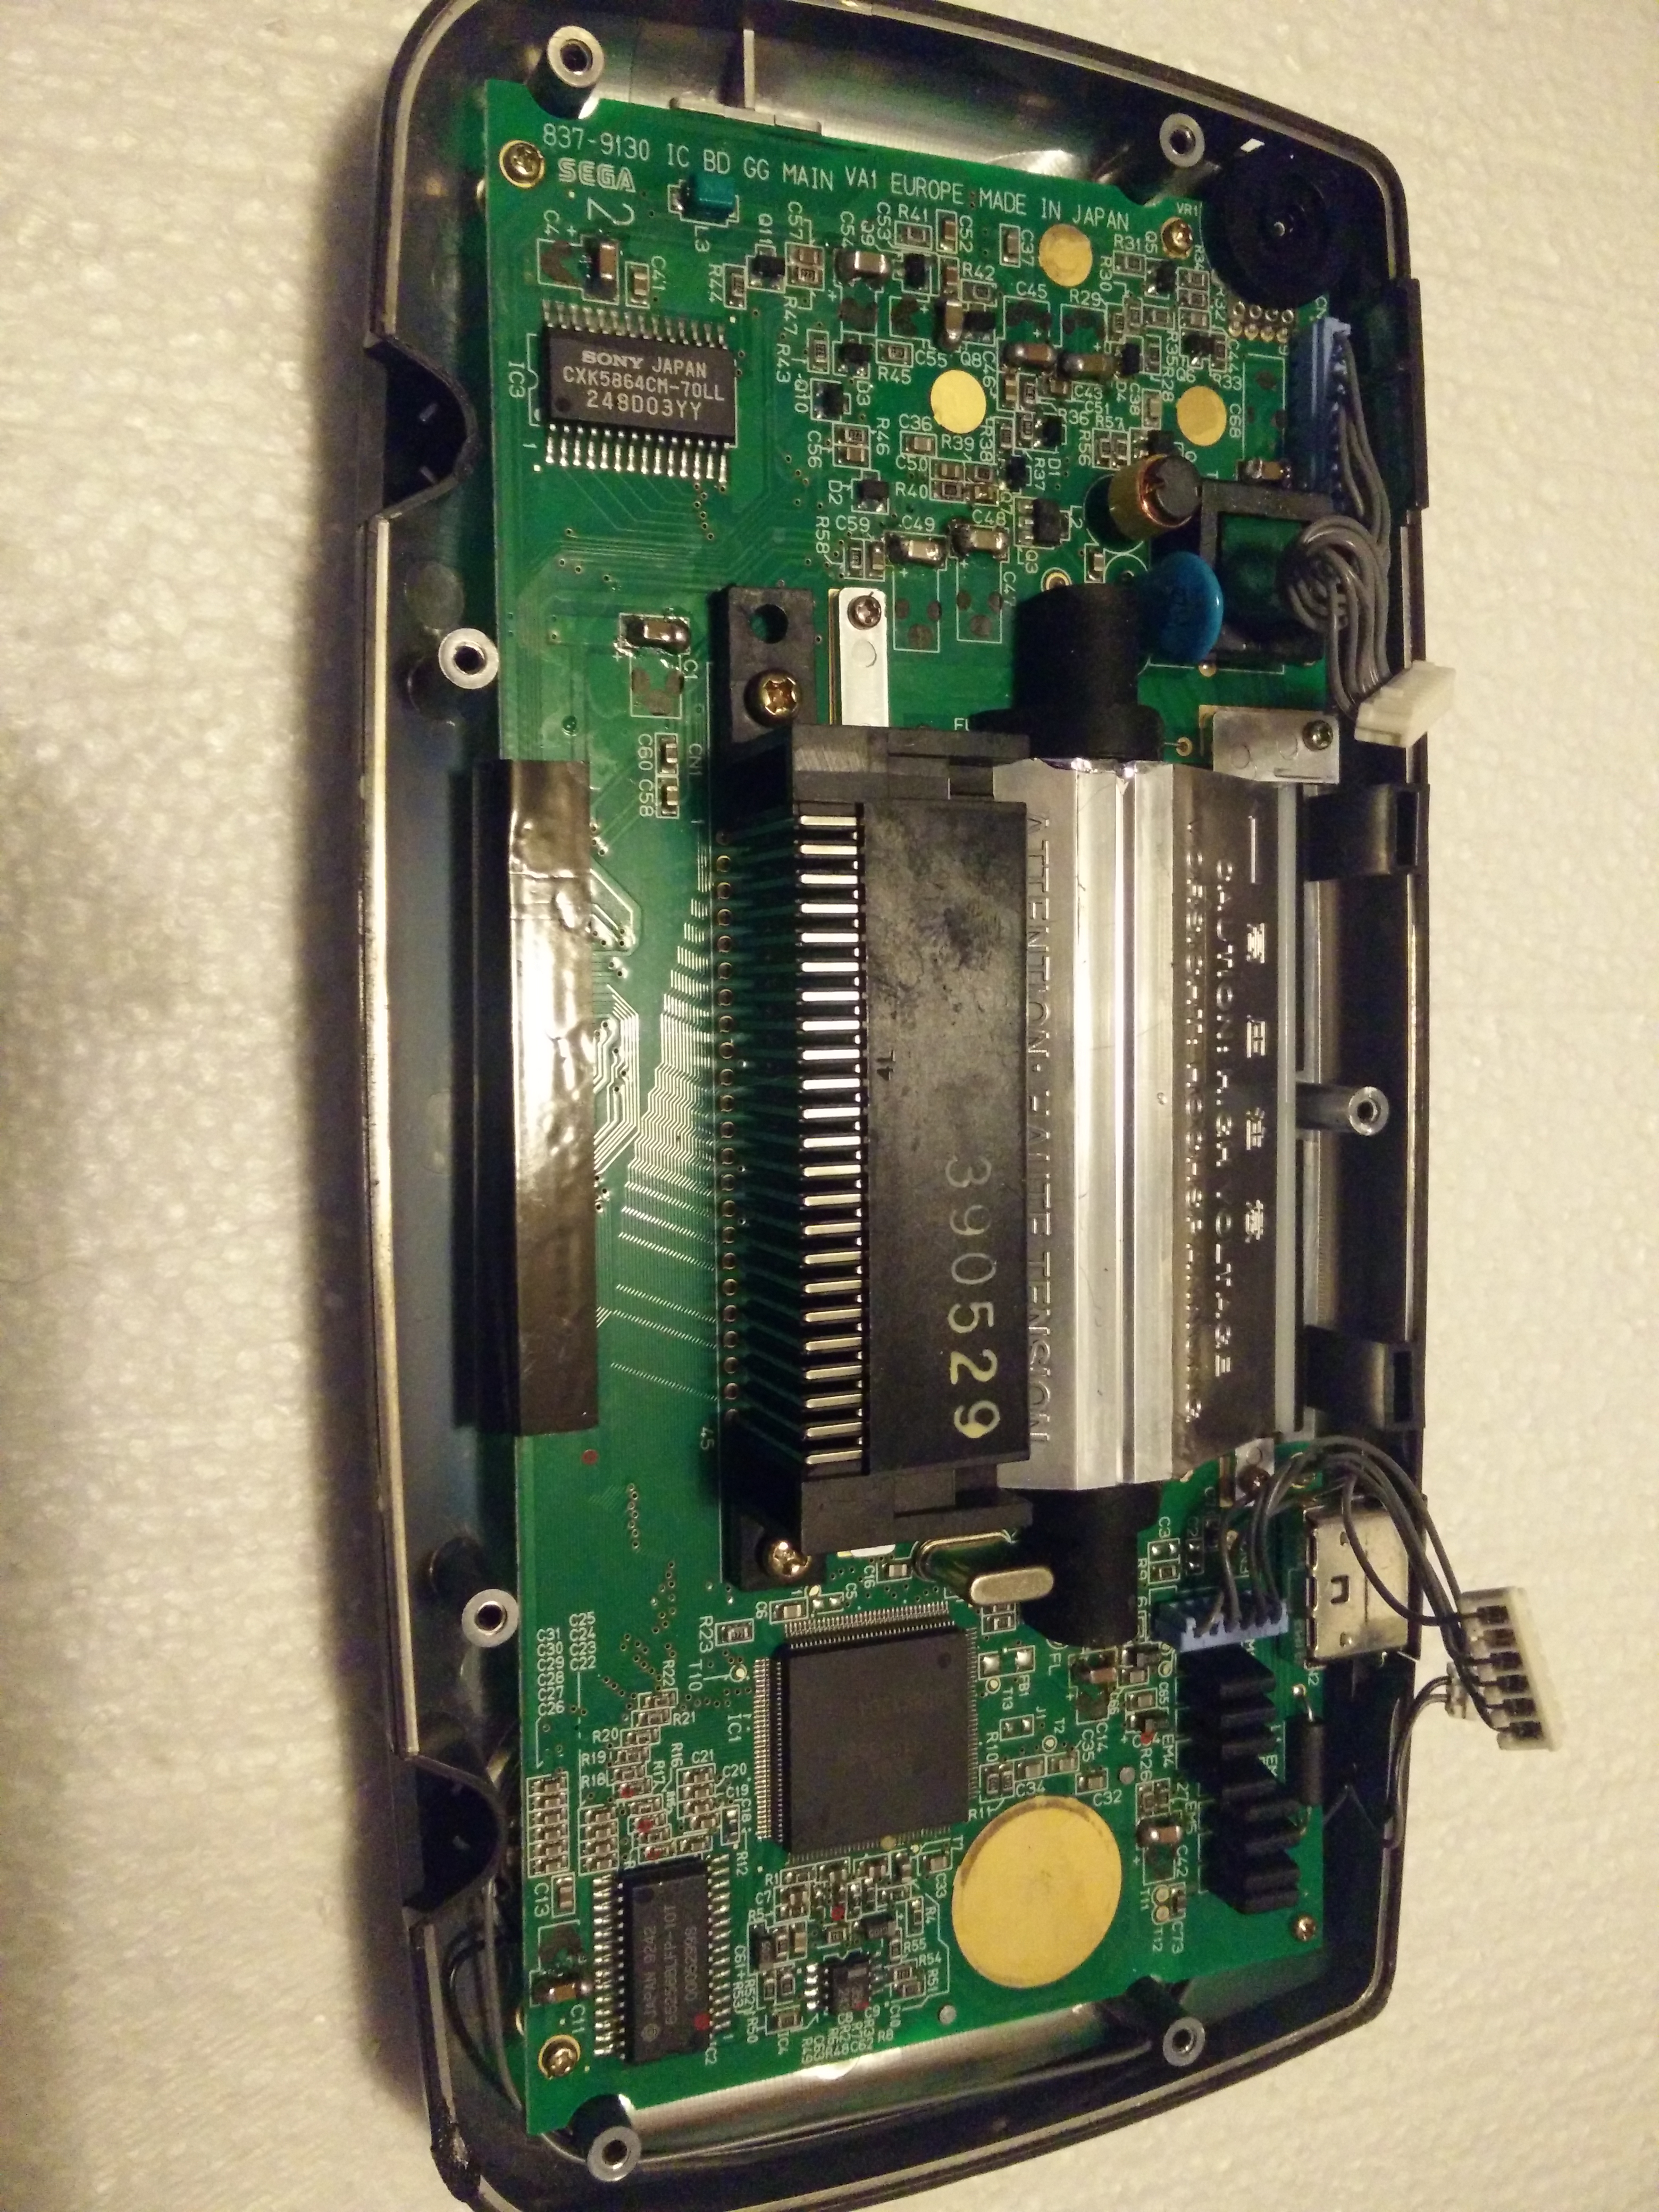
Here is a layout of both sides of the console:
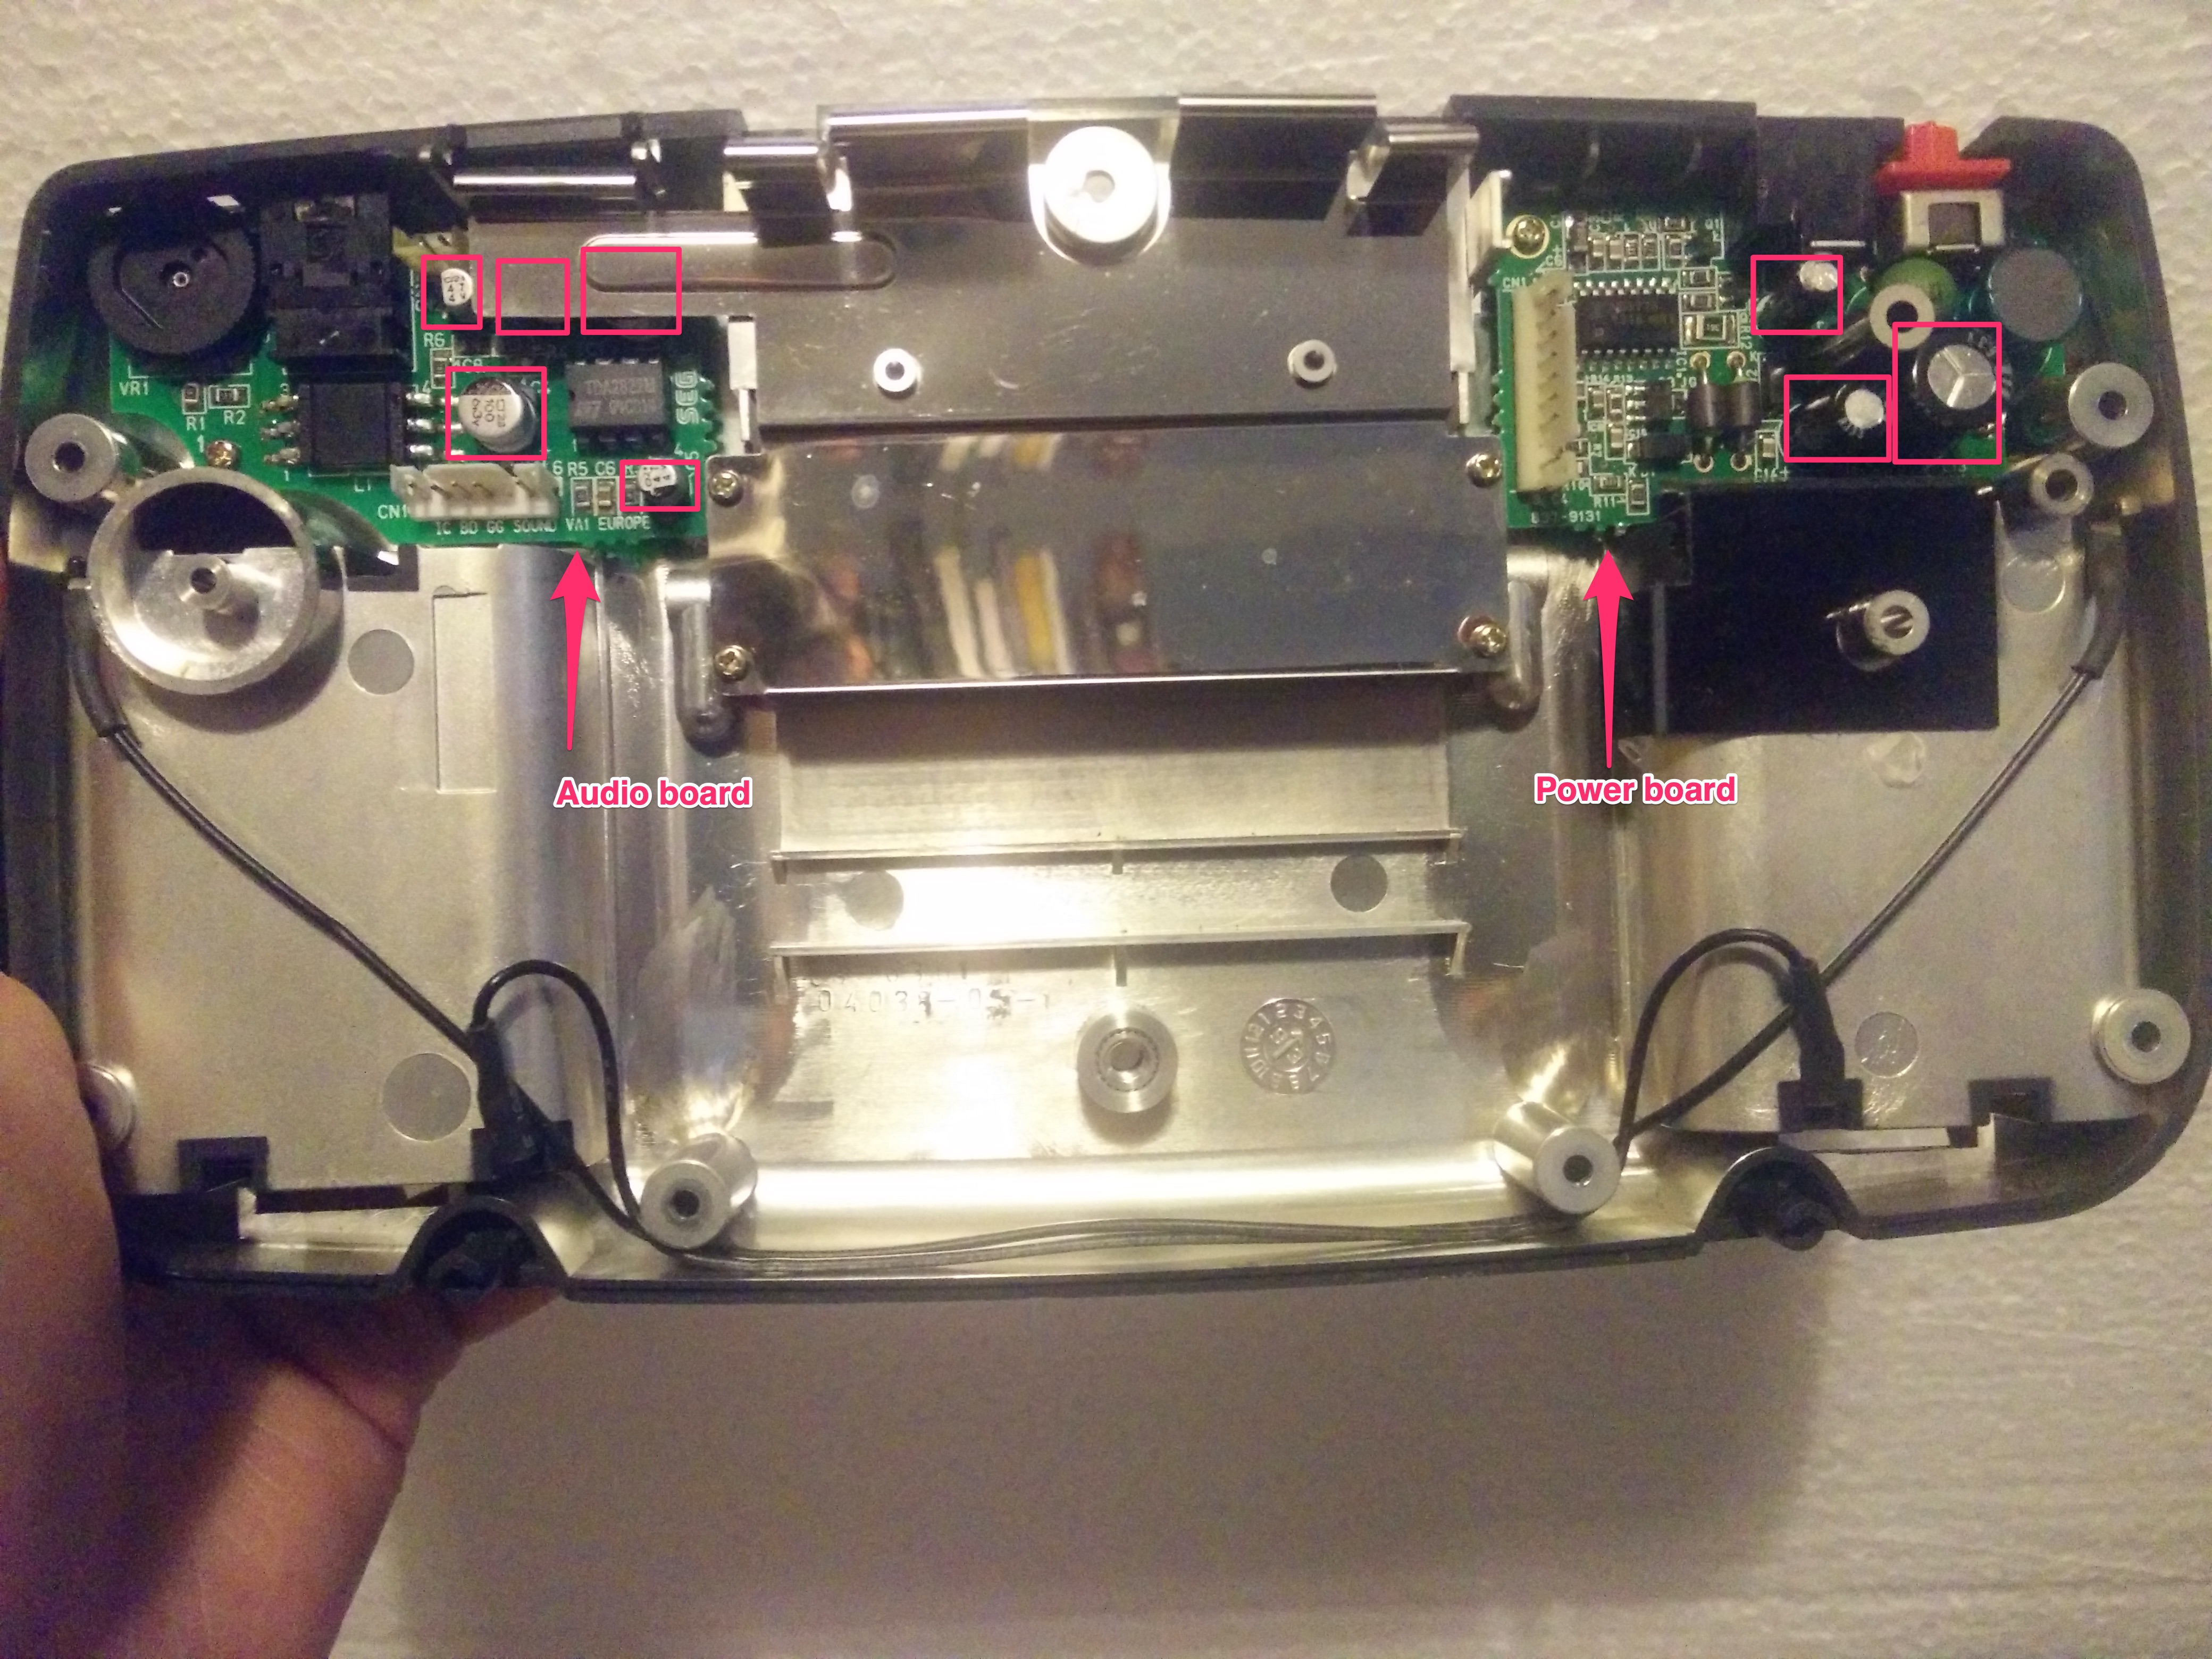
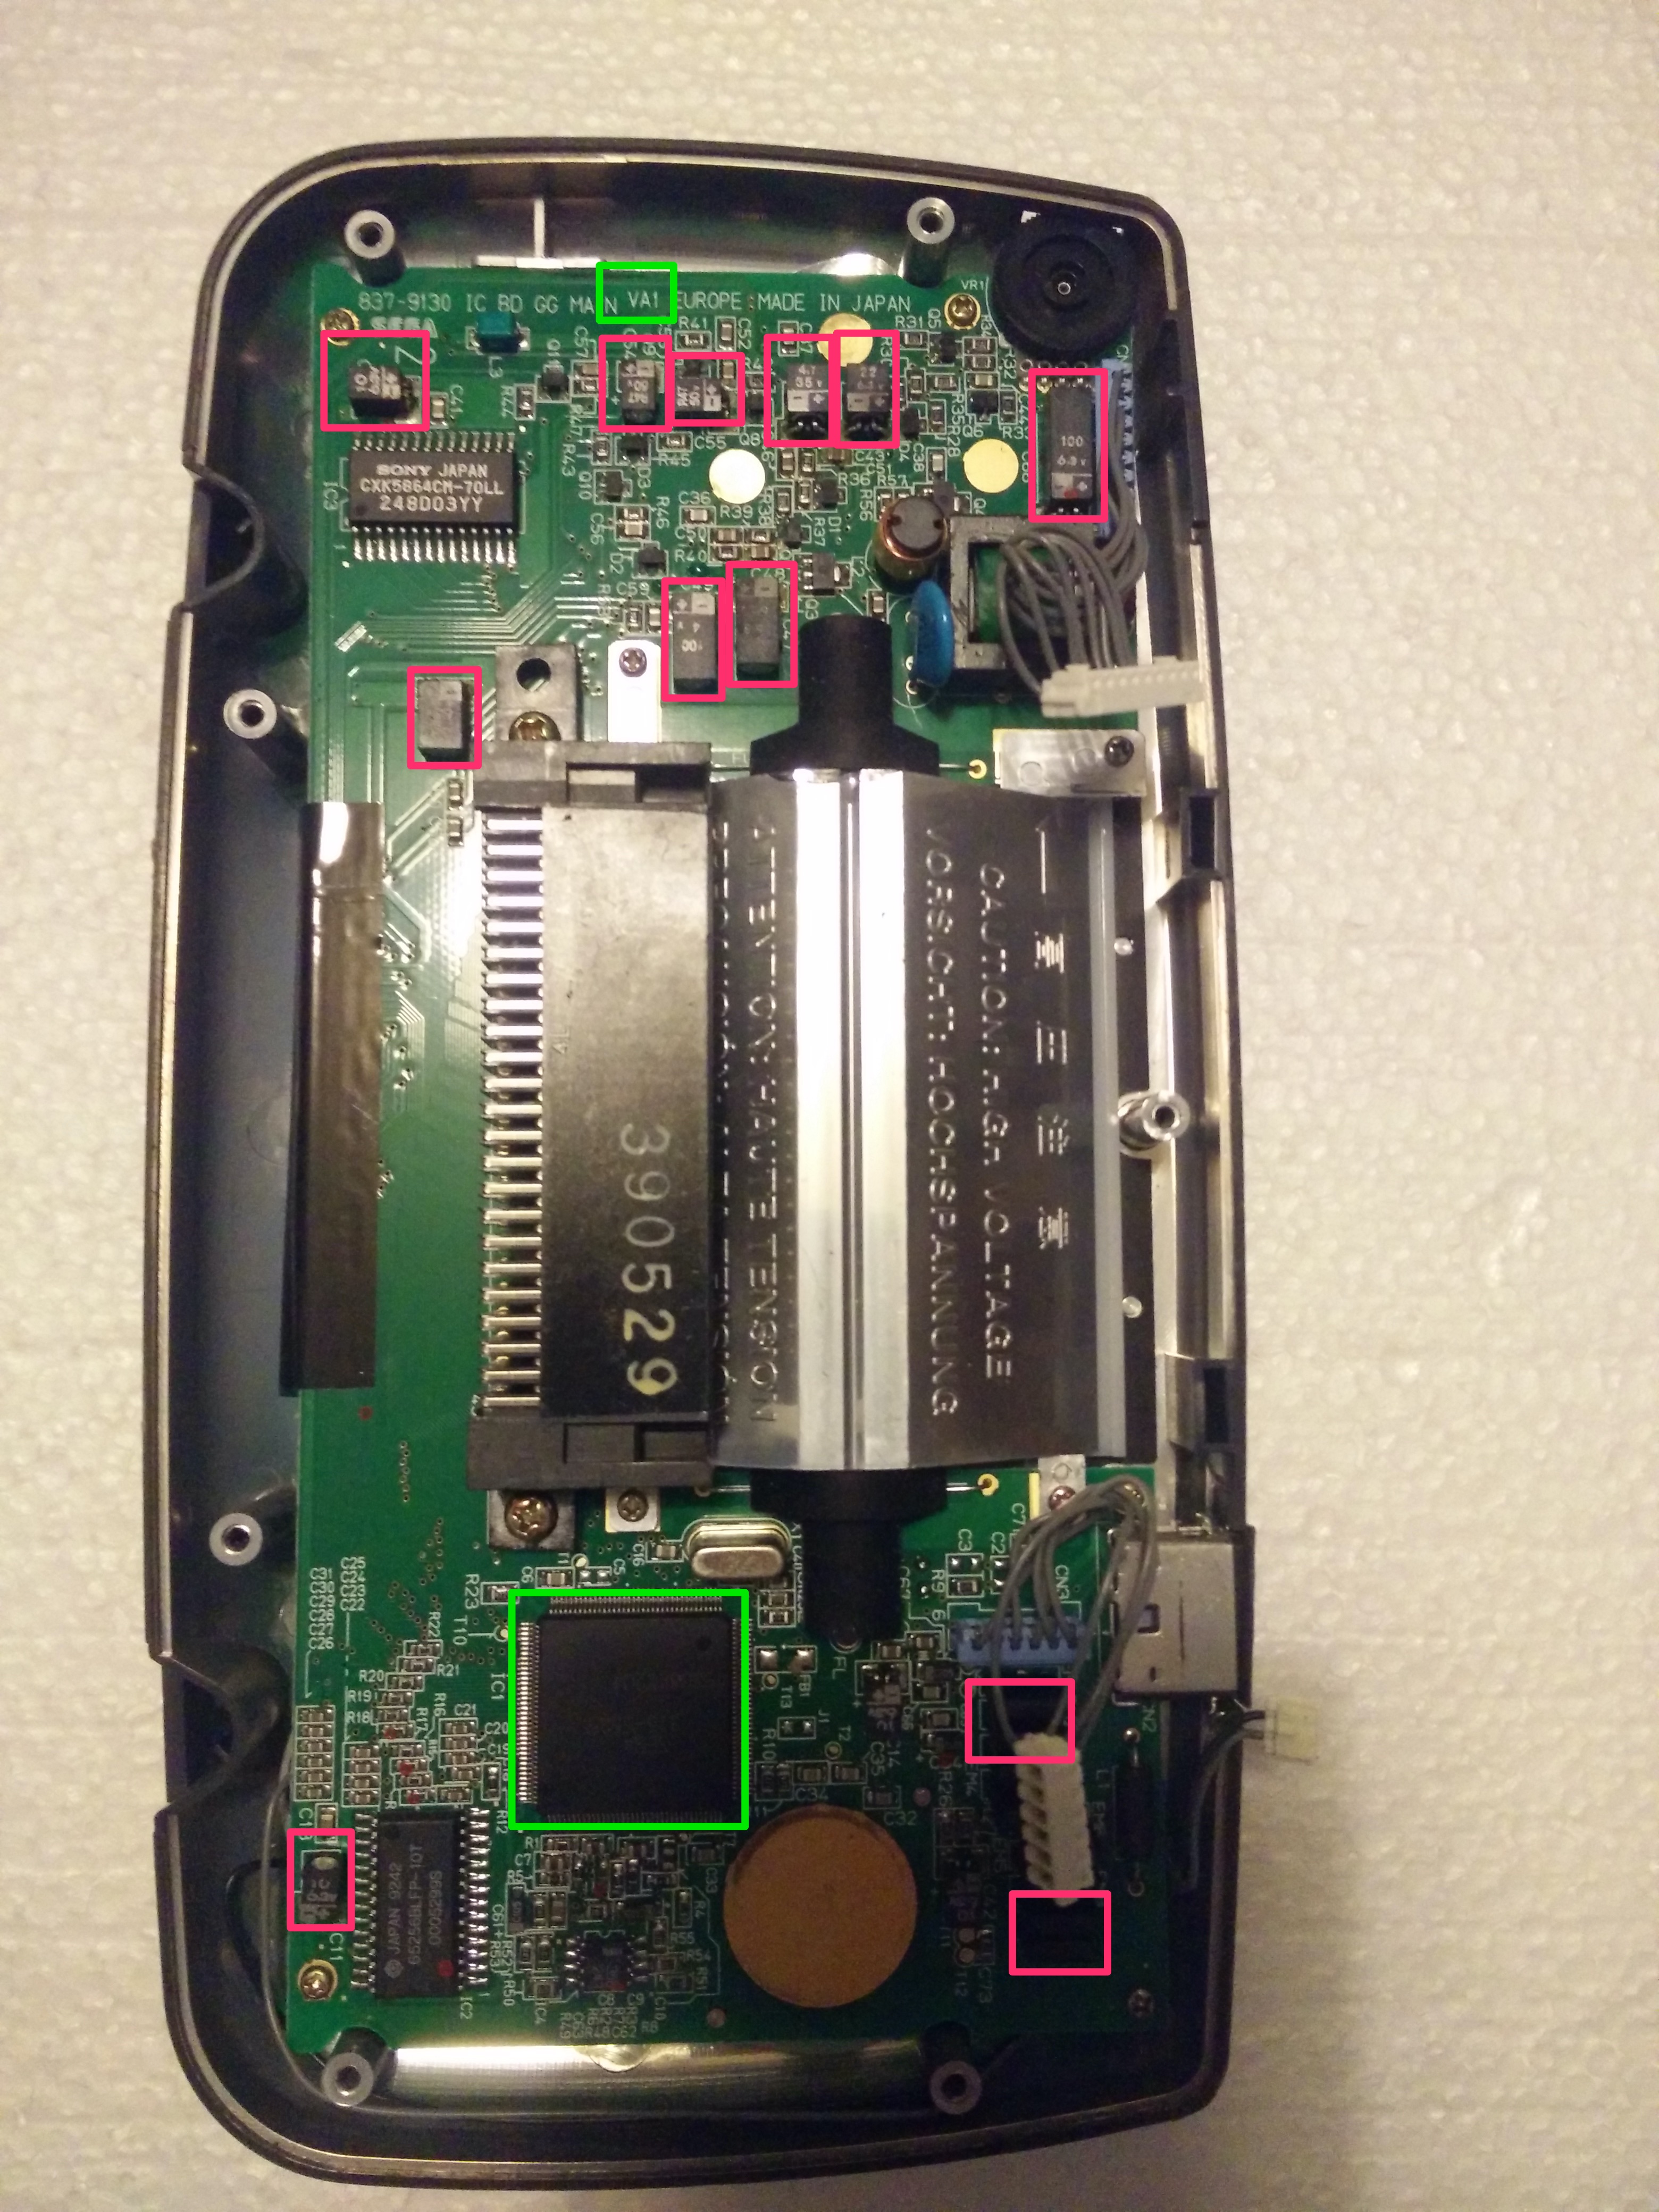
In the images above I have highlighted the capacitors to replace in pink, with the green squares showing the areas which give clues as to the version of the board you have and therefore which capacitors you’ll have to replace.
Let’s start on the power board first, it was the least affected by leakages and uses through-the-hole capacitors:
Removing and replacing these was a simple task:
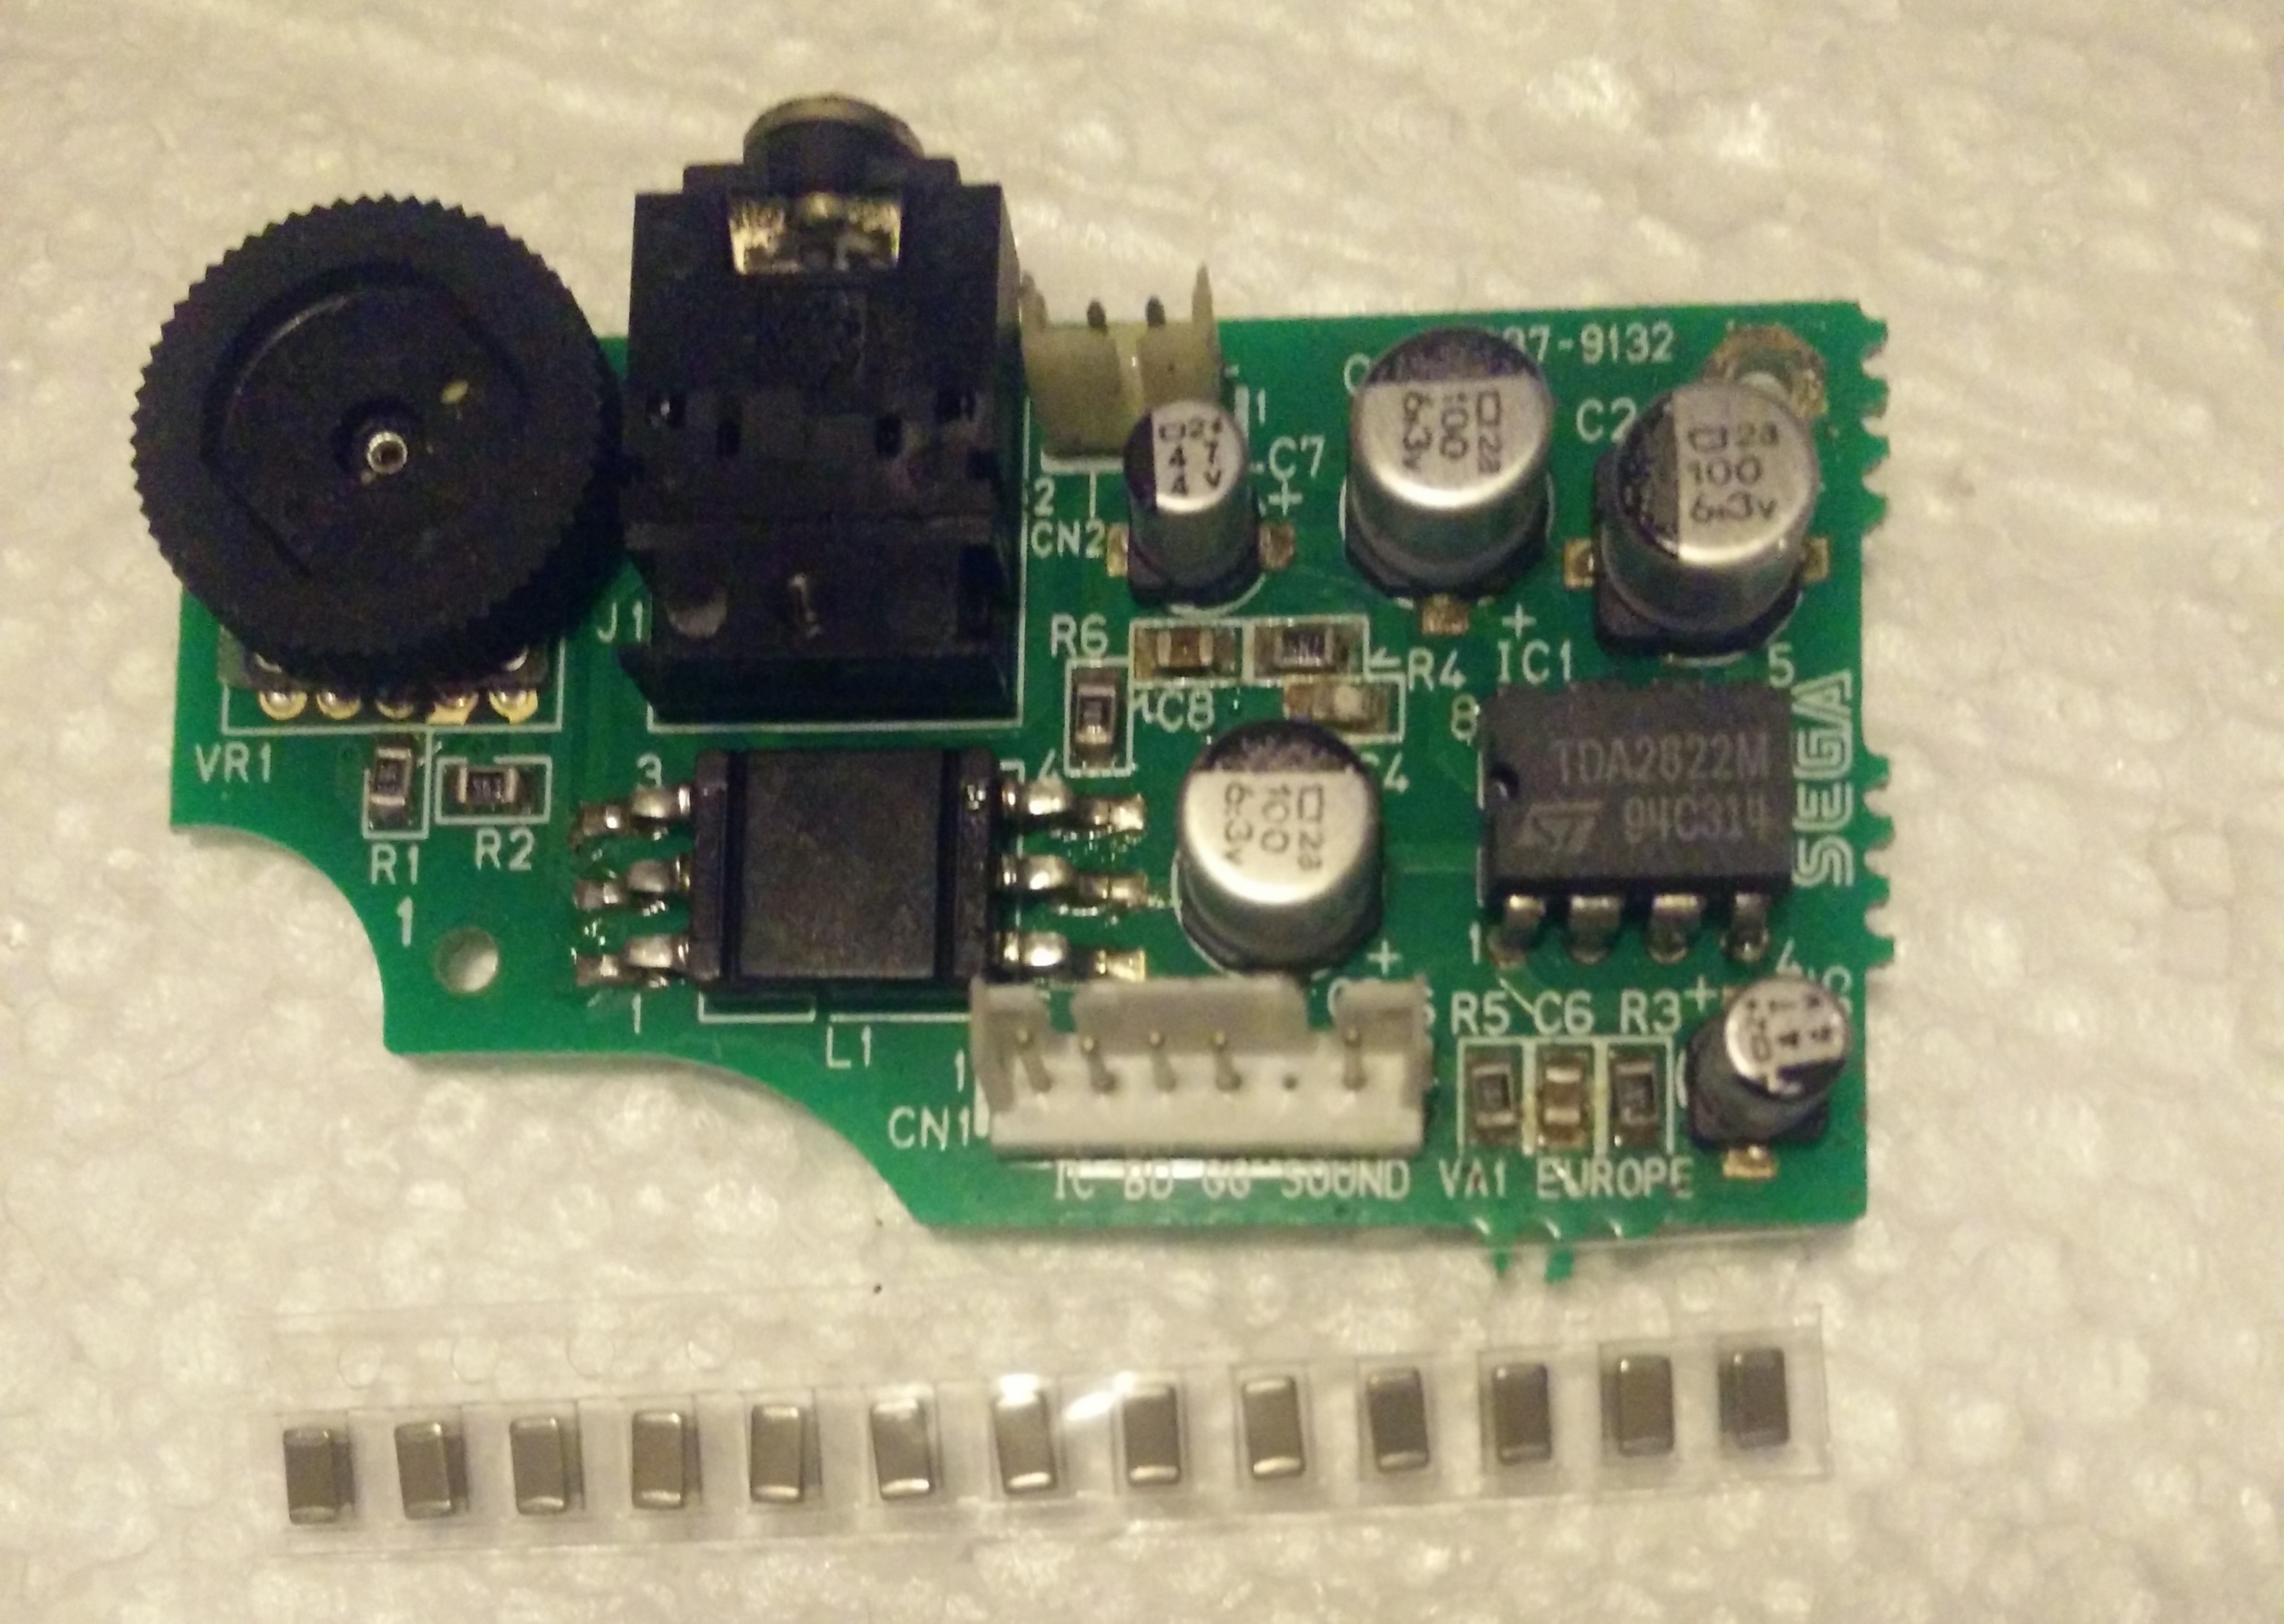
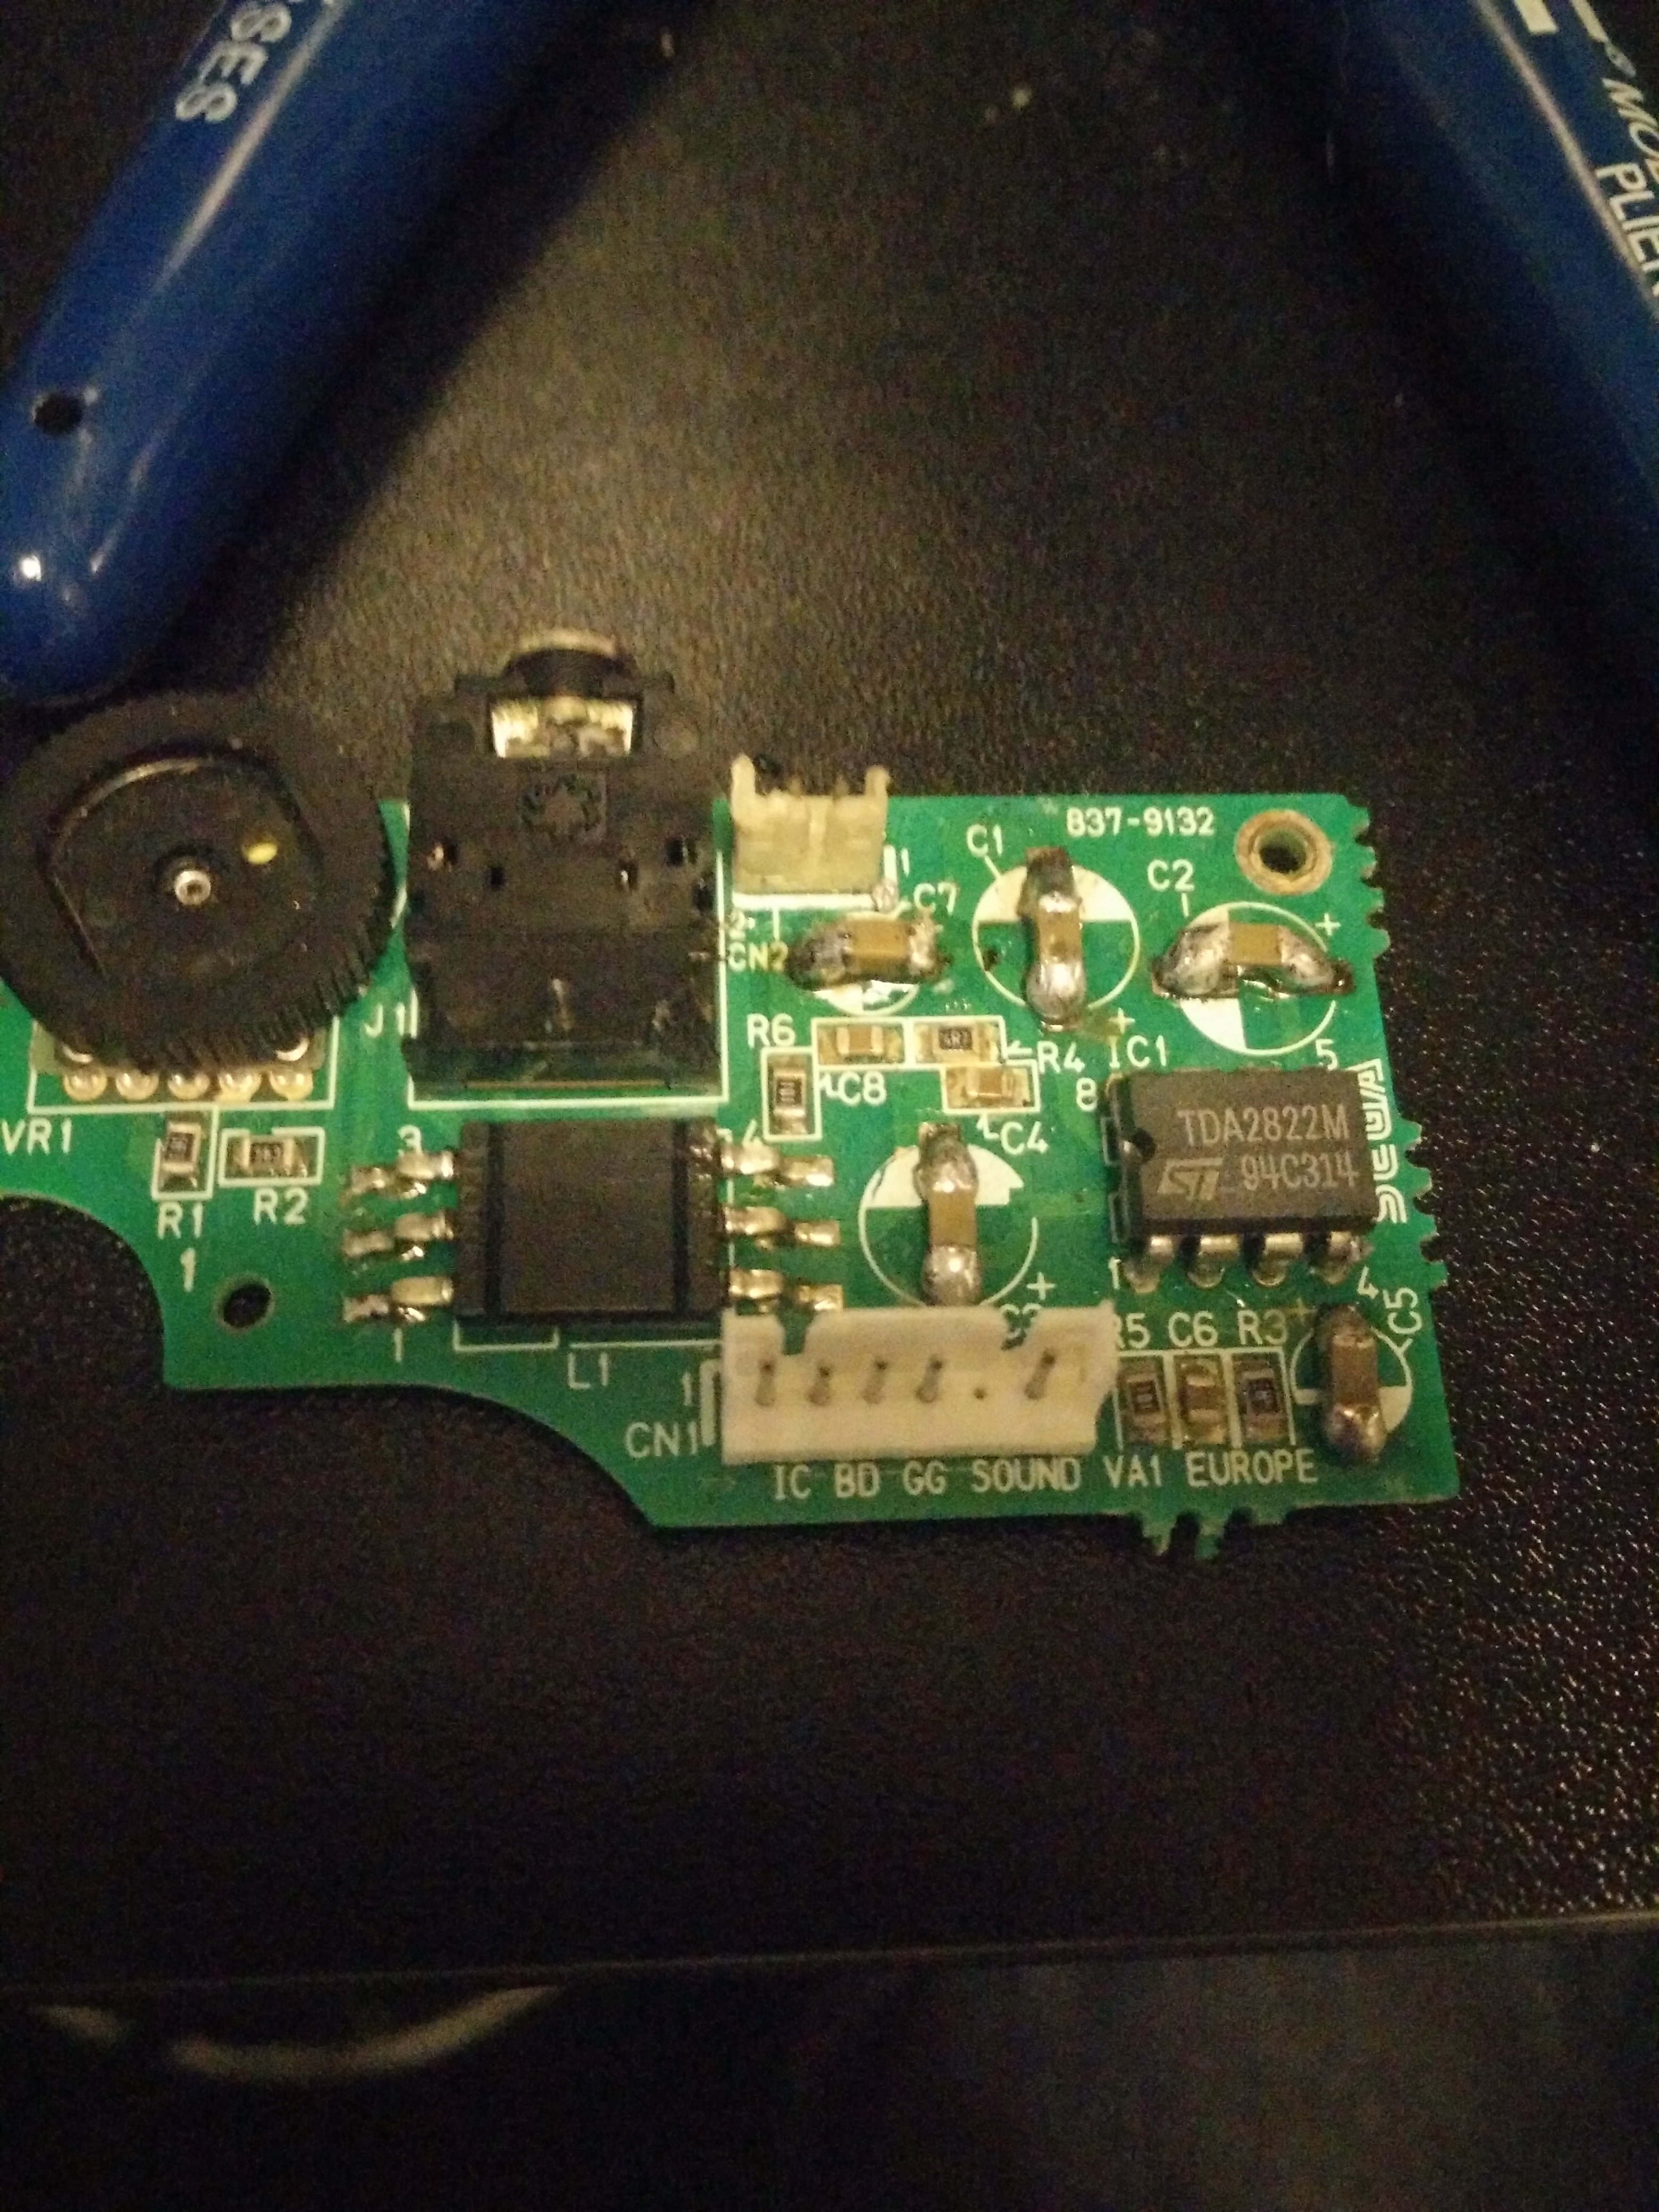
Now moving to the Audio board. This was badly affected, even the screw securing it to the case was crusty with electrolytic blood. The SMD caps they use here have an awful plastic collar, which would be fine if any of the original solder was remaining but there was nothing there:
I used hot tweezers to go underneath, but about 80% of the work was melting away plastic to get to the legs:
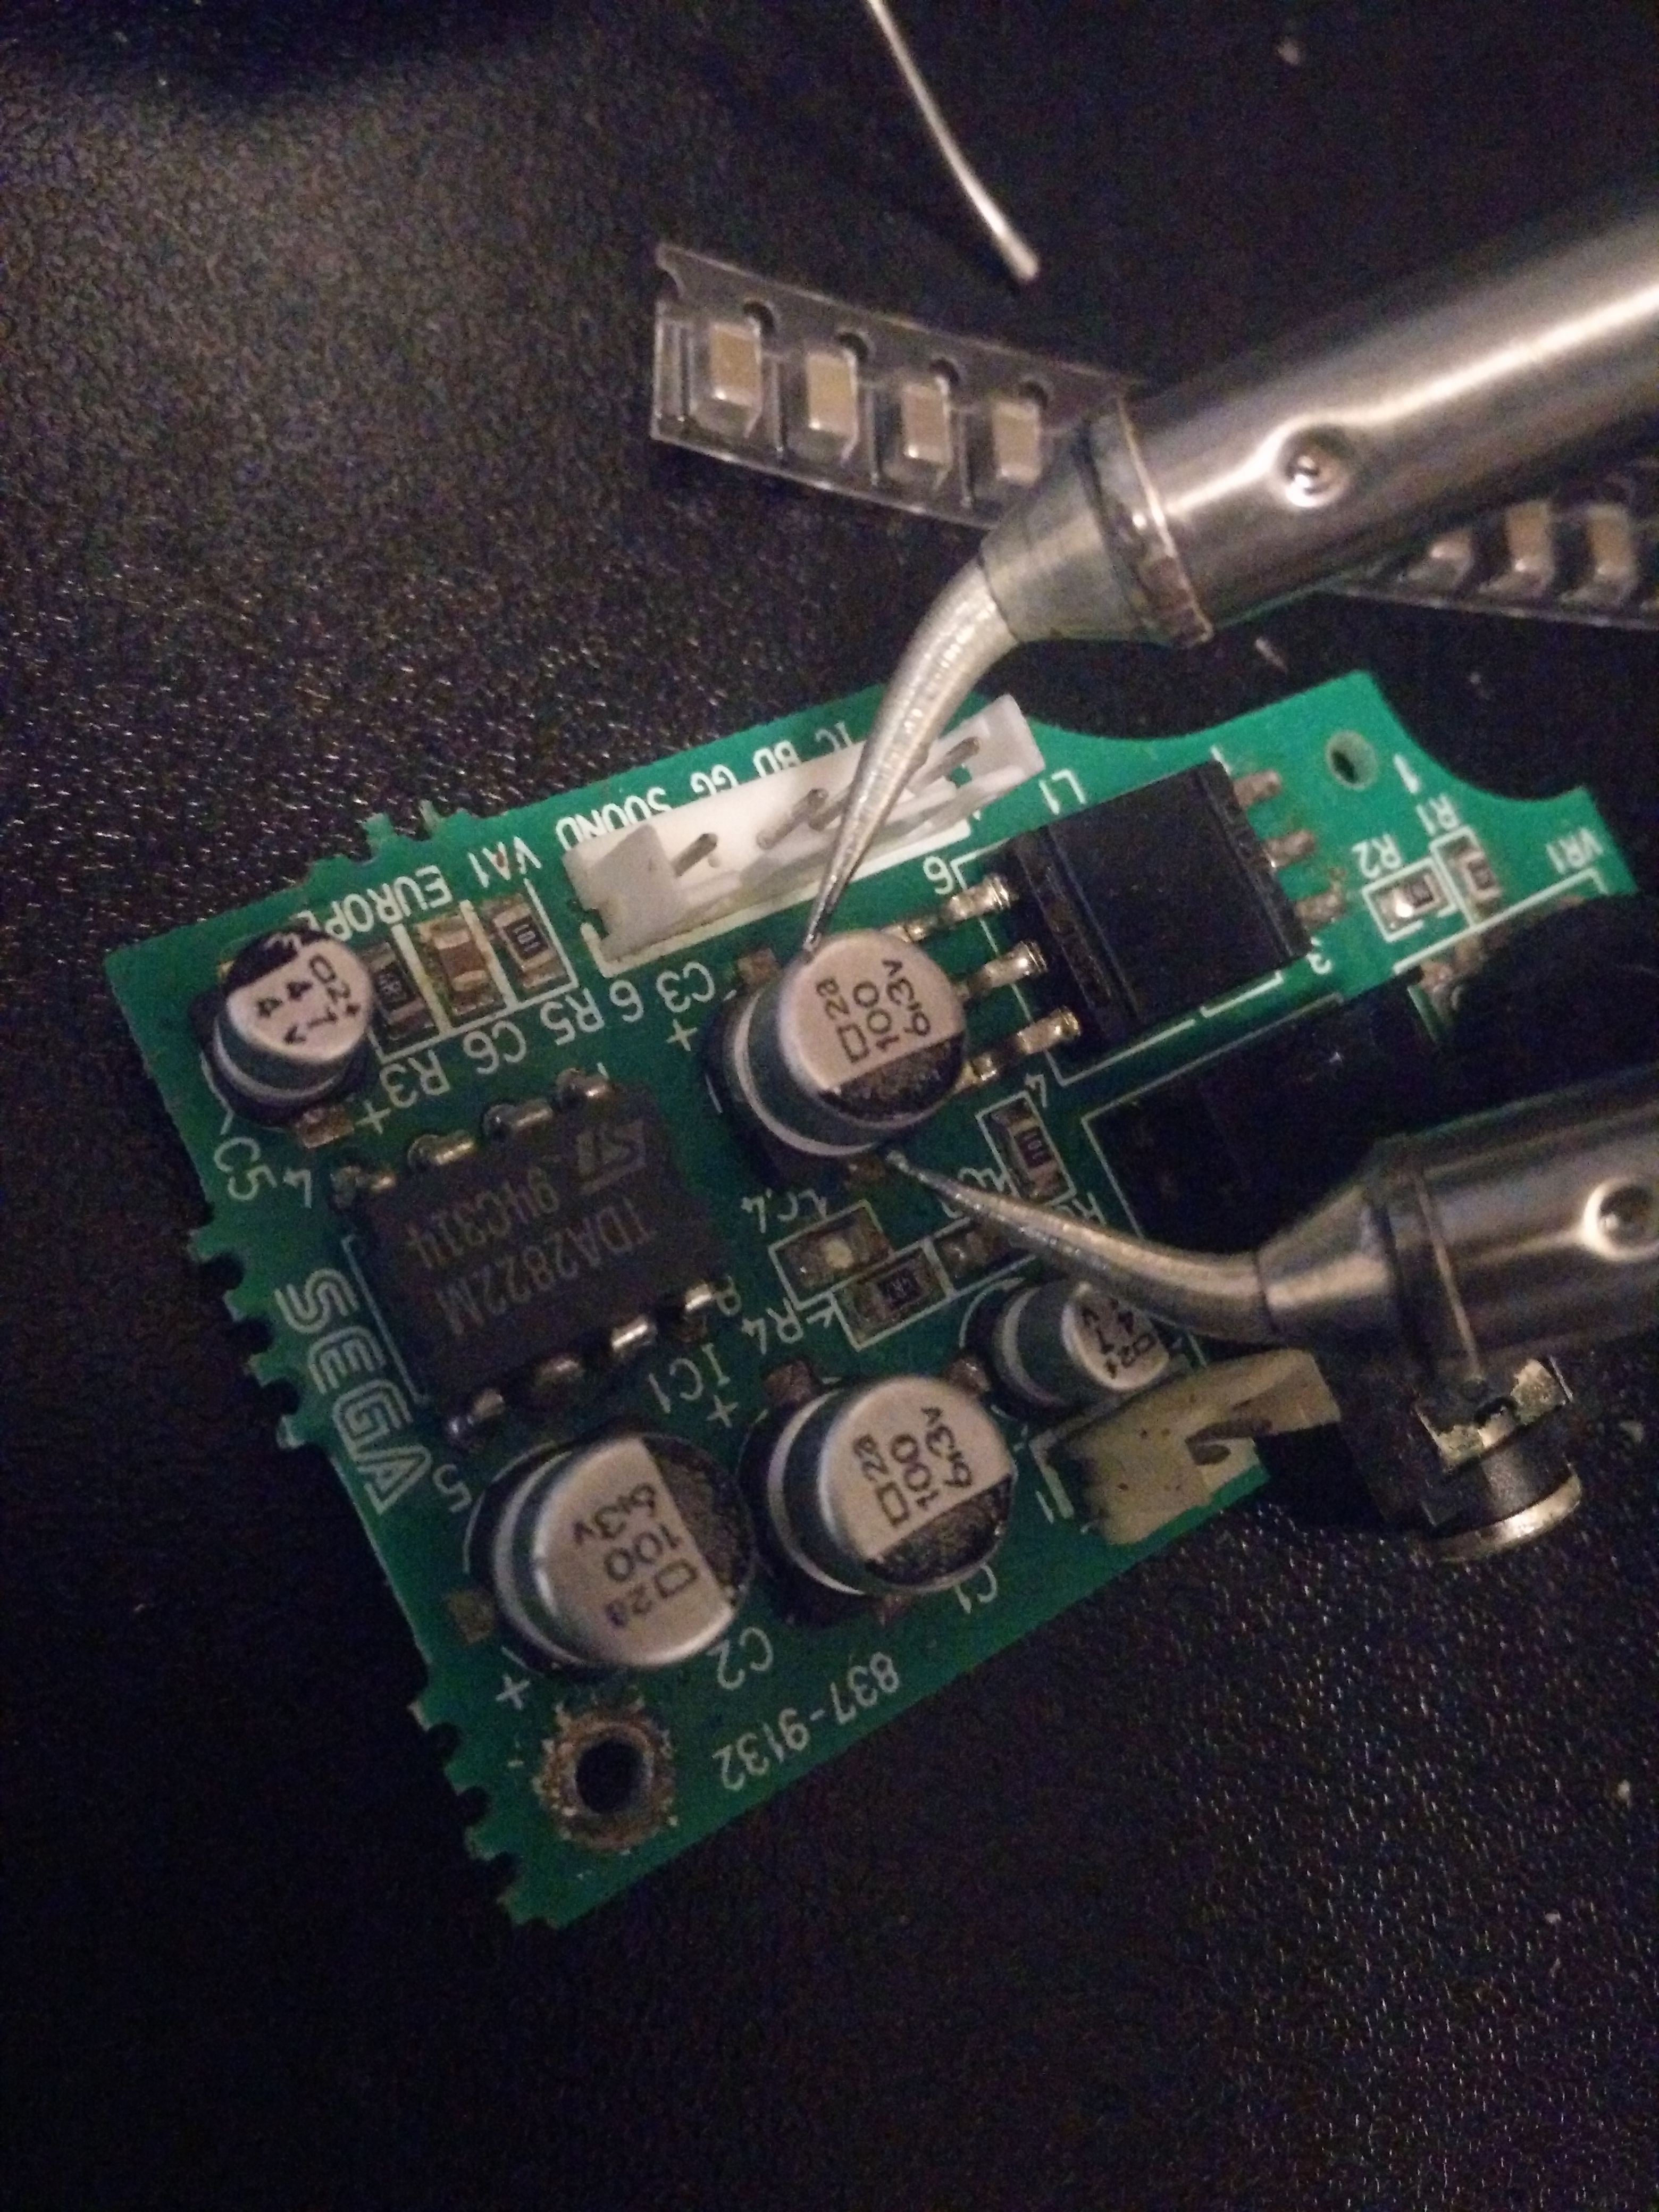
But finally it was done and replaced with SMD alternatives, after giving the board a thorough going-over with some 99% isopropyl alcohol to try and recover as much as I could of the pads to seat the new capacitors over:
The mainboard itself then was equally as bad as the audio board. The Capacitors (Which are also glued to the mainboard) had been busily trying to destroy themselves and their neighbours, so once again removing the old caps tended away from elegance to just lifting their solderless feet from the pads and cleaning all the waste that was left over, then replacing with nice new SMDs. I’ll post the before image again for comparison:
And now after a makeover to give it cute SMDs:
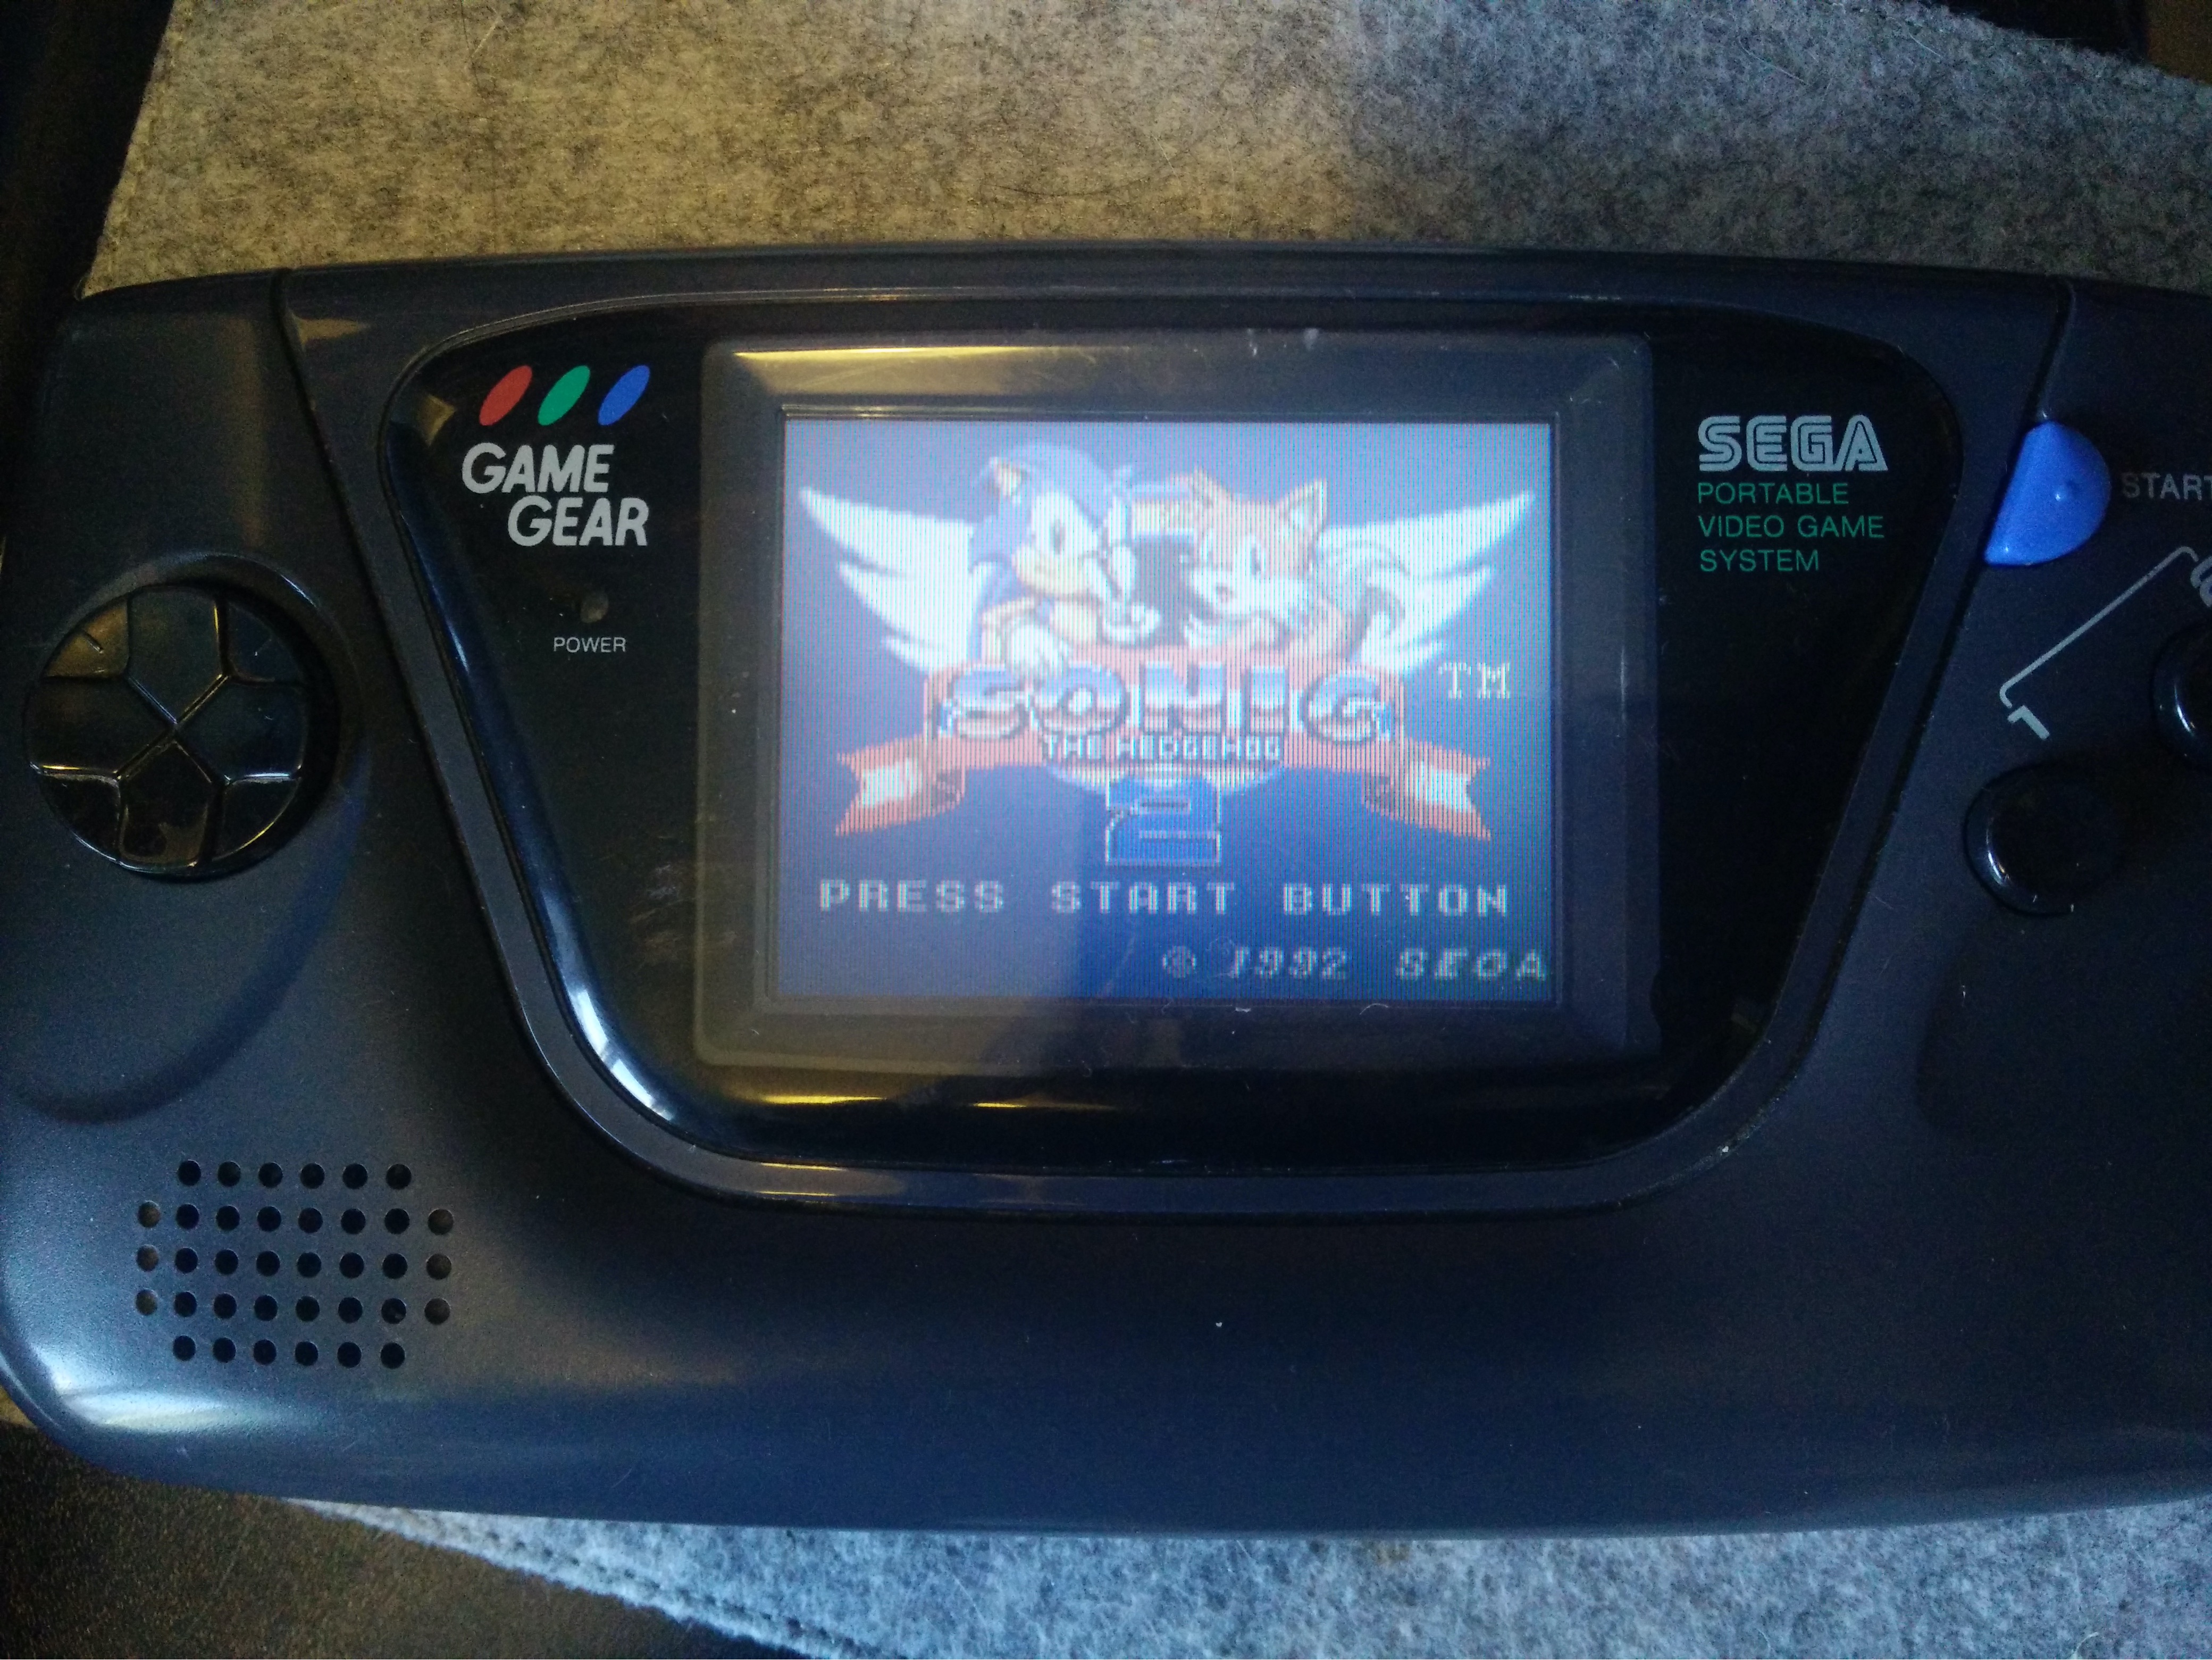
A happy ending
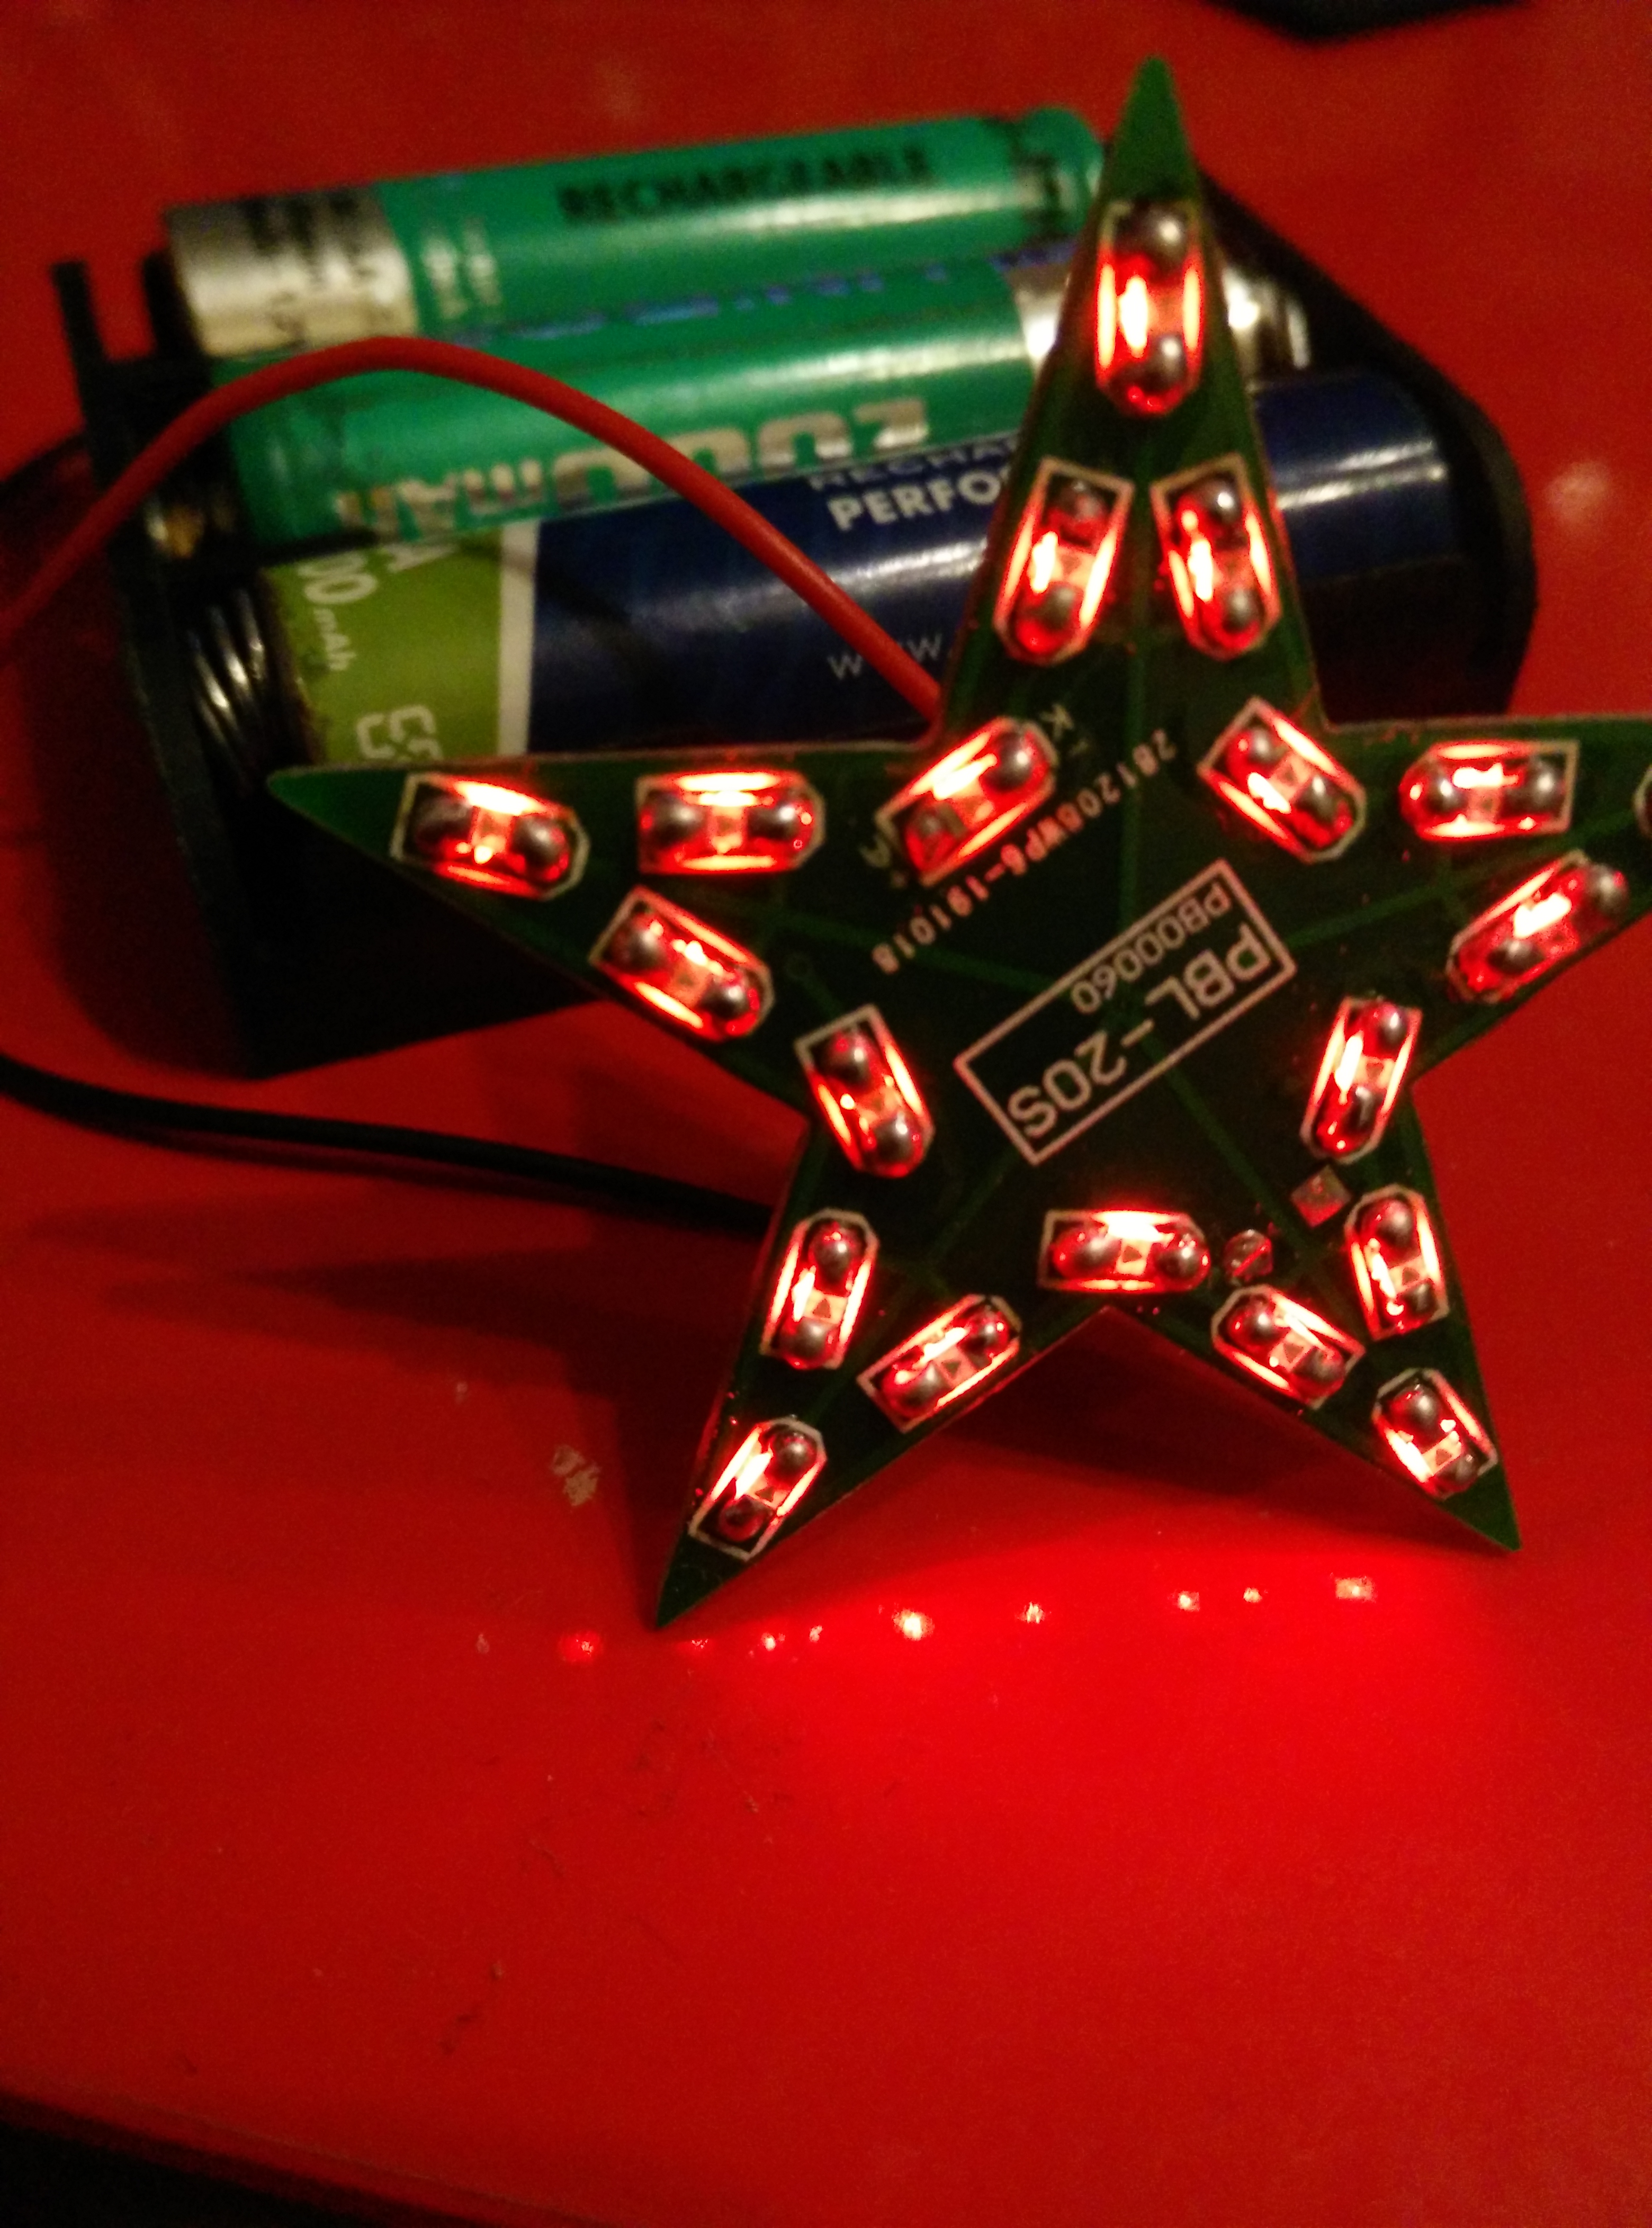
After putting all the bits back together and loading it up with a beastly 6 AA batteries, I tried the power button and the thing came back to life! from the very brink of self destruction:
After trying it out for a bit the only additional work that was needed was that I noticed the buttons weren’t very responsive. Opening it back up and cleaning the traces with isopropyl fixed the ‘1’ button which was barely working, but for the D-Pad I needed a full new set of conductive rubbers.
I think my timing couldn’t have left it any more to chance. The board of this unit was already starting to suffer from the effects of leaky capacitors and this was probably within a rapidly-narrowing window of opportunity for repair, but it’s all good now and a fun activity.