NES Frontloader Recap and Refresh
Refurbishing a NES
A NES should in theory be easier to recap than the Game Gear I’ve just done; after all it’s seven through hole capacitors (For my specific console though this varies), should be finished in the time it takes for a quick cuppa right?
Unfortunately, the RF/Power module is contained within a shielded box and then soldered awkwardly to the mainboard.
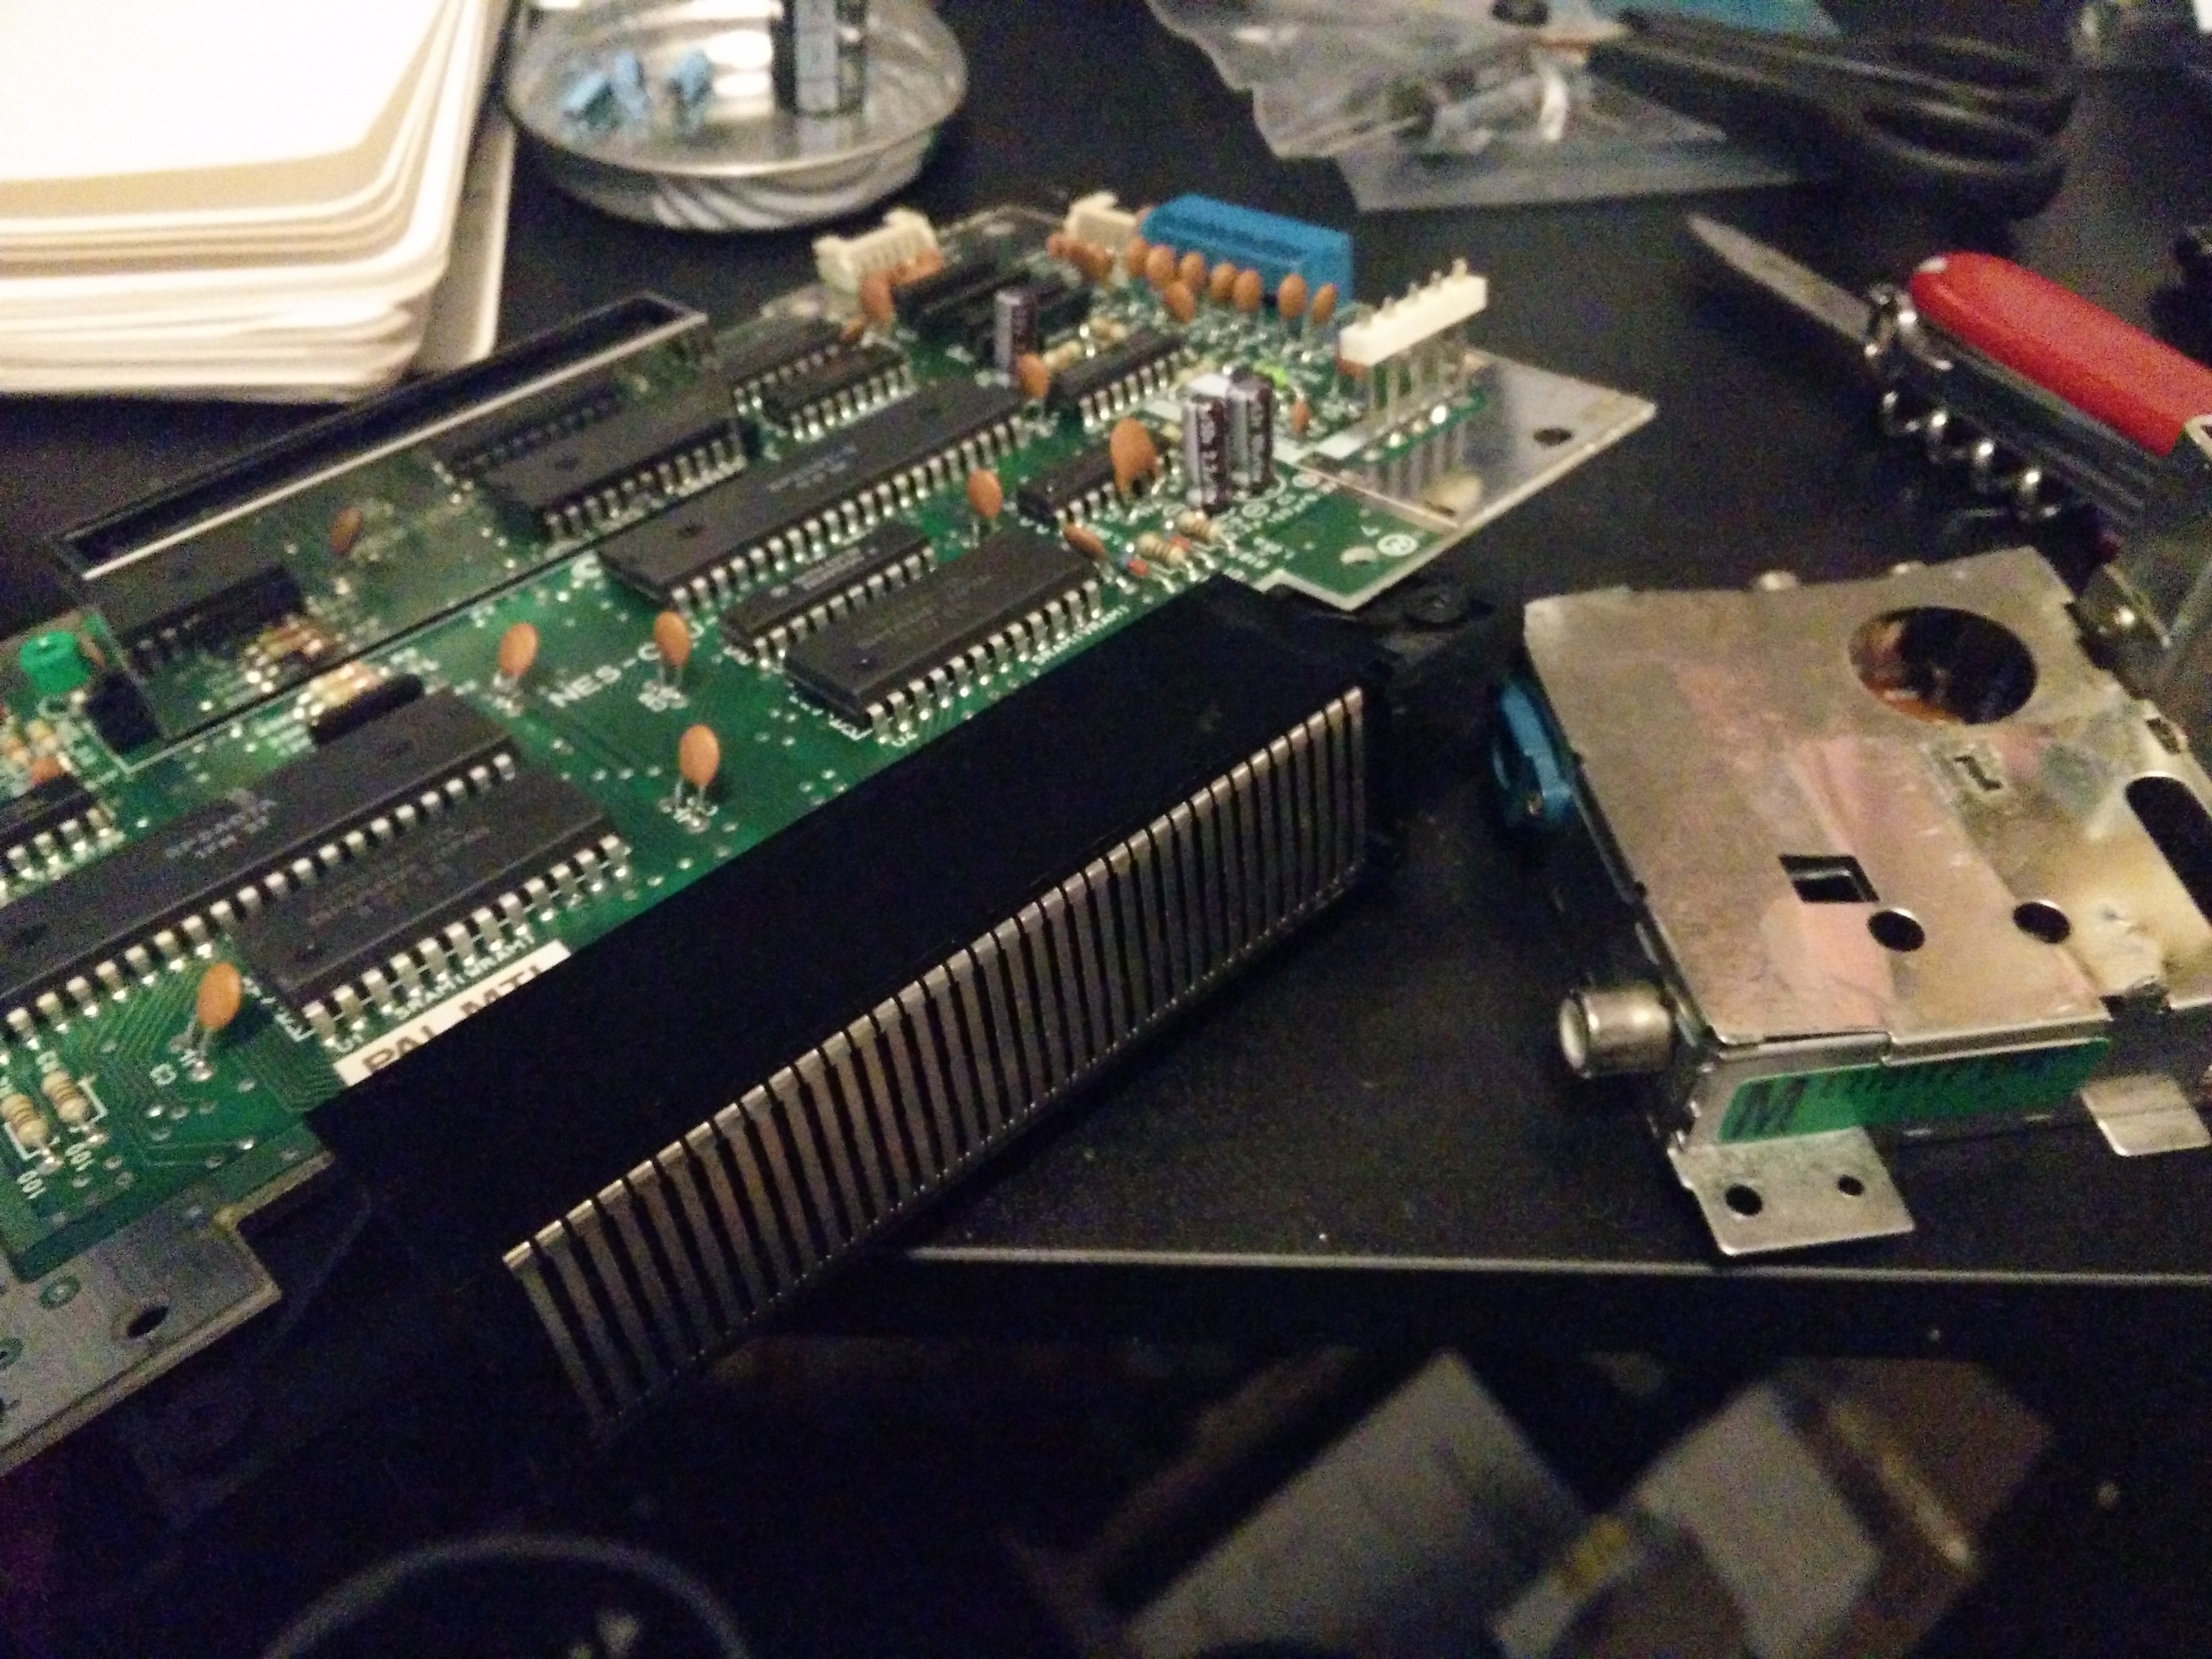
First let’s undo the ten thousand screws to free up the mainboard:
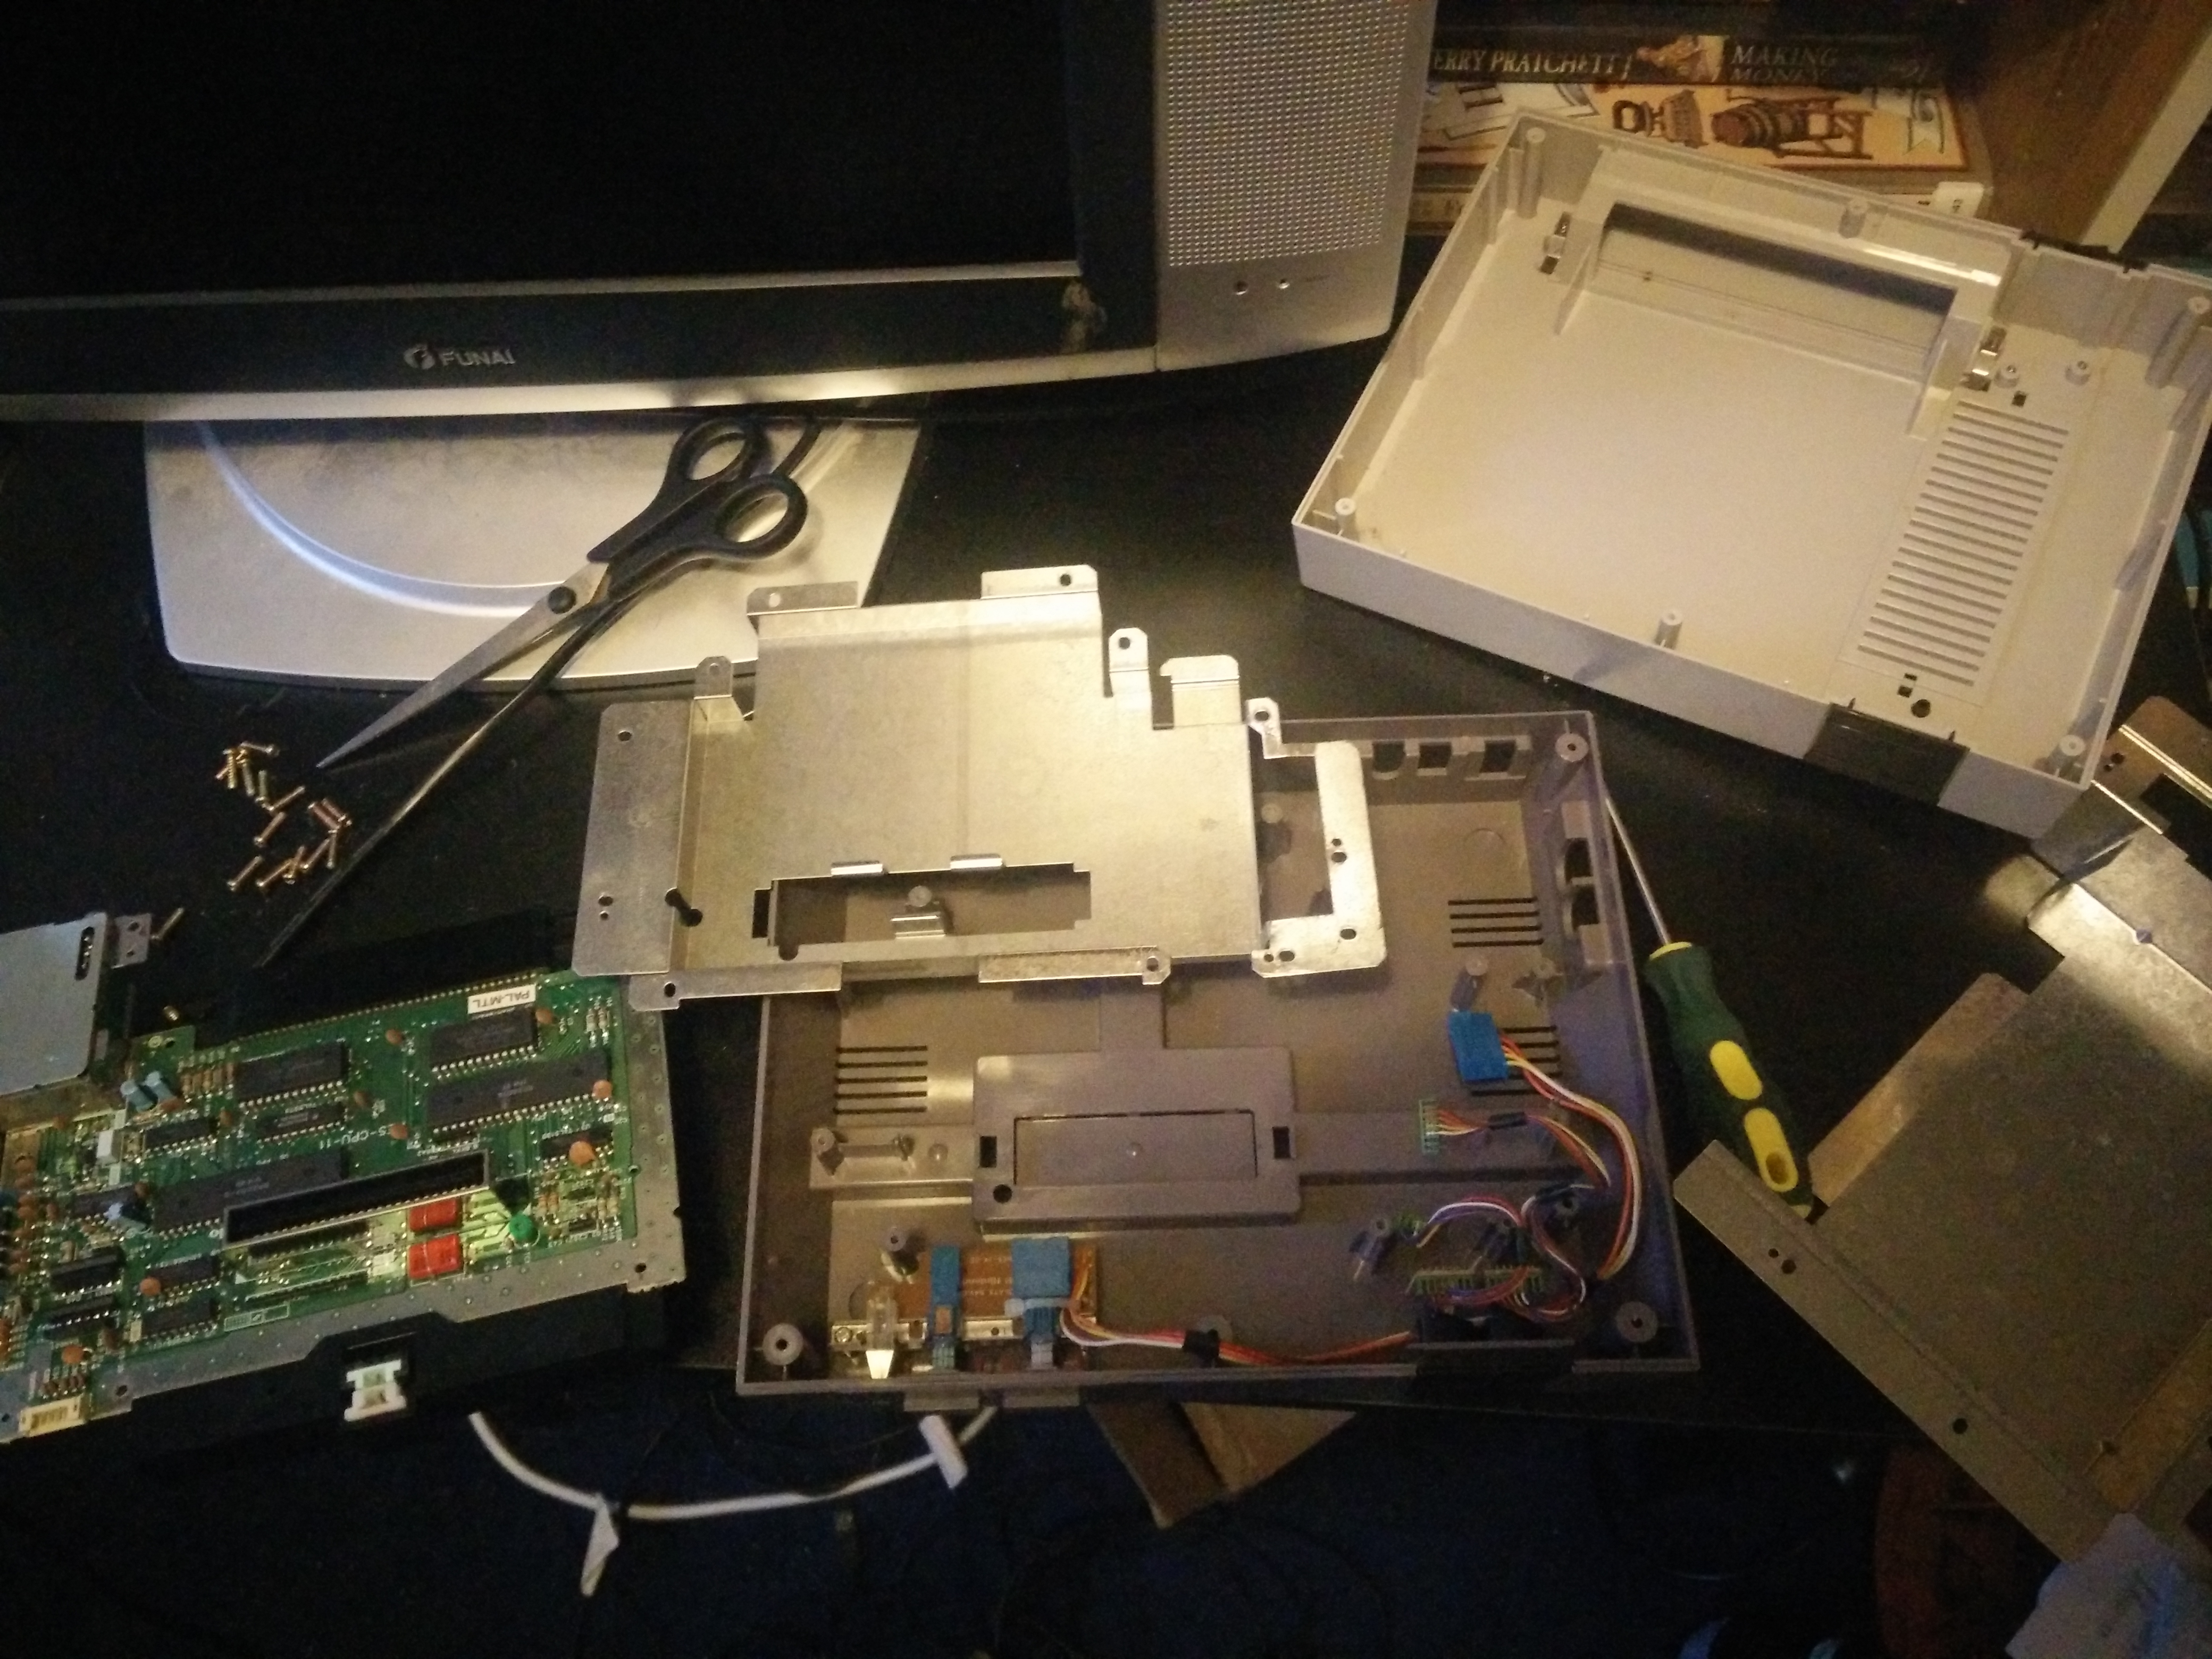
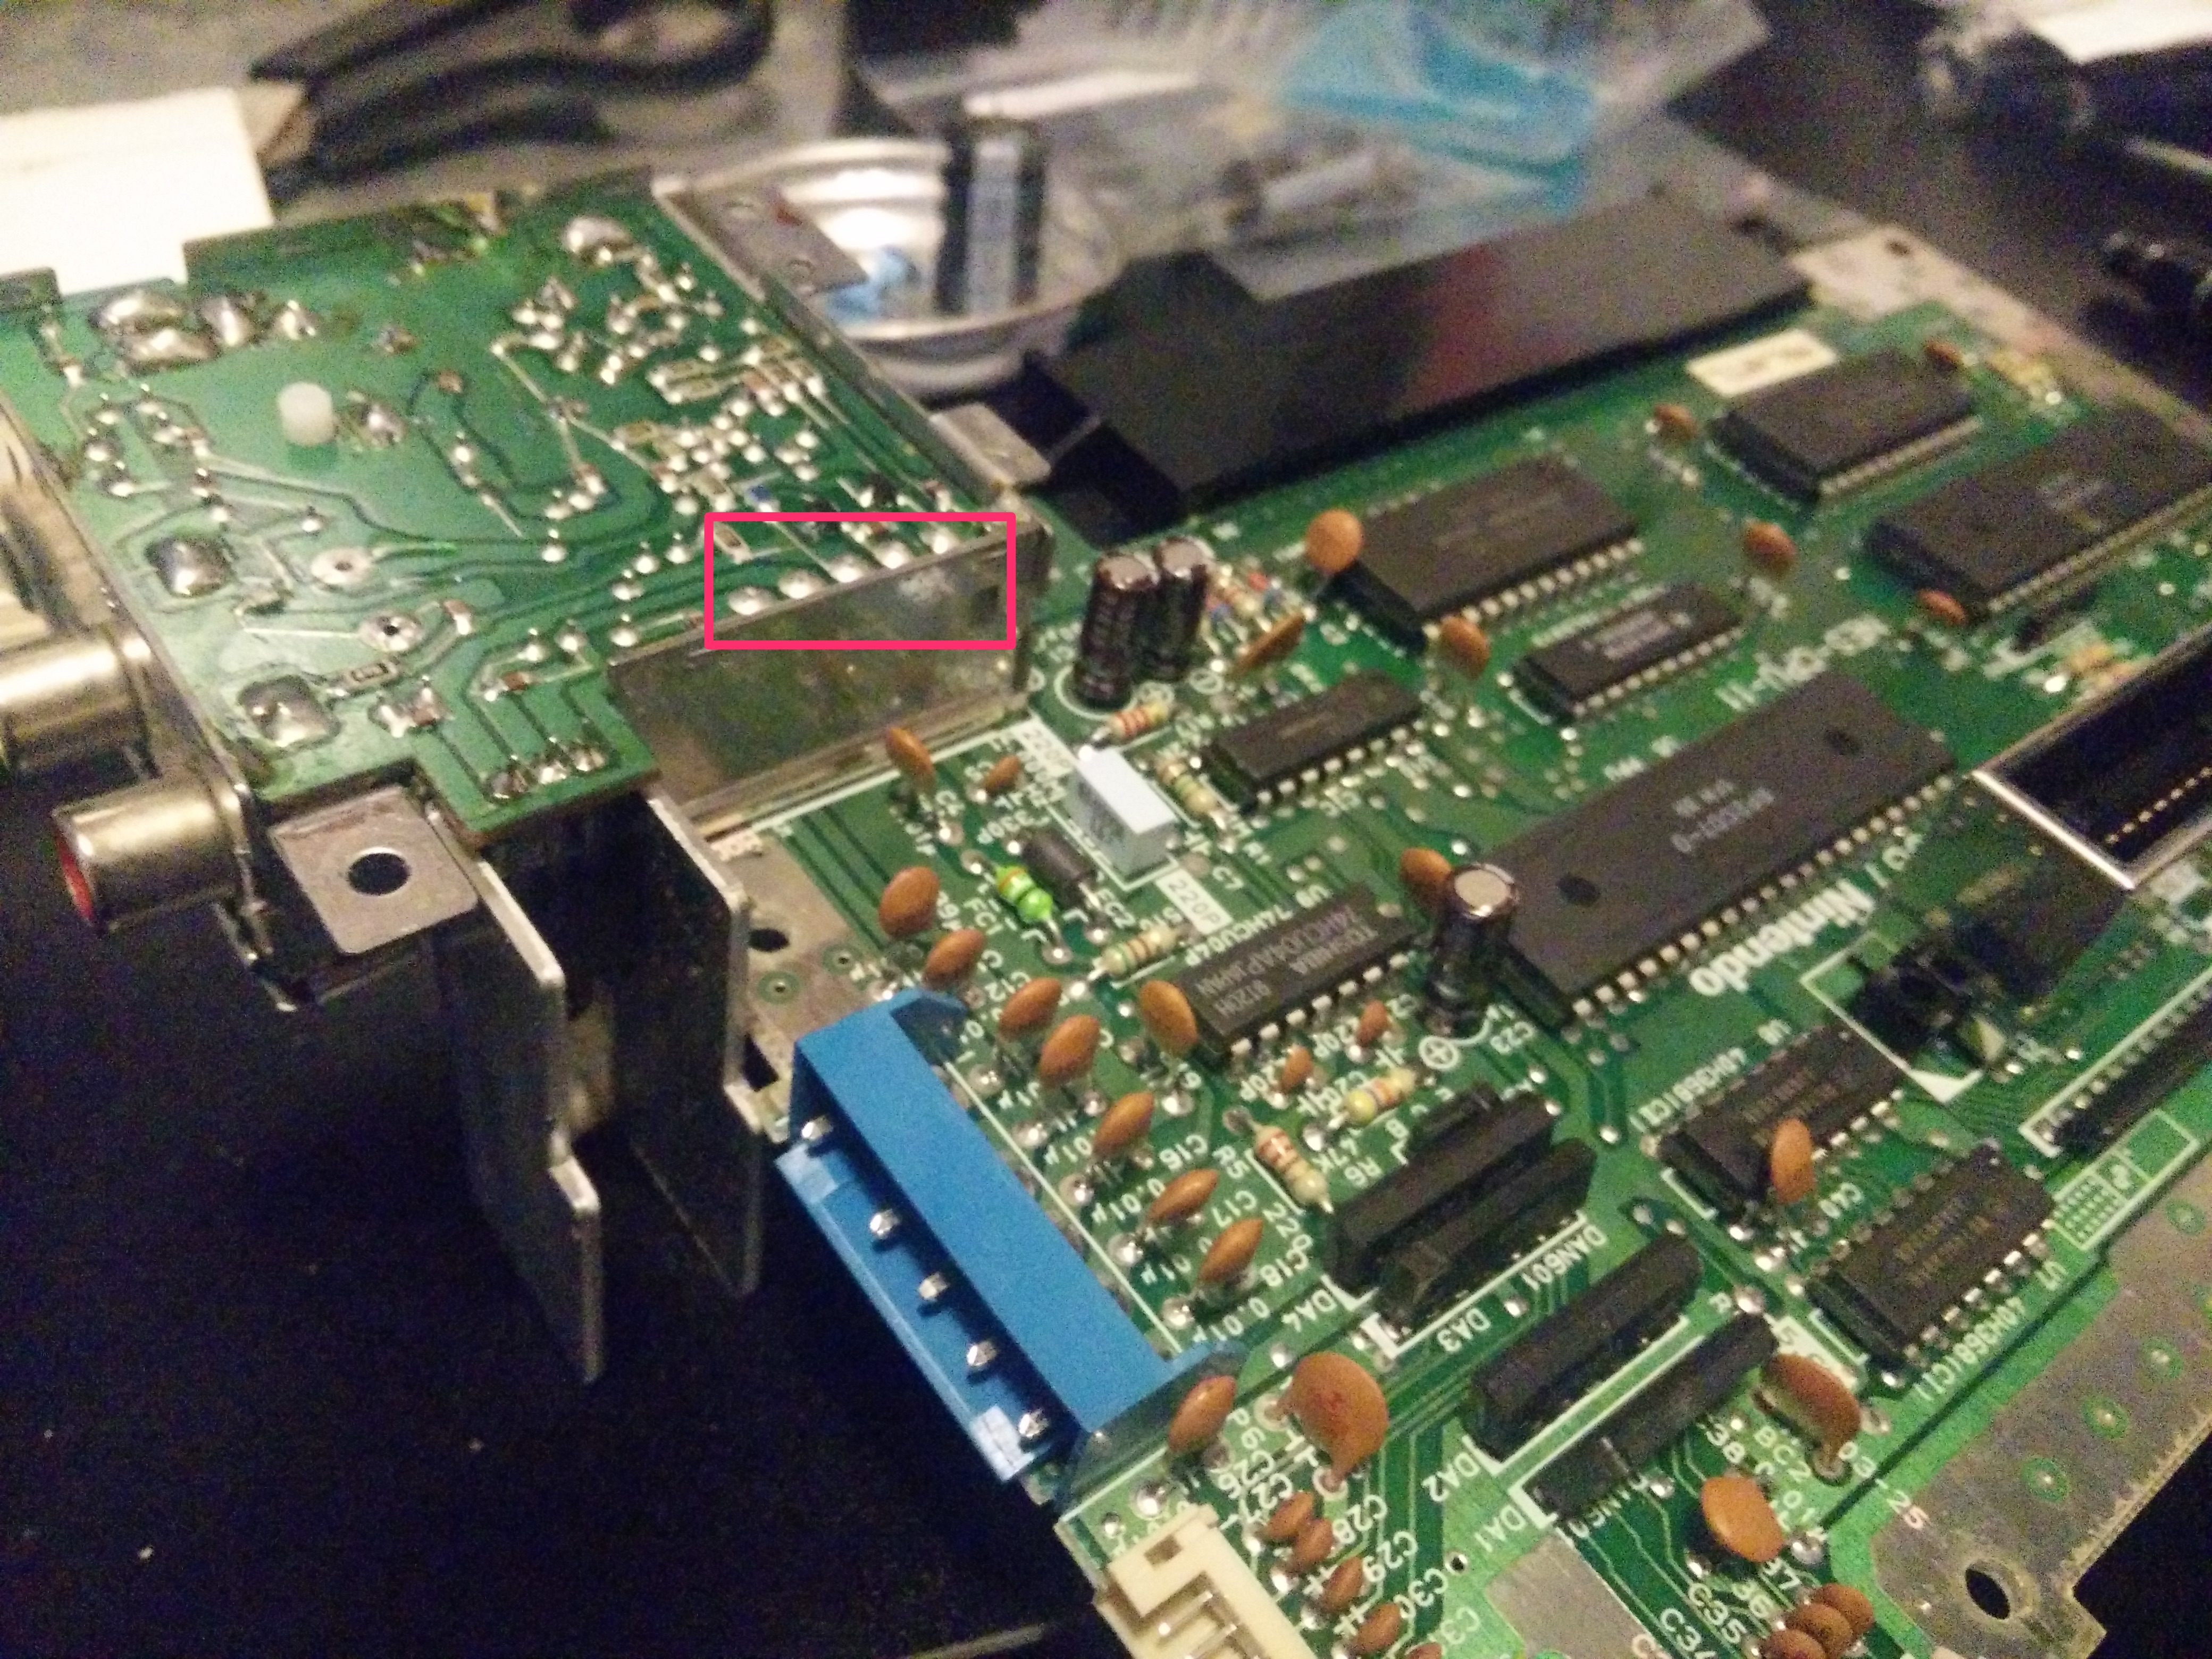
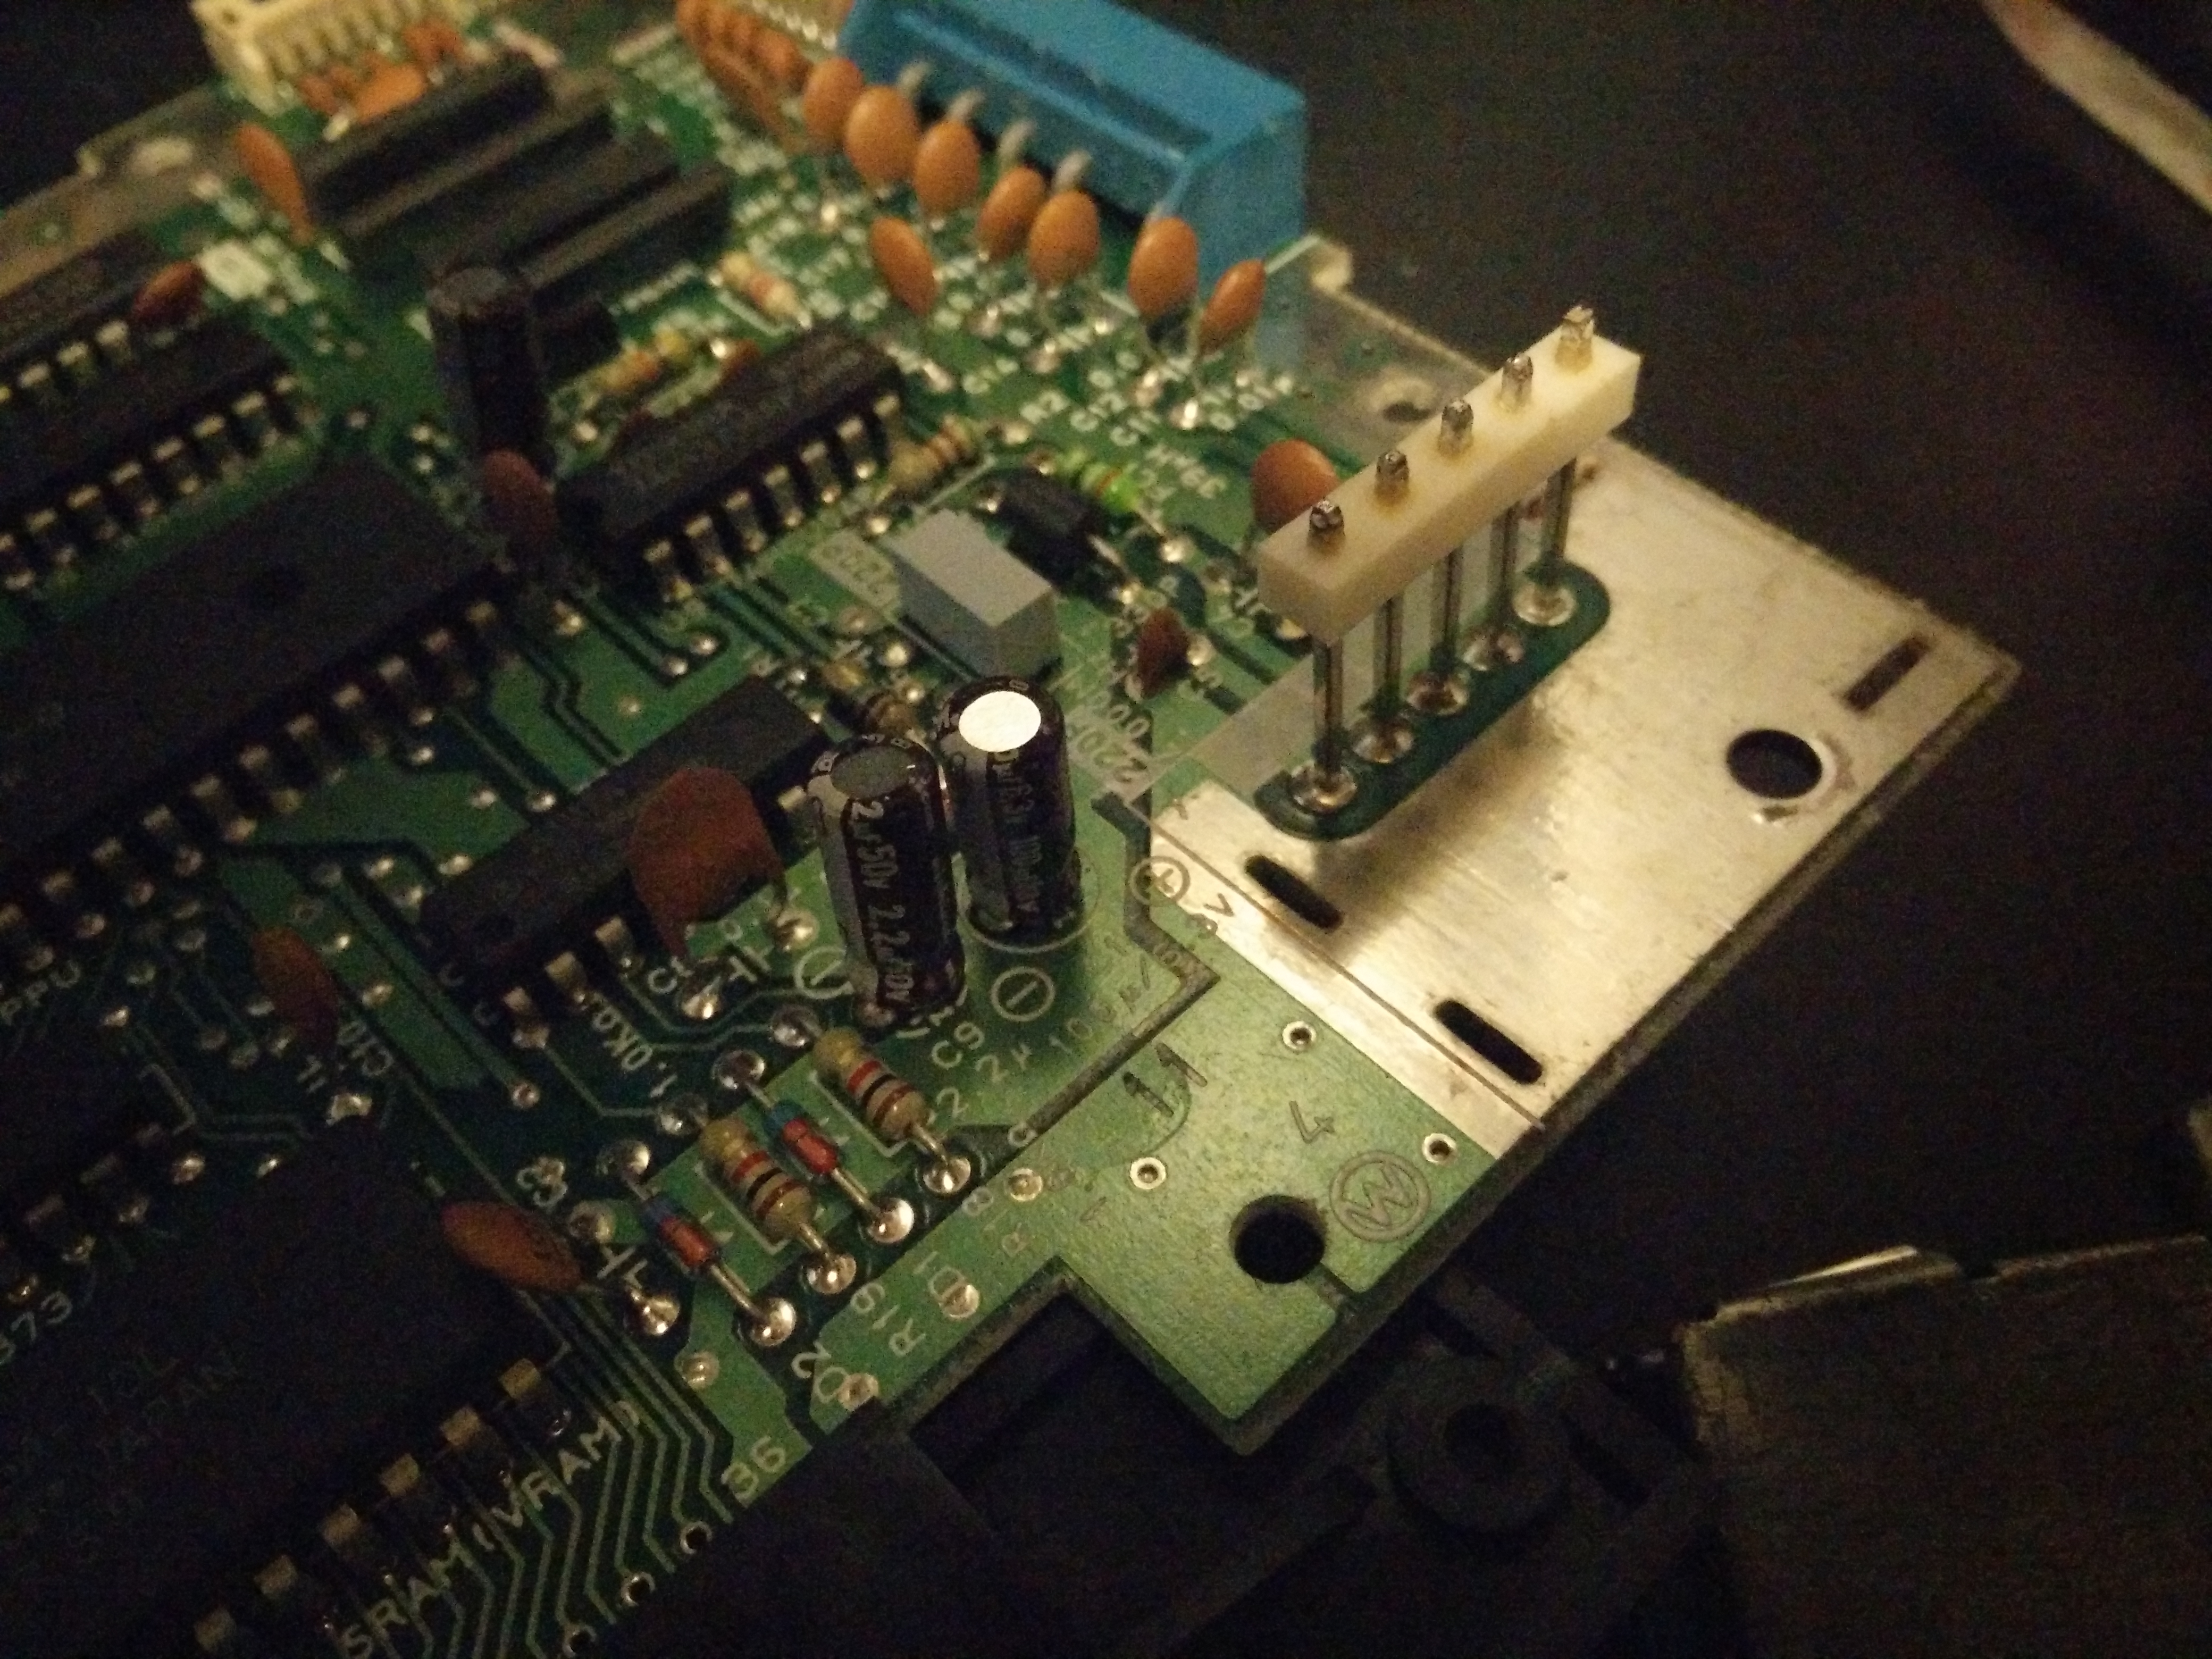
Here we can see there are three capacitors on the mainboard to do, these are very standard and easy to replace:
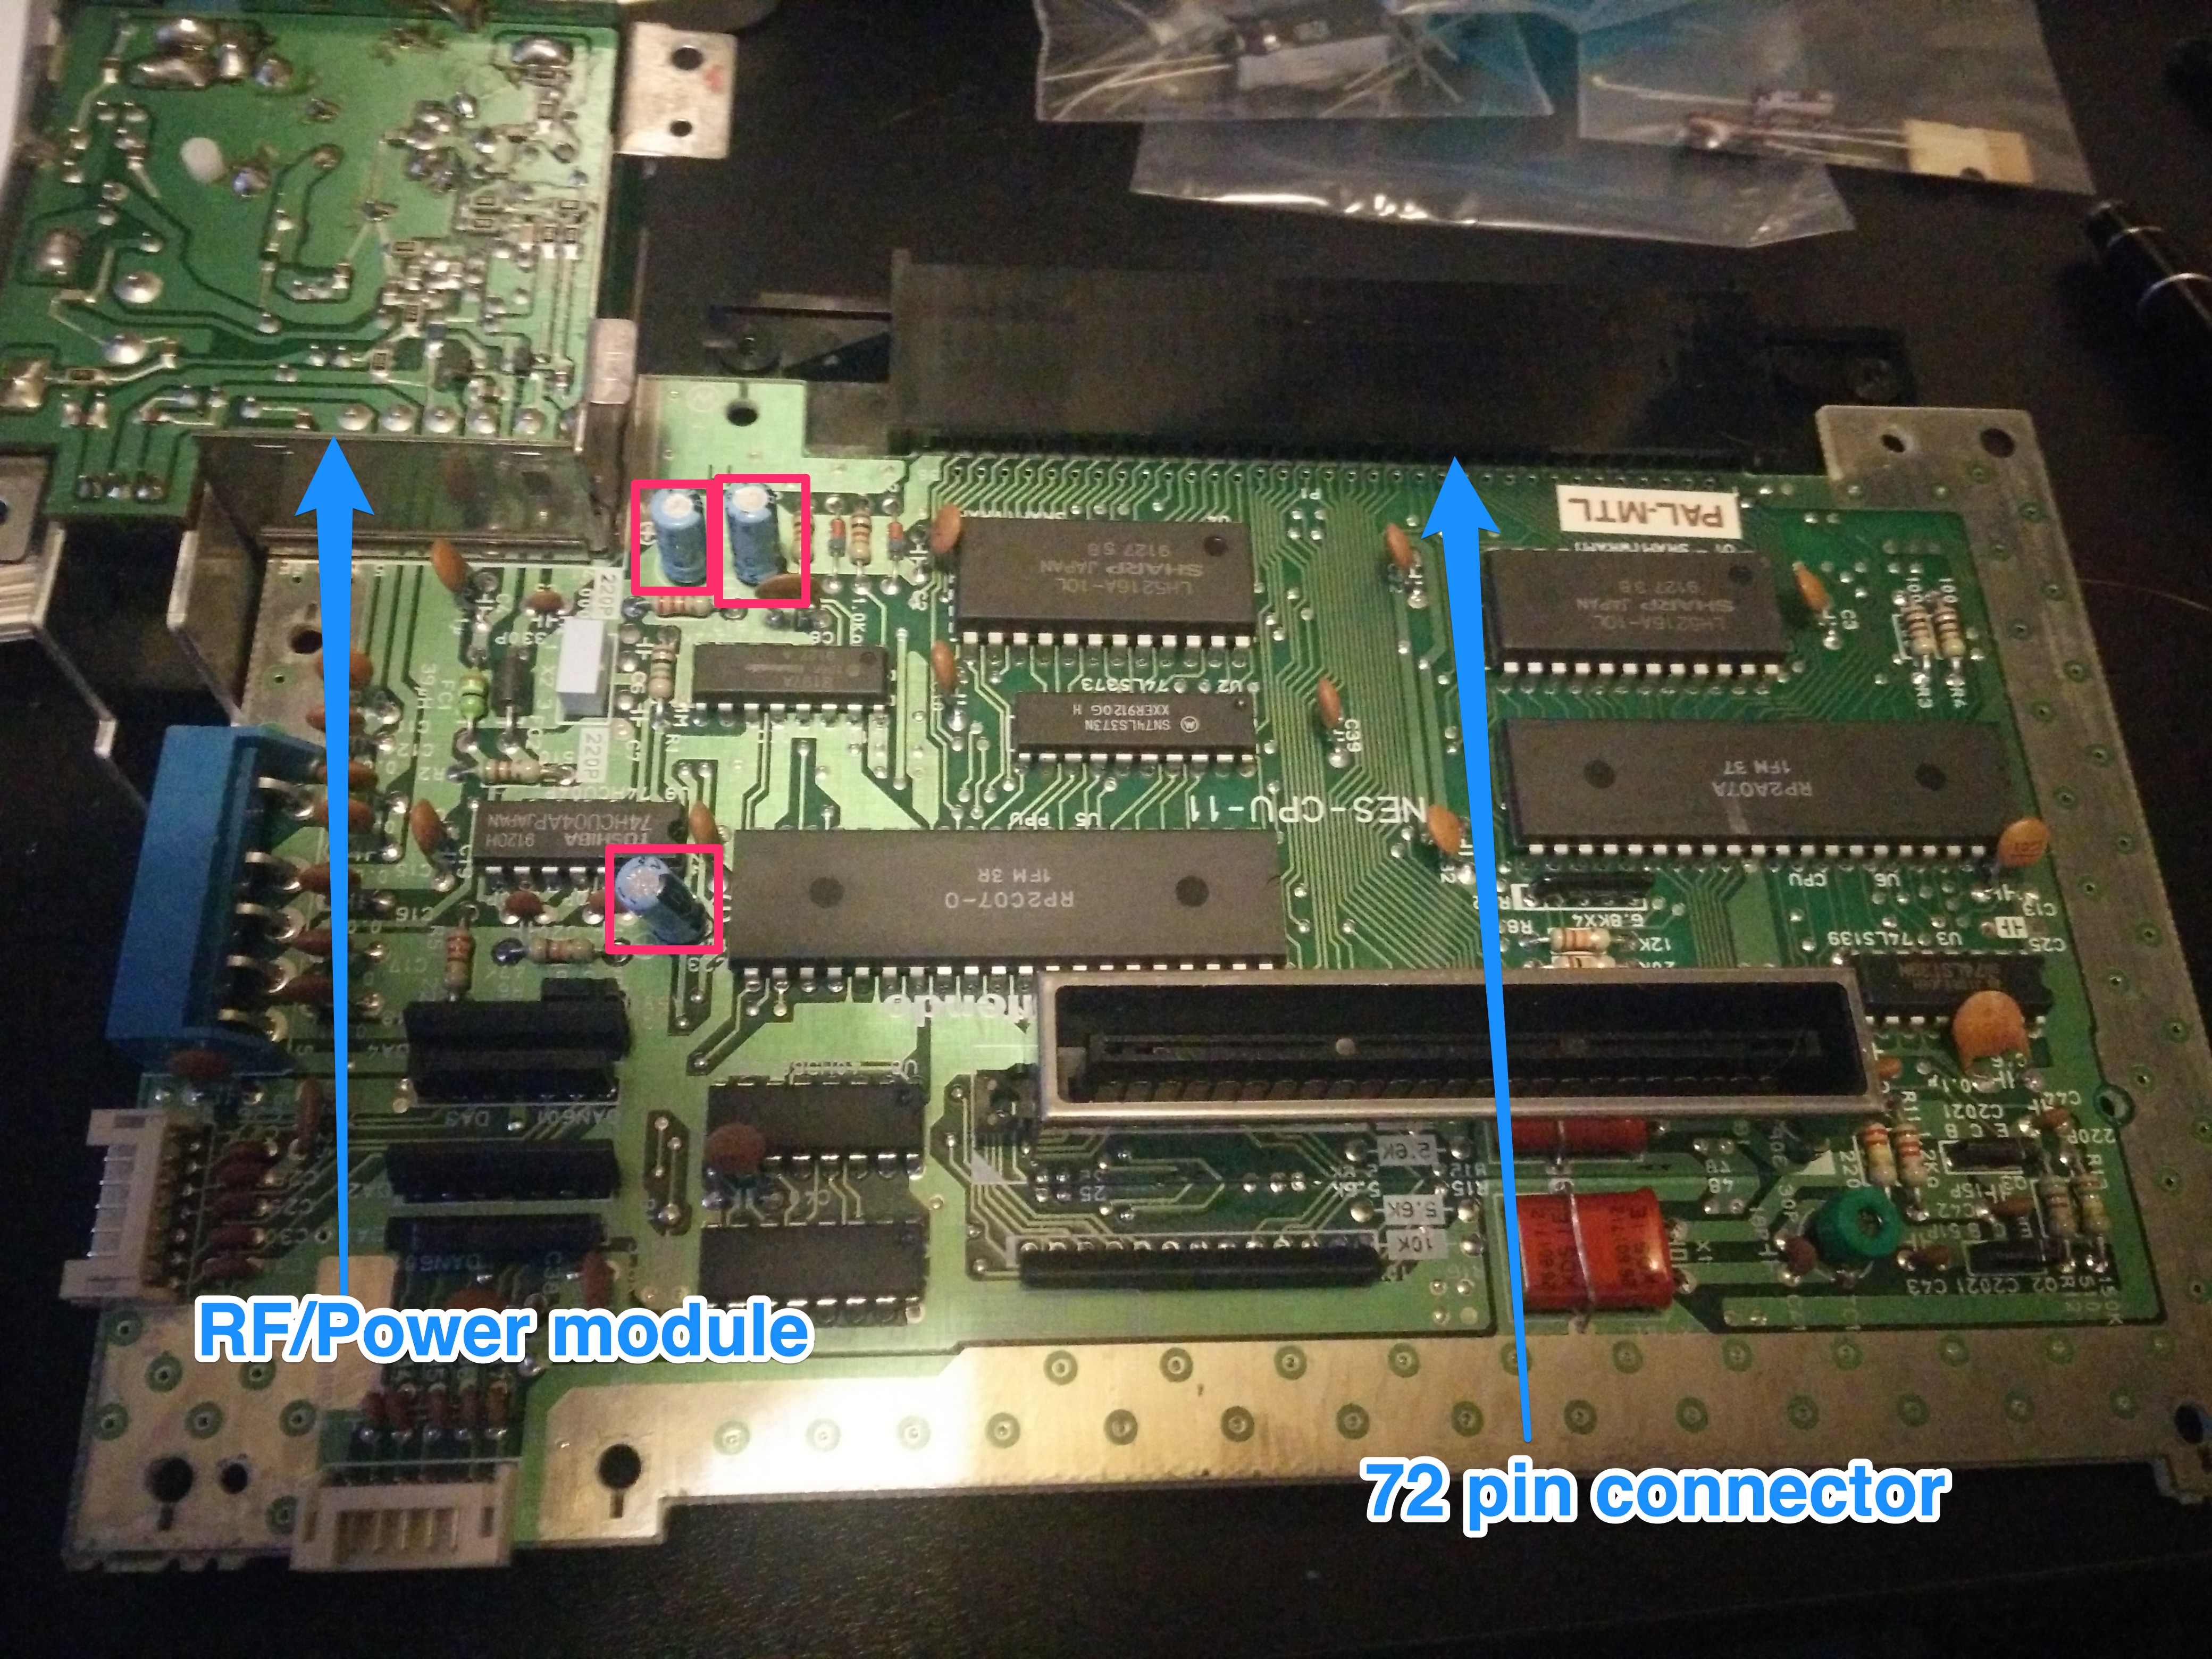
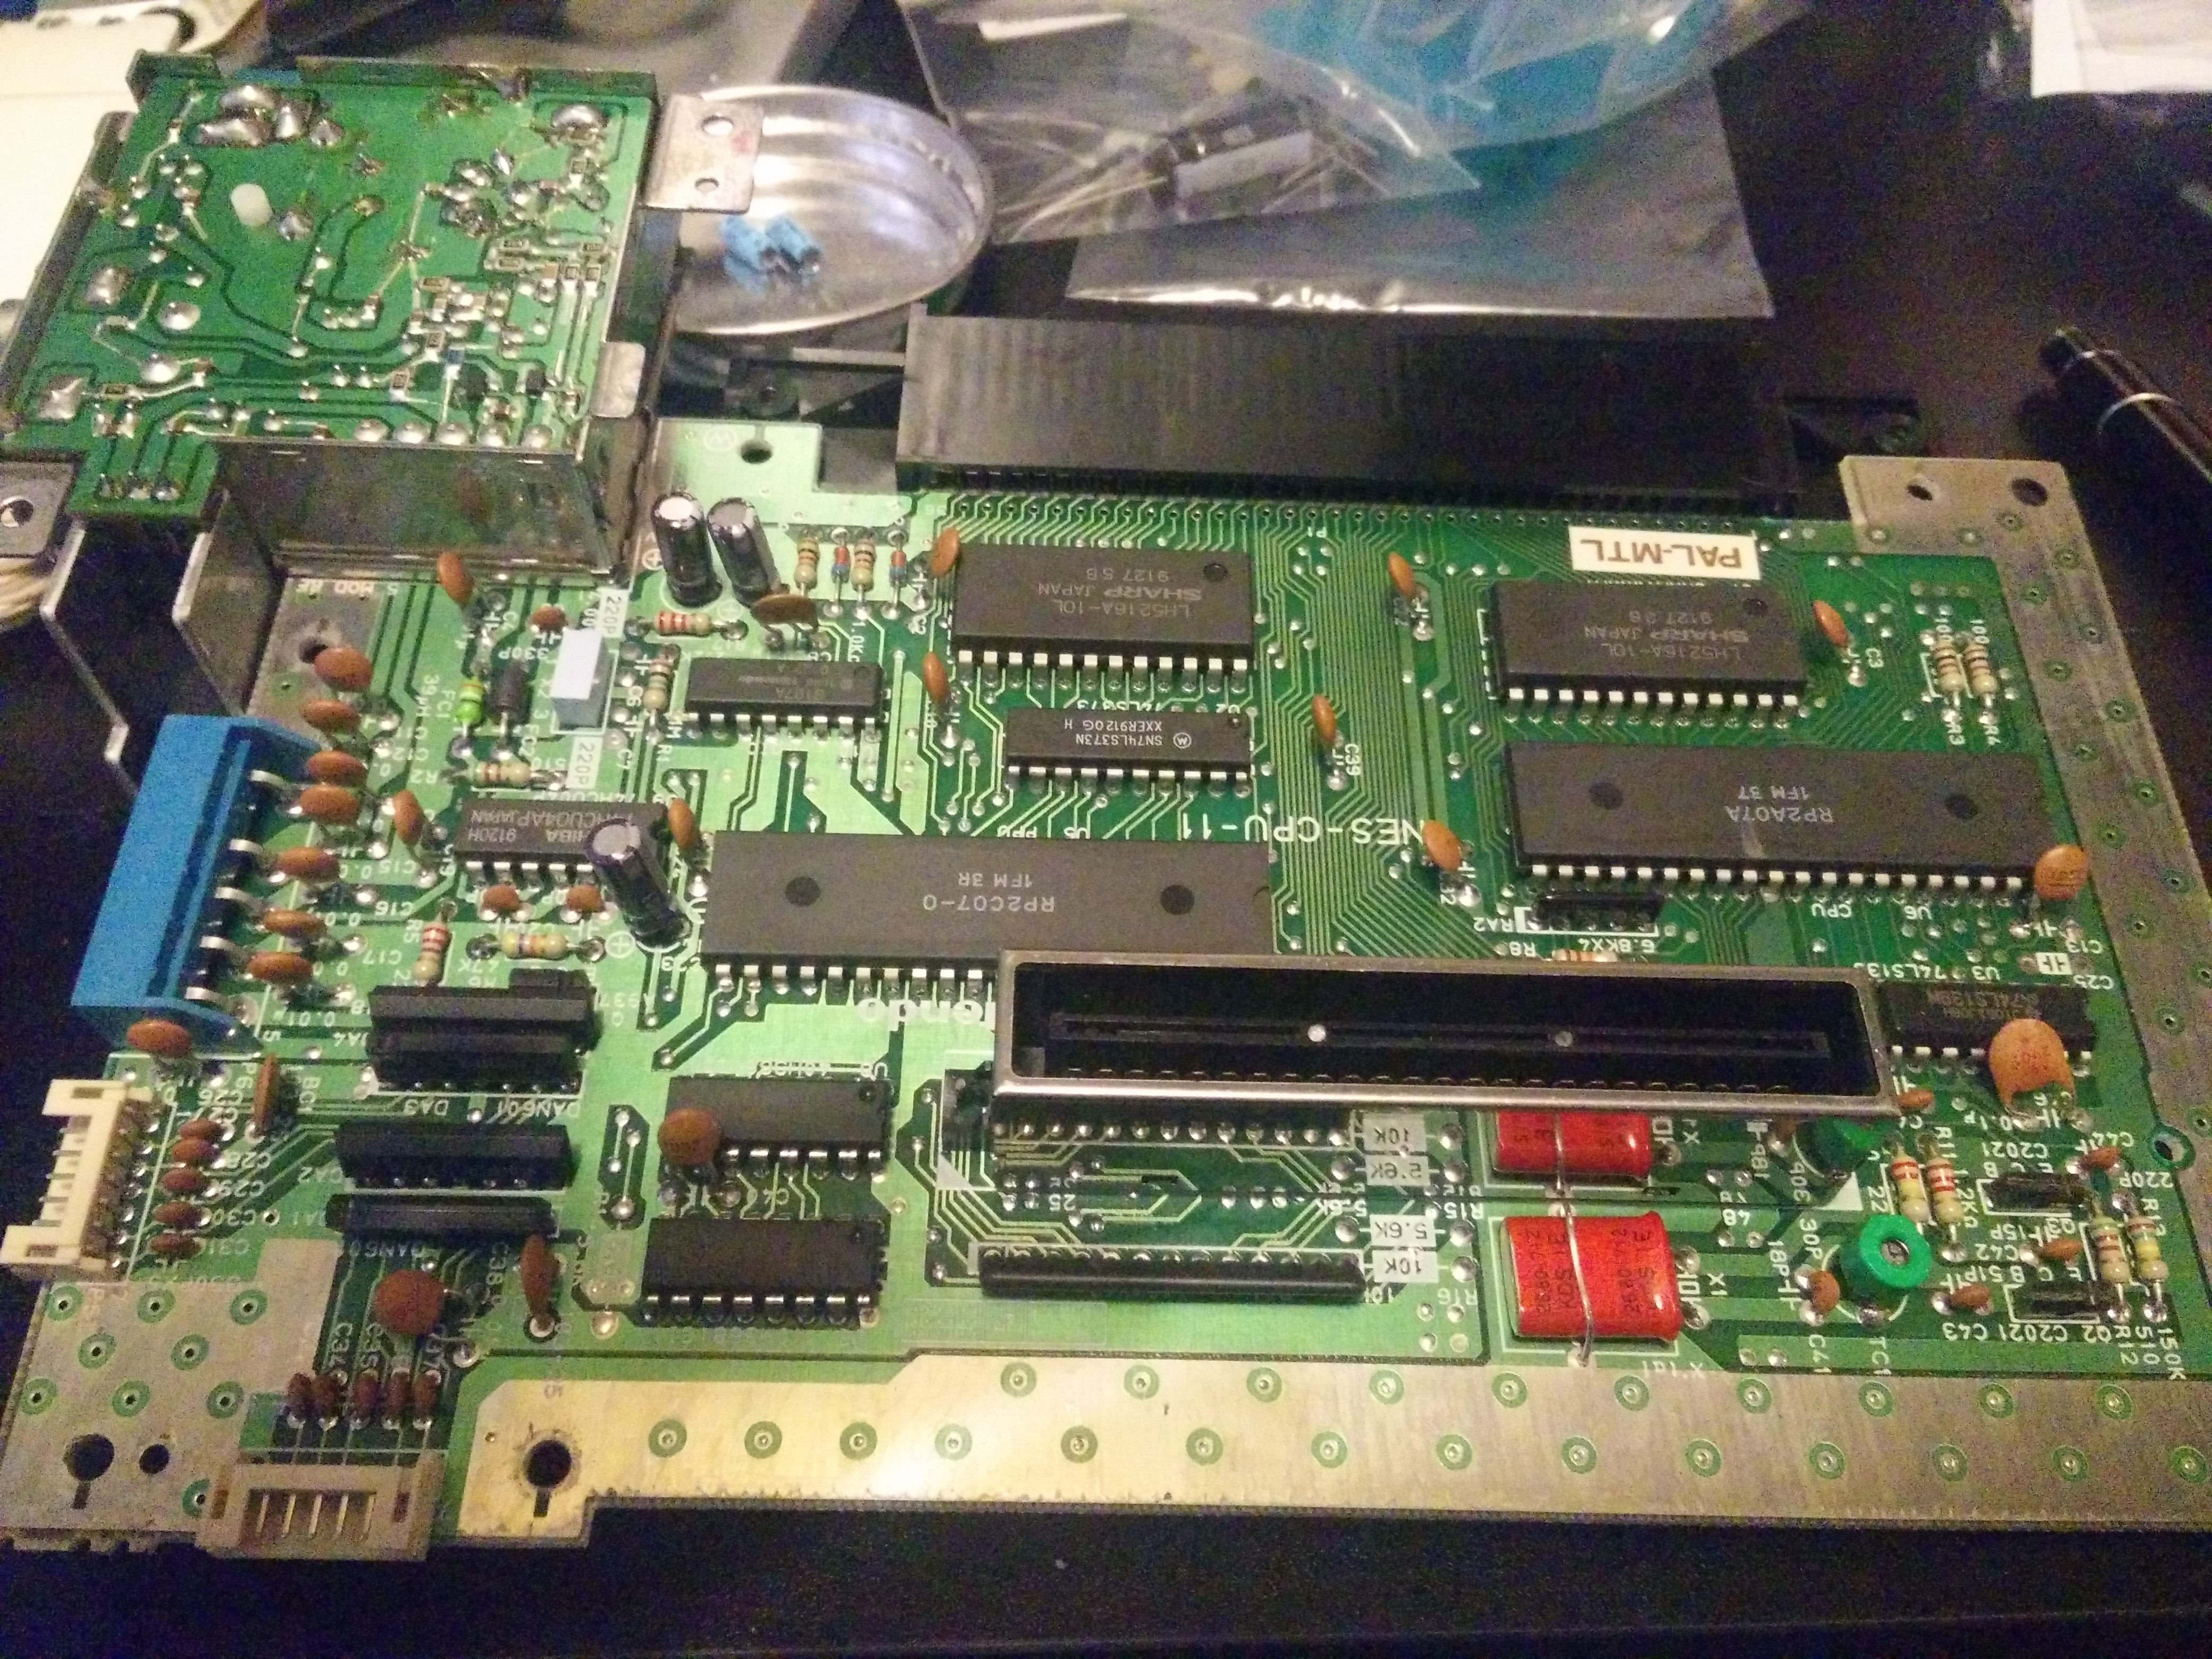
The RF module as indicated above will take the bulk of the time to do.
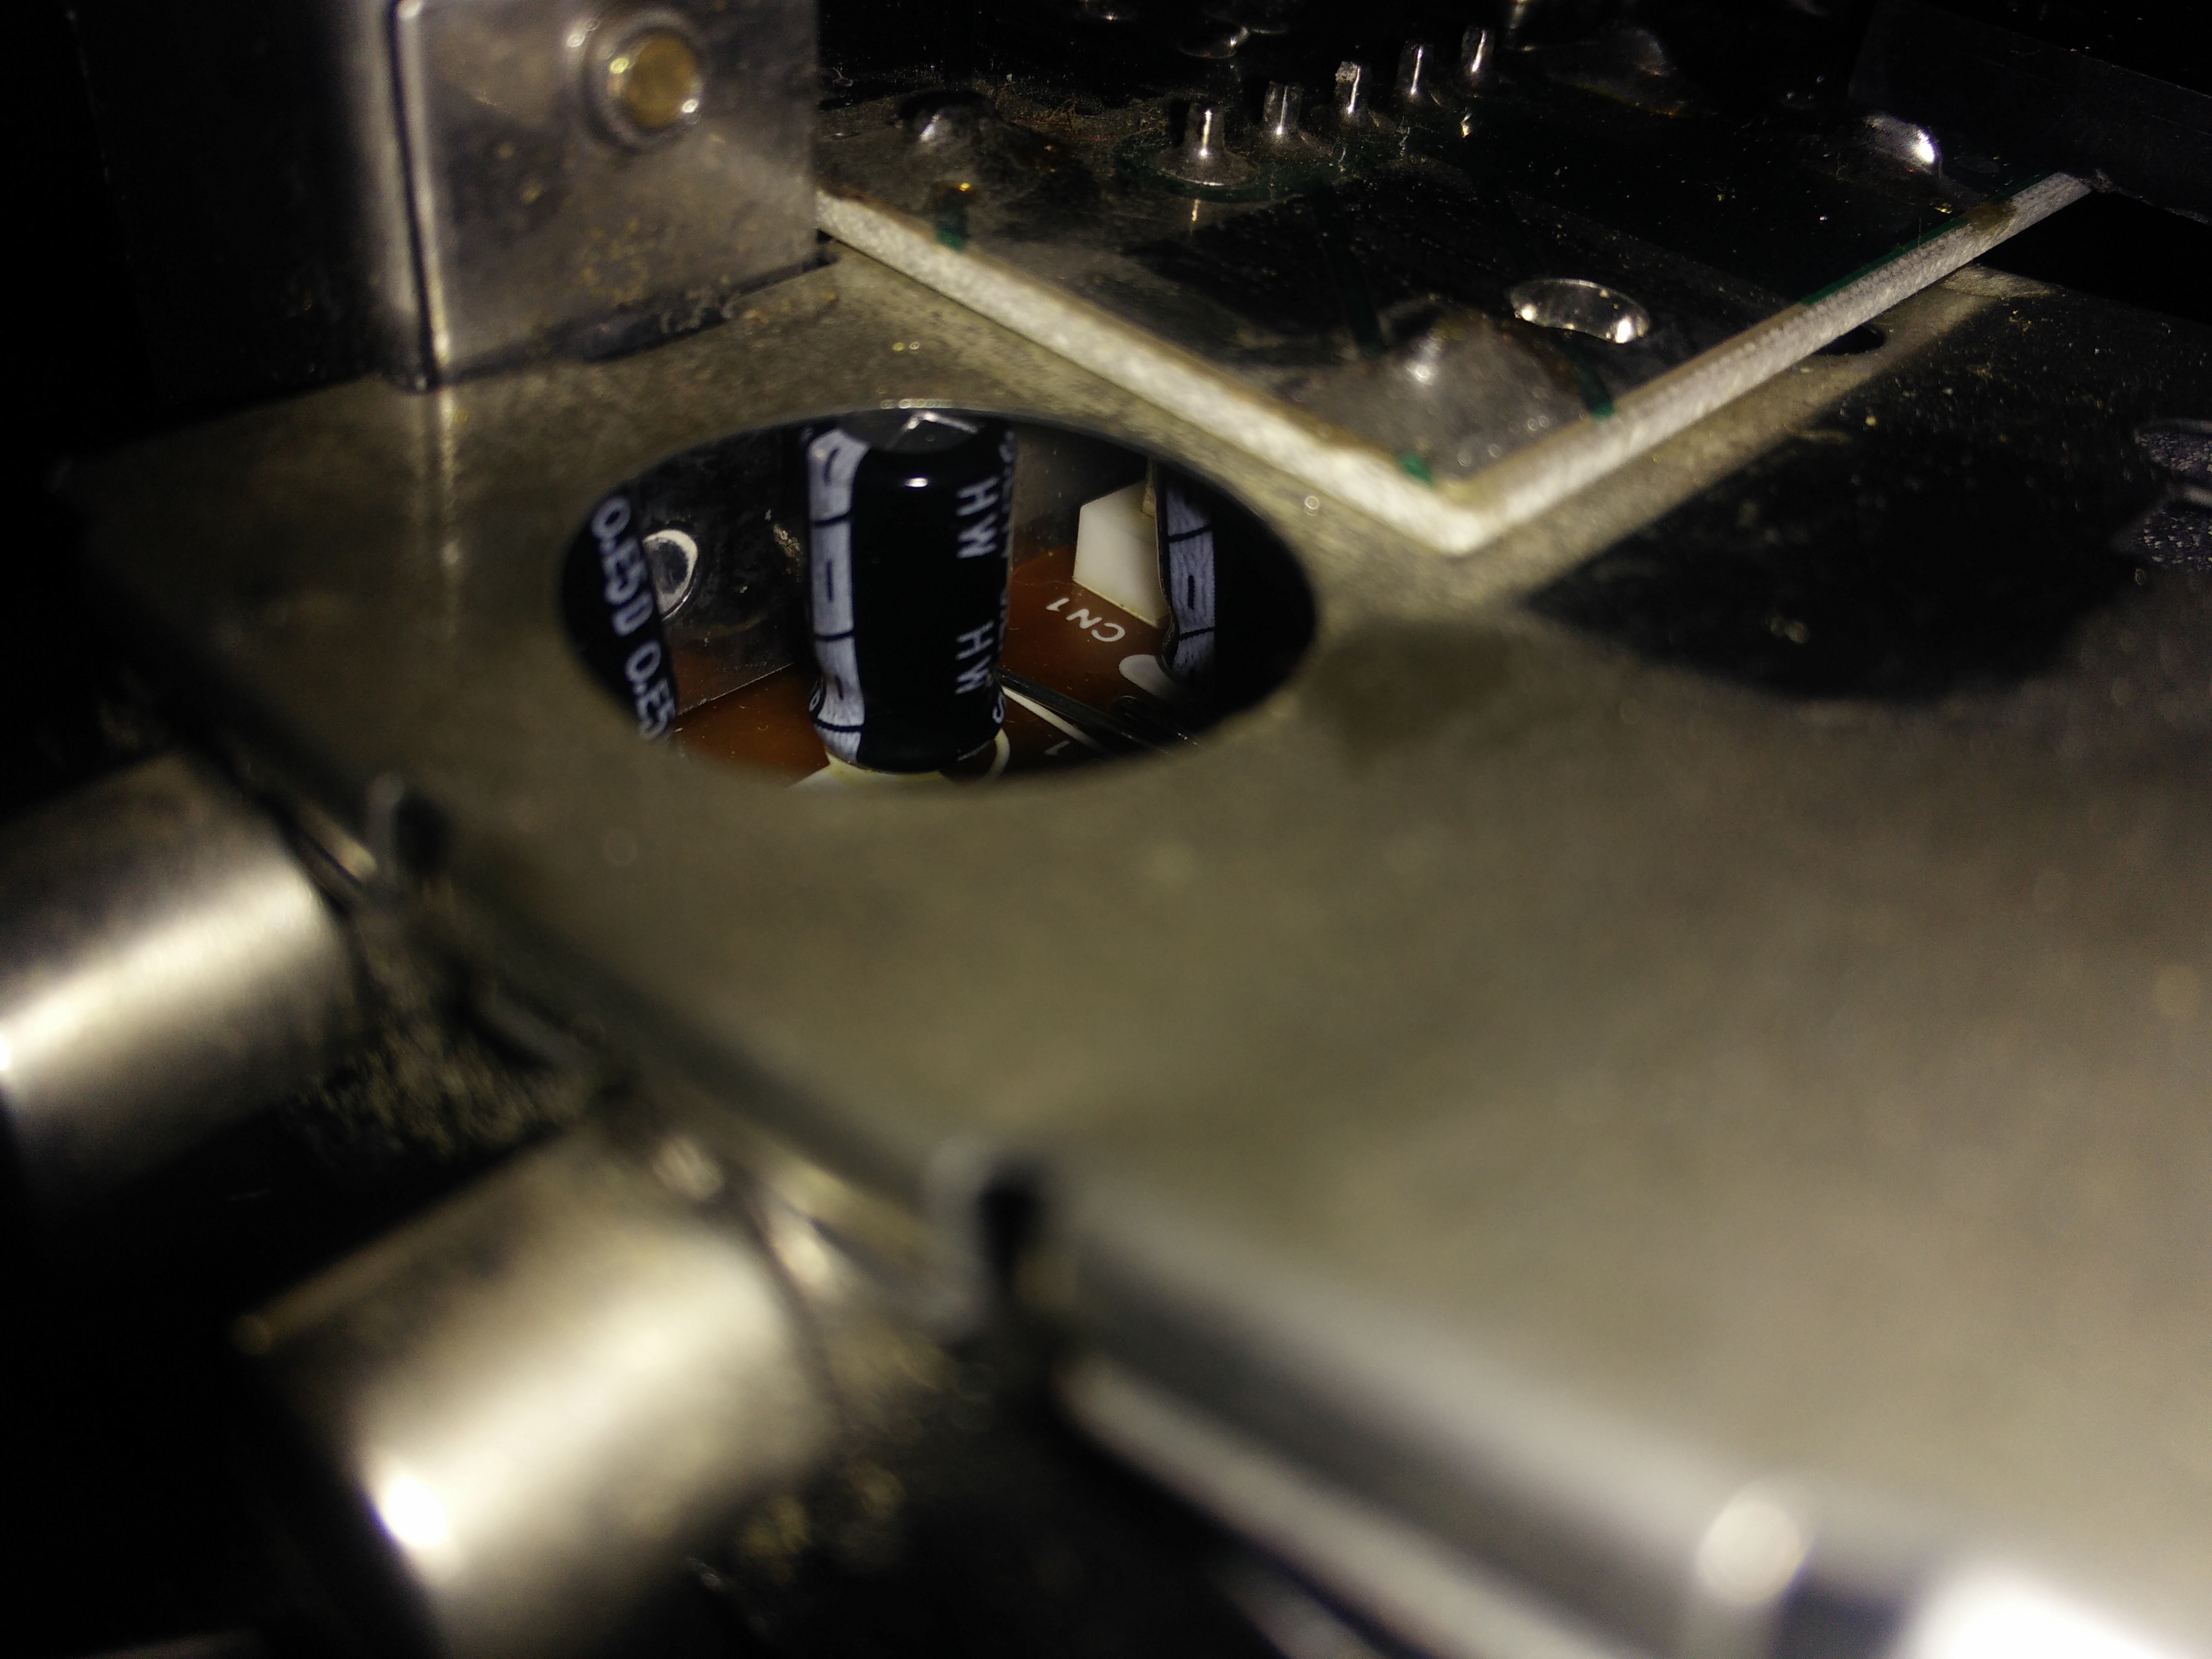
As seen above, after I remove the huge 2200μF capacitor we can see 3 more capacitors in there, but although a most of the video guides I find online work through this hole it just strikes me as a bit slapdash and inviting disaster.
My chosen route was to remove the entire module, open it up and then work safely at our leisure from there.
So here’s how to go about it:
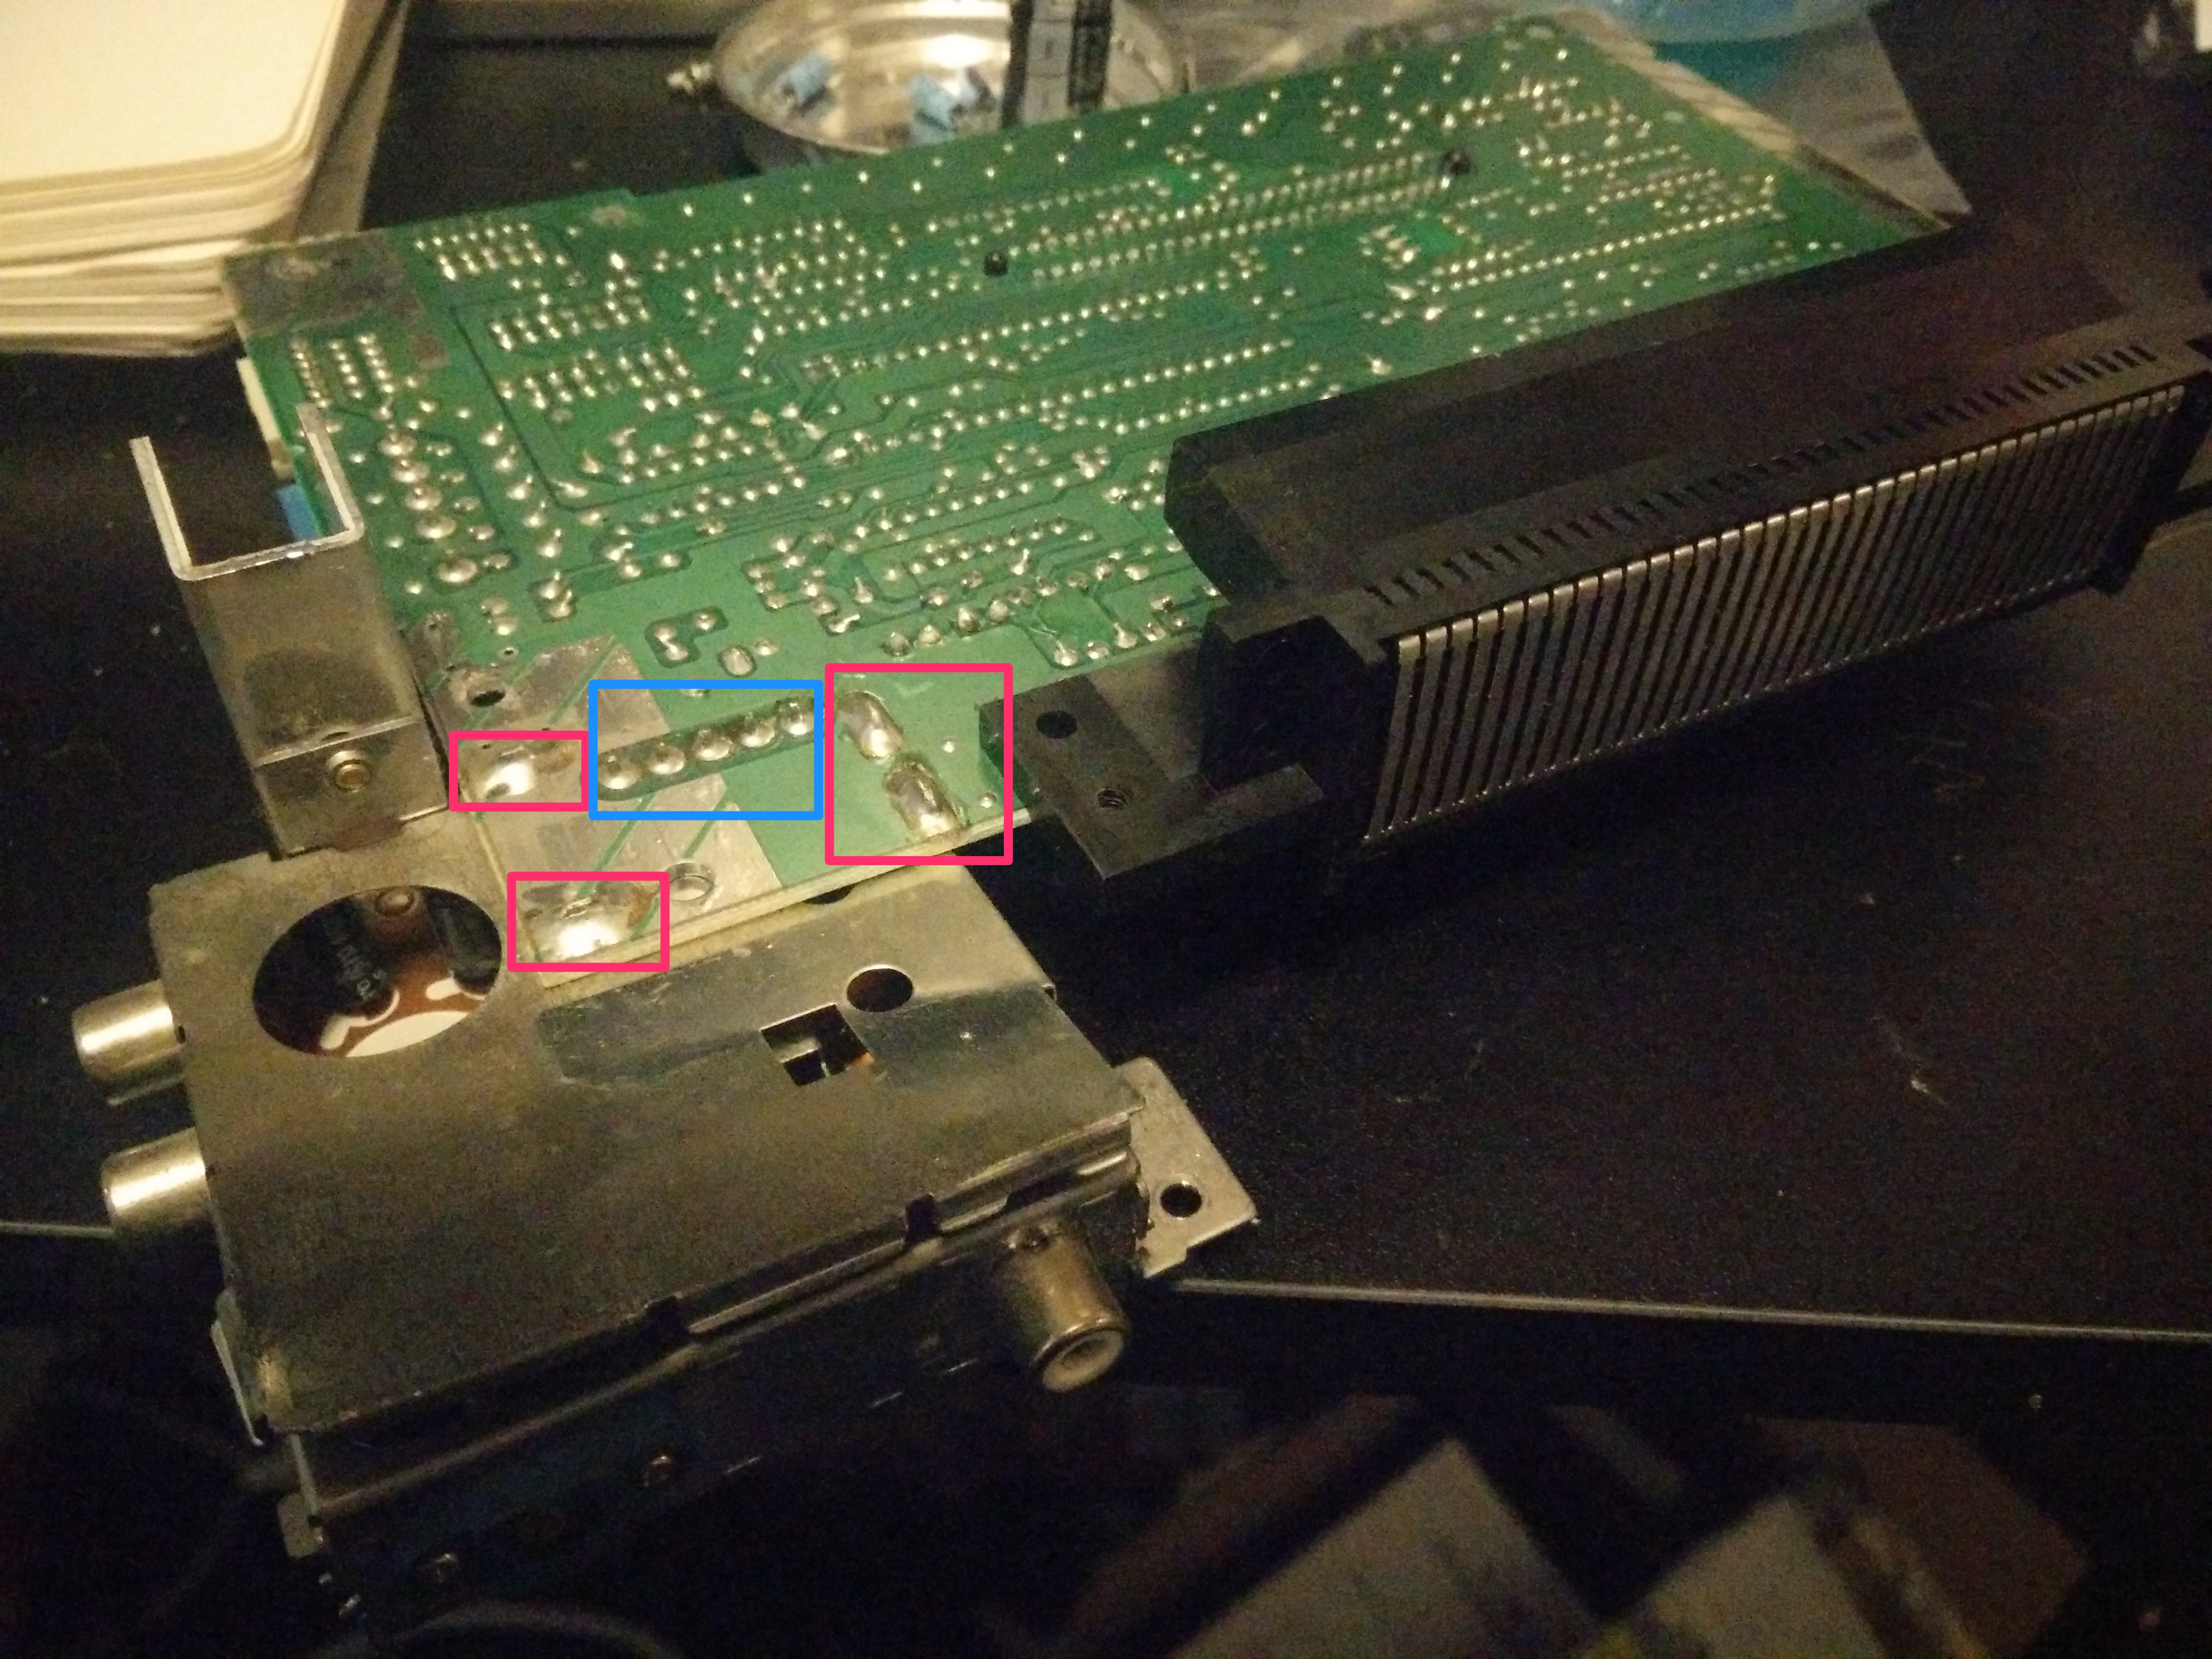
What we’re going to do is free up the 4 tabs as highlighted above, these are welded in with a lot of solder! get your soldering iron hot and be prepared to use up a lot of desoldering braid. Also, even though the points highlighted in blue are keeping the module in place, do NOT desolder them.
Here are the tabs when they’ve been removed. Honestly there was so much lead flying through the air it was like being in a Schwarzenegger film.
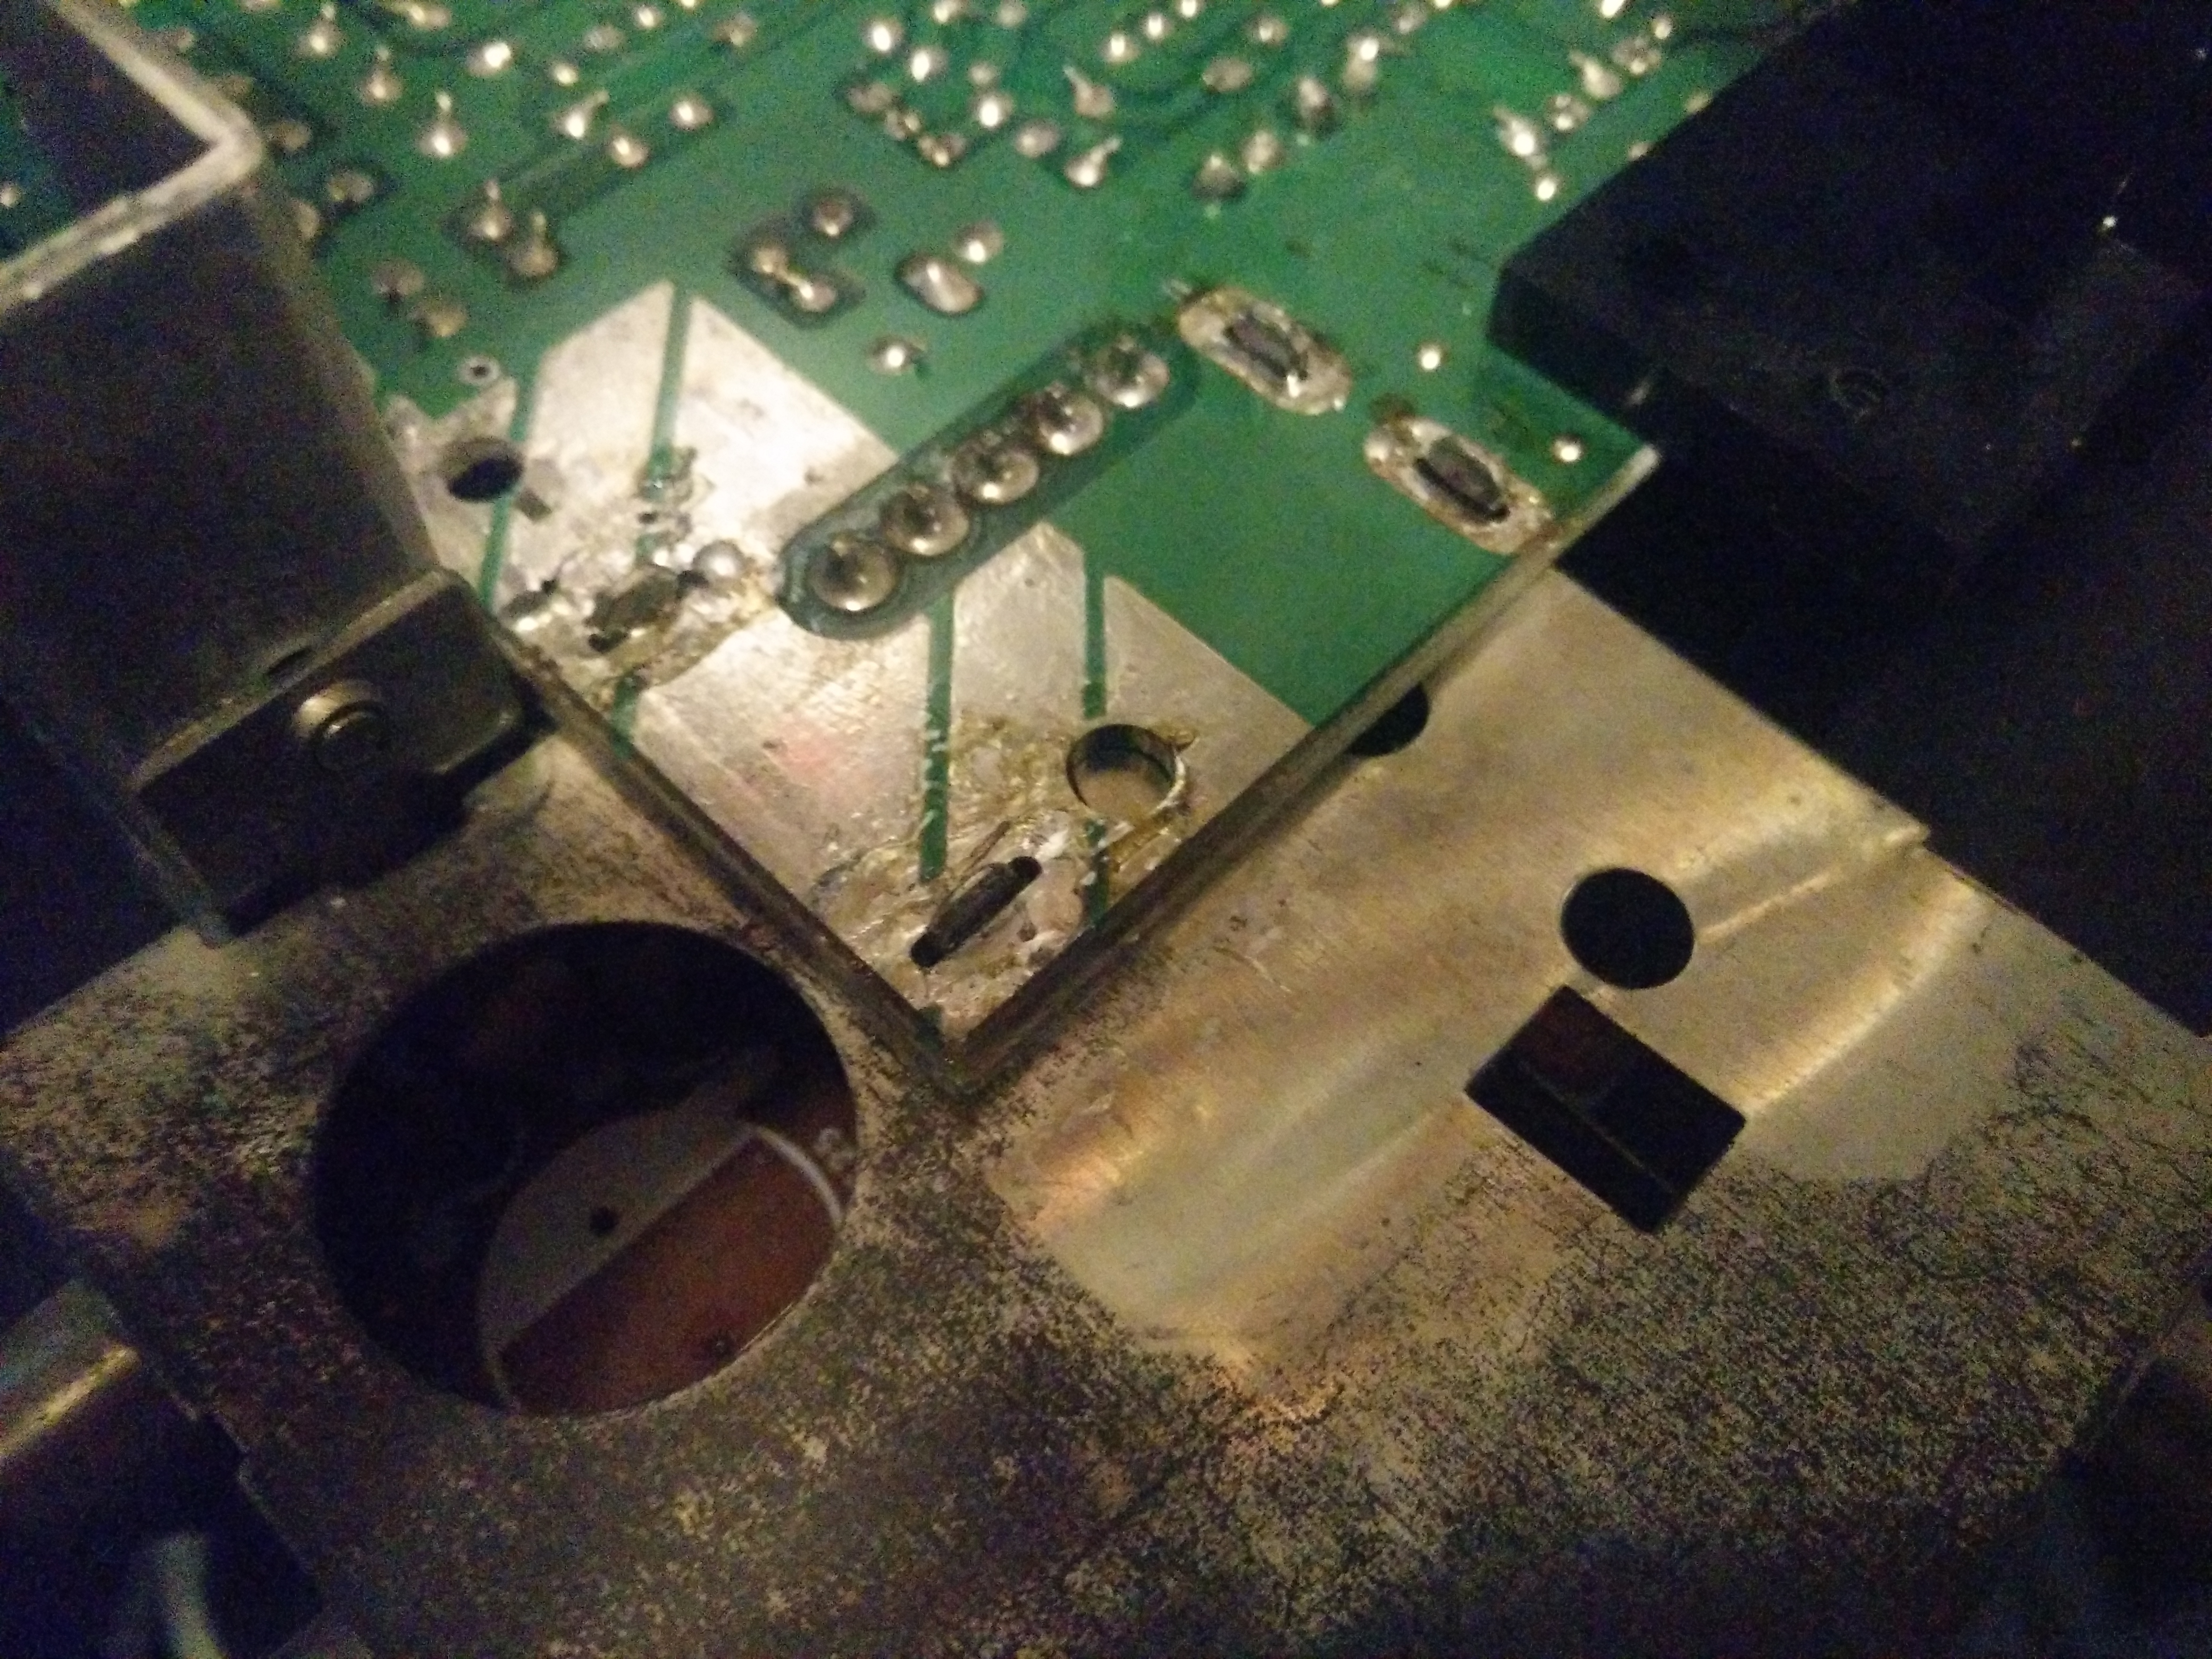
Now, when we flip it over the points are also anchored at the top of the box, this is where we will be desoldering:
The easiest way to show how this helps is to show you what it looks like once we’ve removed that module:
So here we are with the RF/Power module removed, which we can open up and work within:
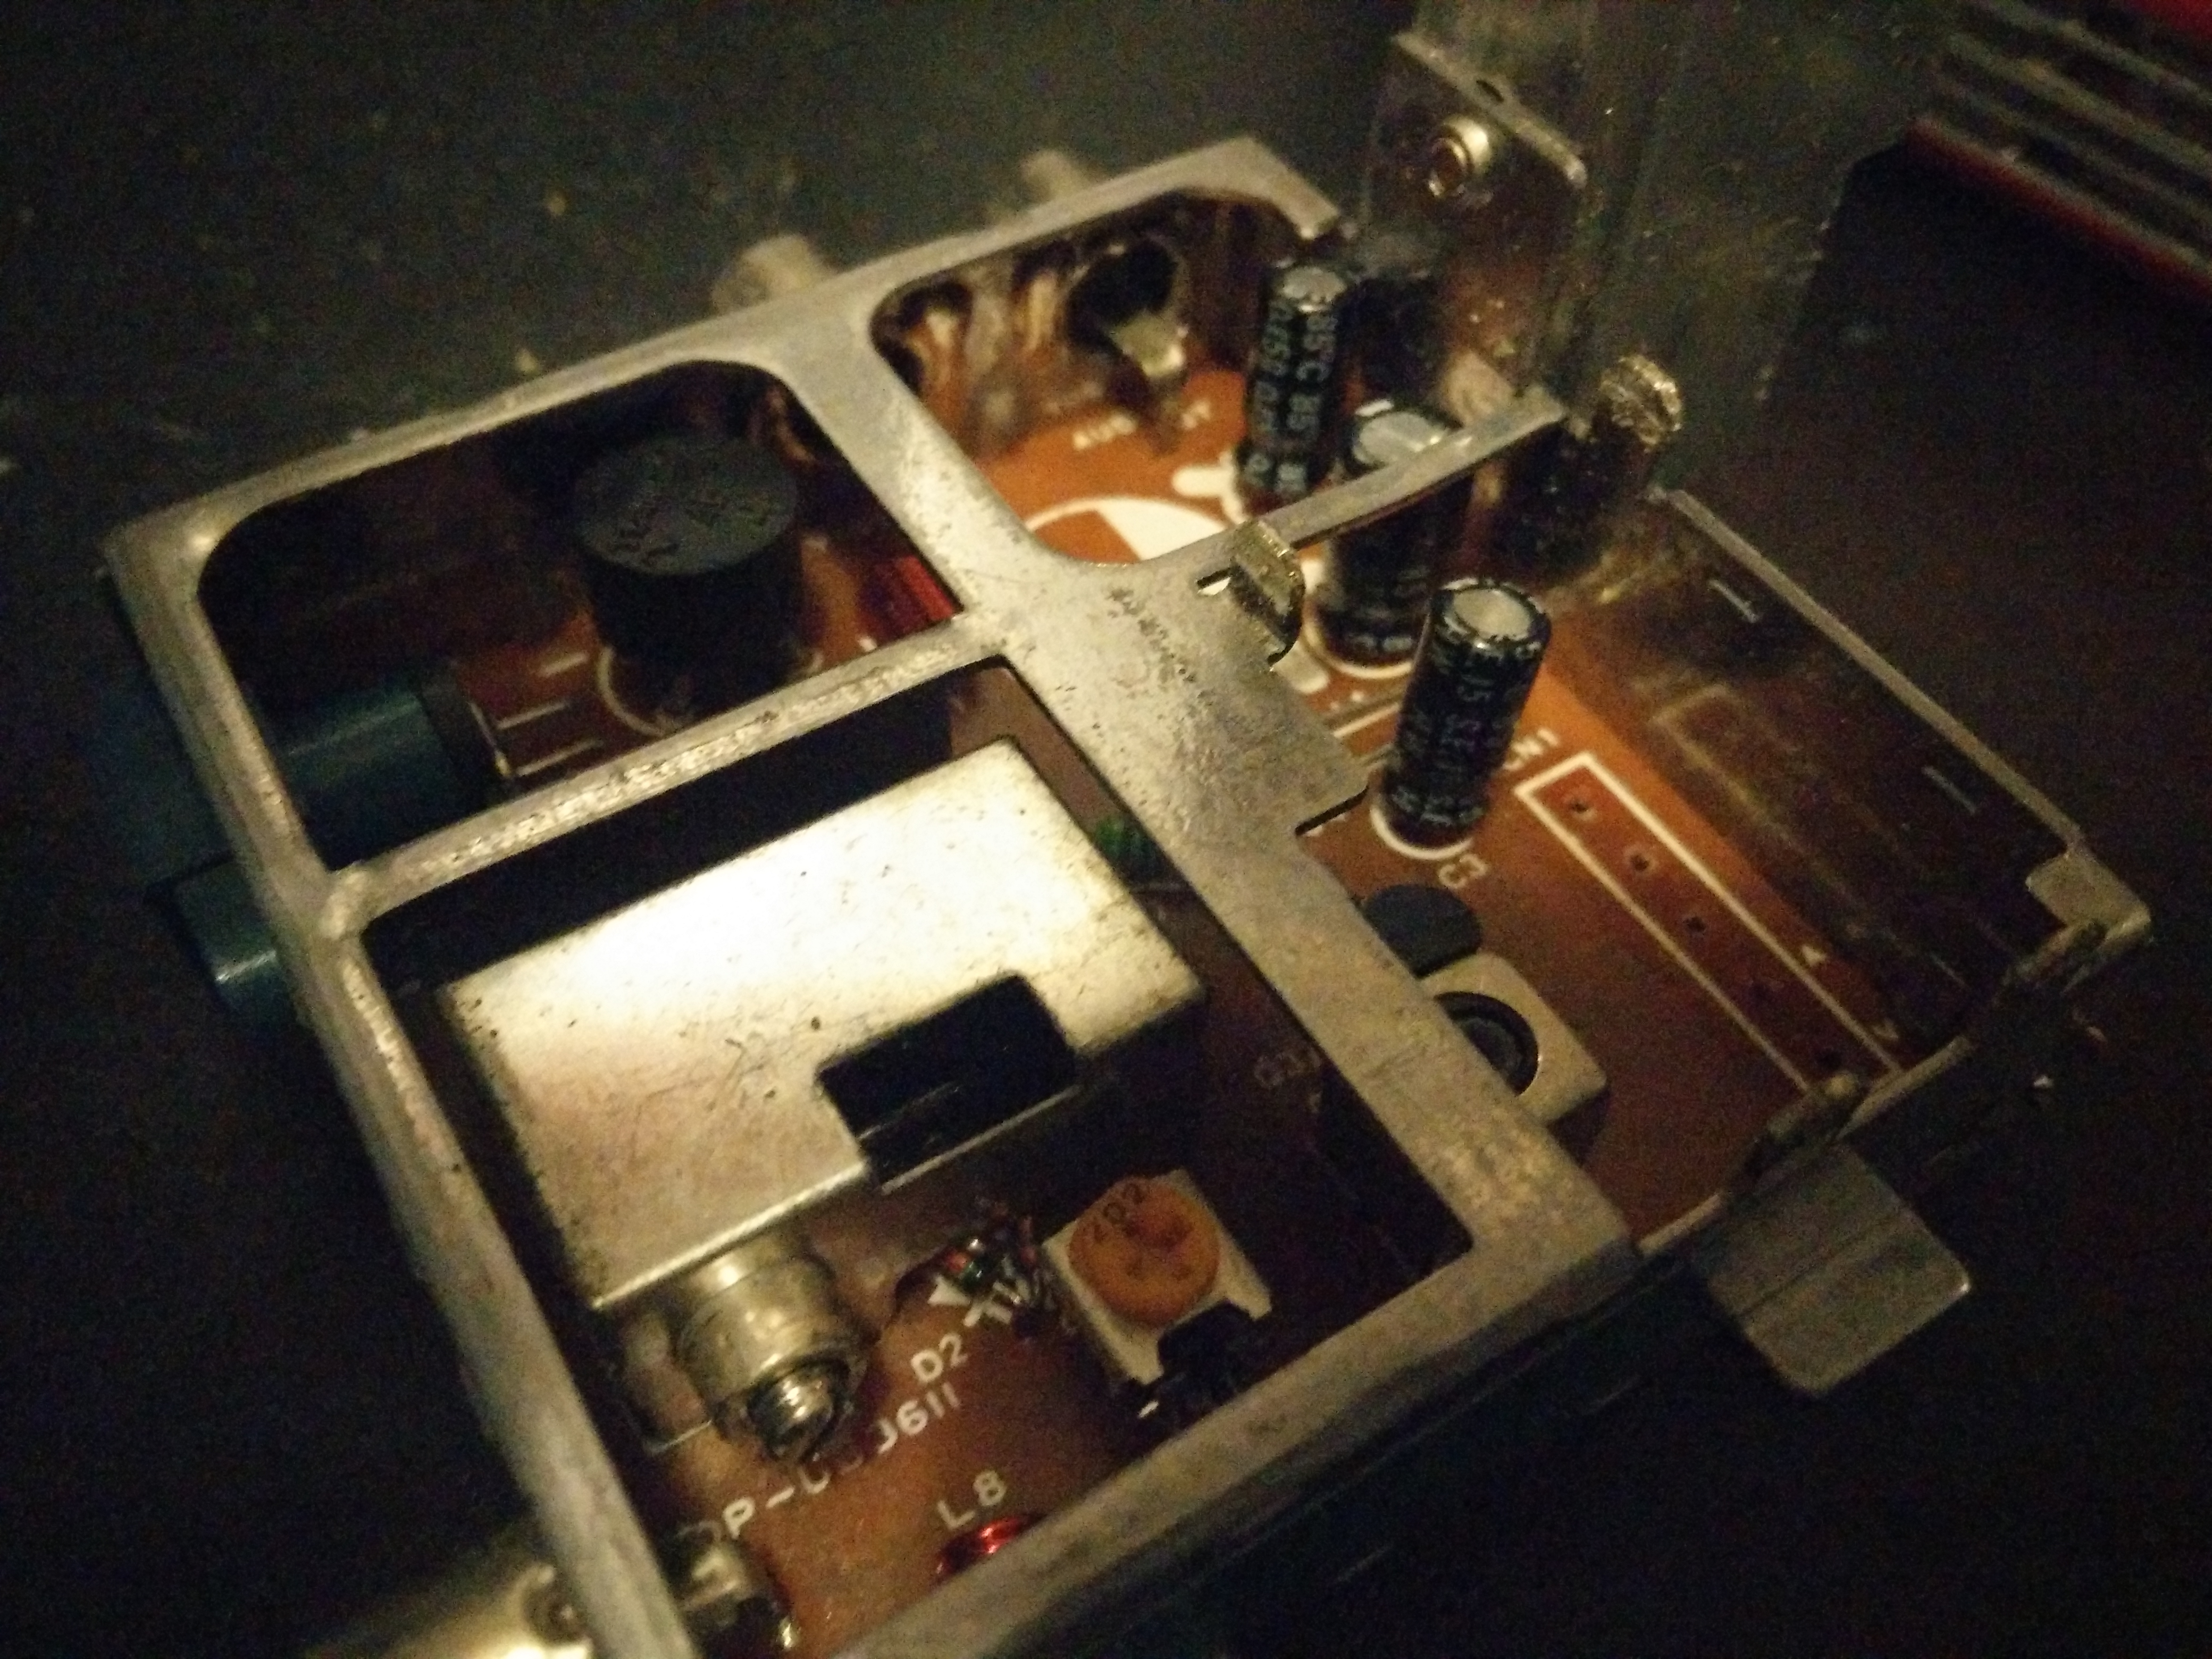
Looking at this from this open angle we can see a few obstacles and awkward angles we would’ve encountered if we’d tried the lazy way of working through the larger capacitor’s hole.
Now, from the position we’ve made for ourselves we can easily replace the 3 capacitors in there and then the larger capacitor we’d already removed. Like those on the mainboard, this is now a very standard operation to carry out.
72 pin connector
One we’ve replaced these, we may as well take advantage of the ten thousand screws we’ve gone through and service the 72 pin cartridge connector while we’re here. Rather than buy a flashy aftermarket one, the easiest way to maintain these is simply to use a needle to gently lever the pins out where they can bite properly at the cartridge, then use a pad covered in 99% isopropyl alcohol to clean these contacts, and it’s as simple as that.
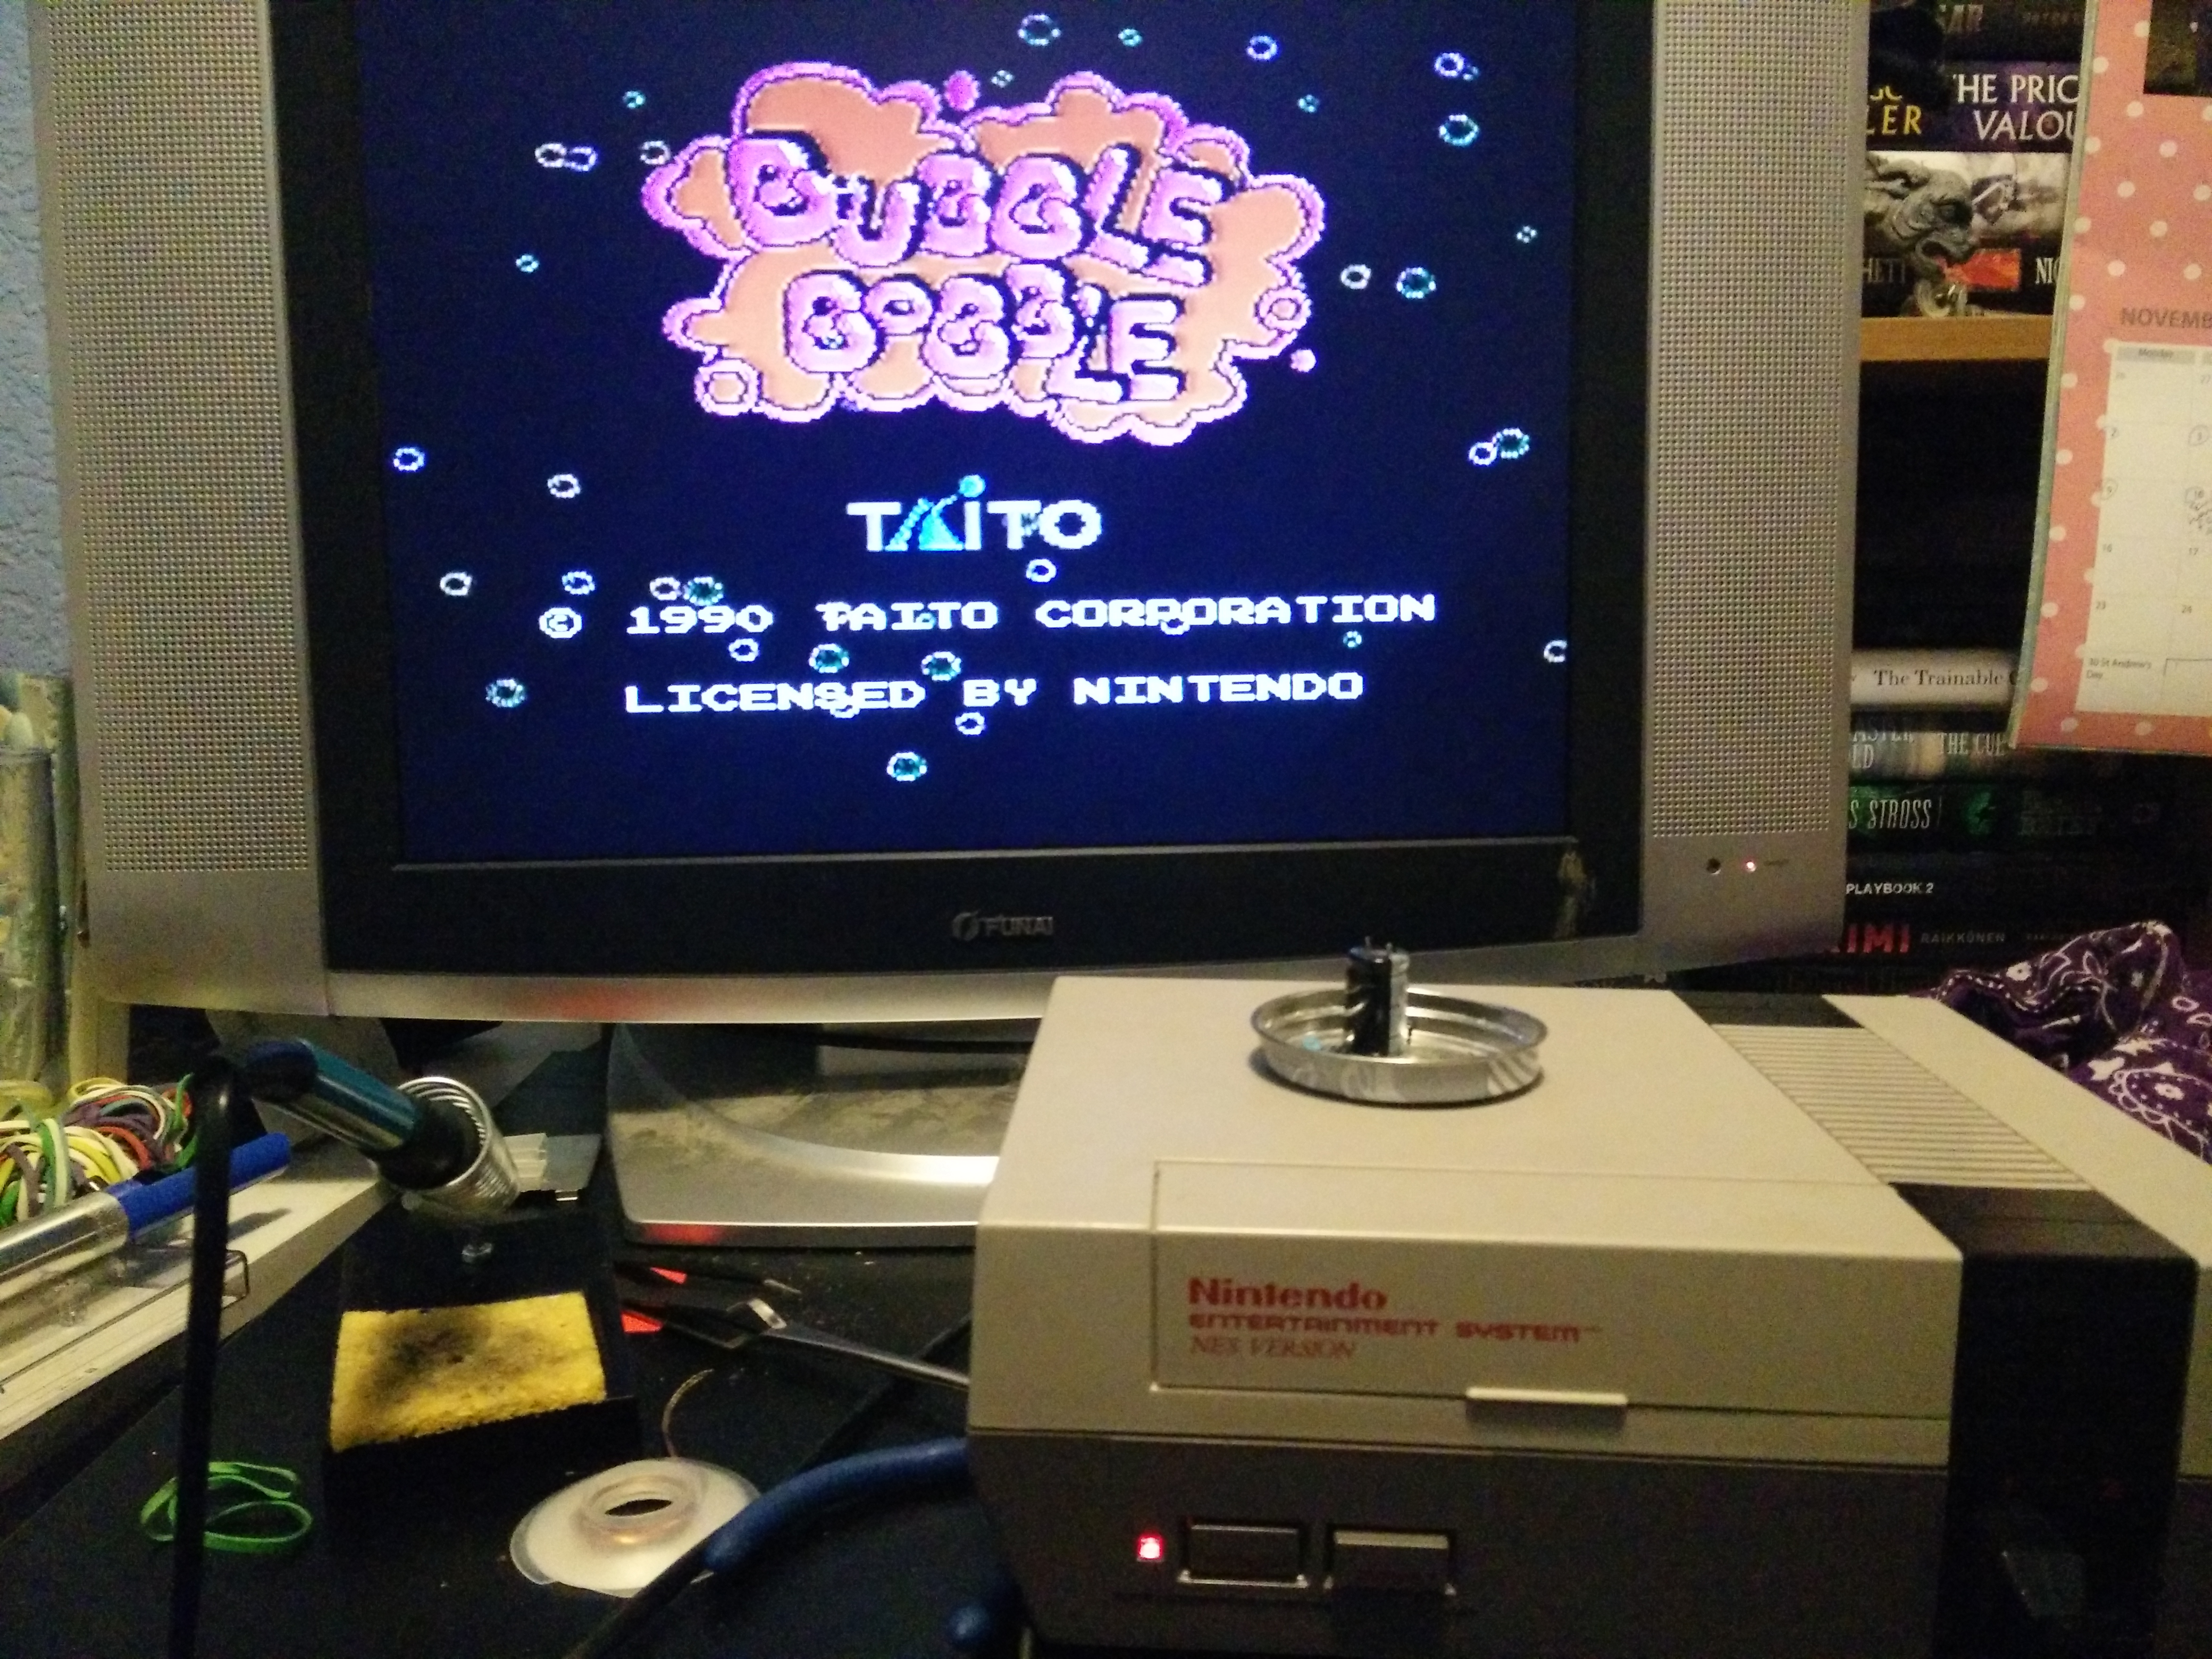
One that’s all done, fire it up and enjoy newfound confidence in an old machine and reward yourself with a game or two!